
How to Paint Warhammer: Astra Militarum – Albion Raptors
- No Comments
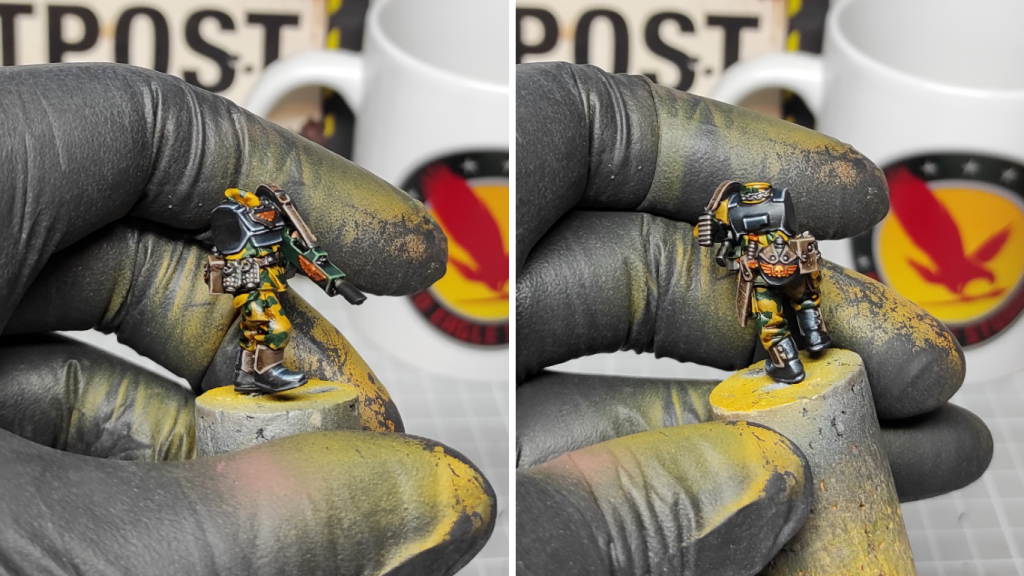
Welcome to this Warhammer Painting Guide by Red Eagle Studio. This is a step by step painting tutorial for painting your Warhammer 40,000, in this guide I will show you how to paint your Astra Militarum models in the Albion Raptors scheme, featured on Table Top Tactics.
If you want to follow along click here to view the Astra Militarum Range.
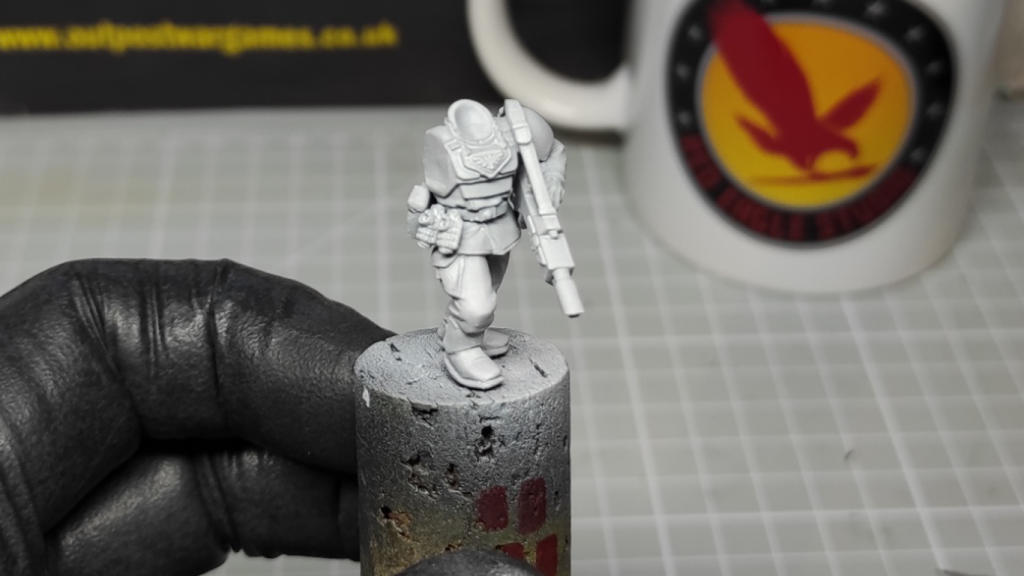
Step 1:
Undercoat with Vallejo Grey Surface primer, this light-coloured undercoat will help the main camouflage colour stand out later. Allow to dry for more than 2 hours.
Step 2:
Airbrush Vallejo Chocolate brown underneath the model, this will provide some shading to the clothing with little effort compared to with a brush. Better to do 2 thin passes with the airbrush here rather than 1 thick pass, to ensure a smooth finish.
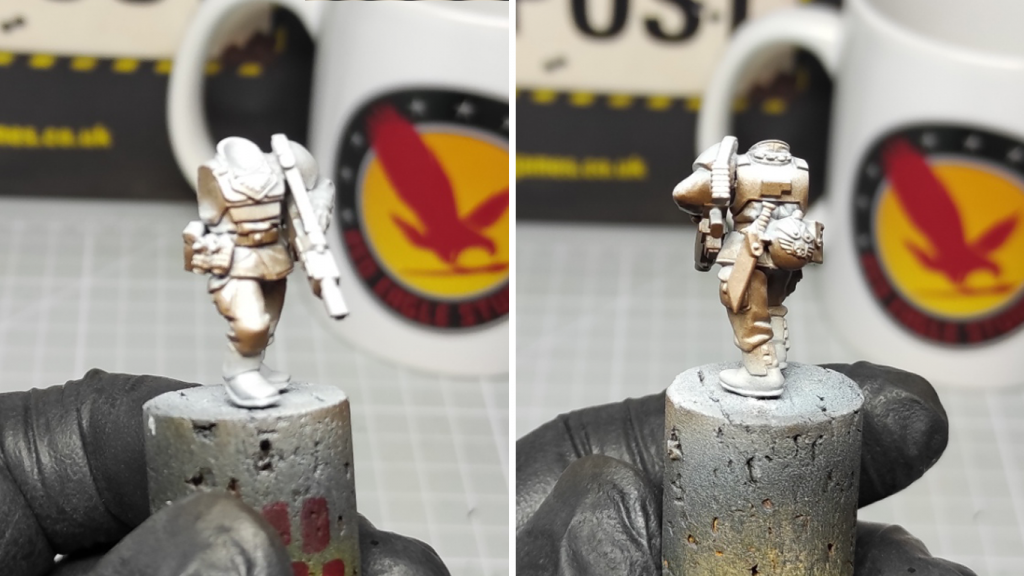
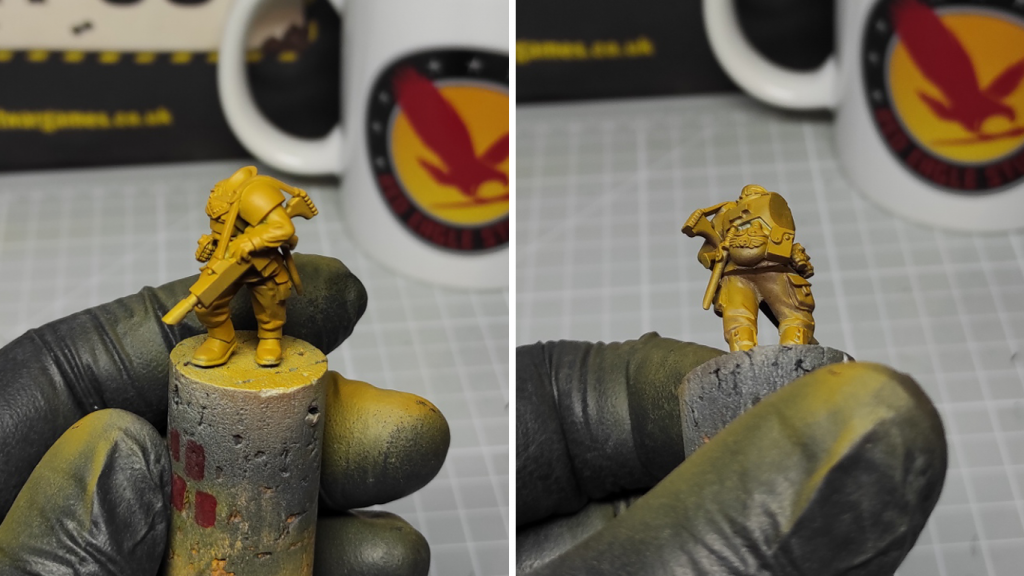
Step 3:
Airbrush 2 coats of Citadel Balor Brown on the sides and top of the model. Be sure to add some flow improver, this colour has a habit of drying on the tip of the airbrush needle otherwise, due to its lighter pigment.
Step 4:
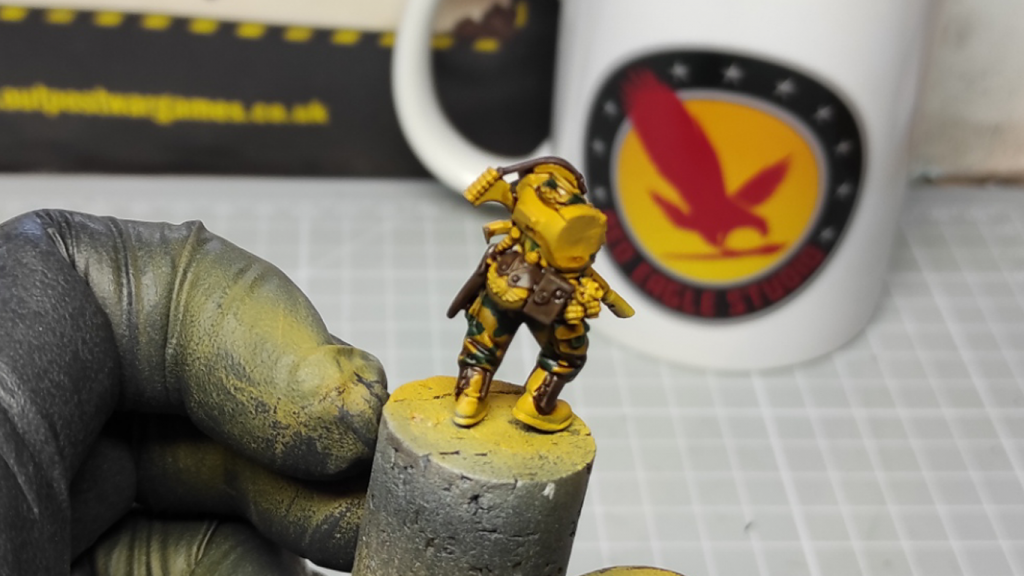
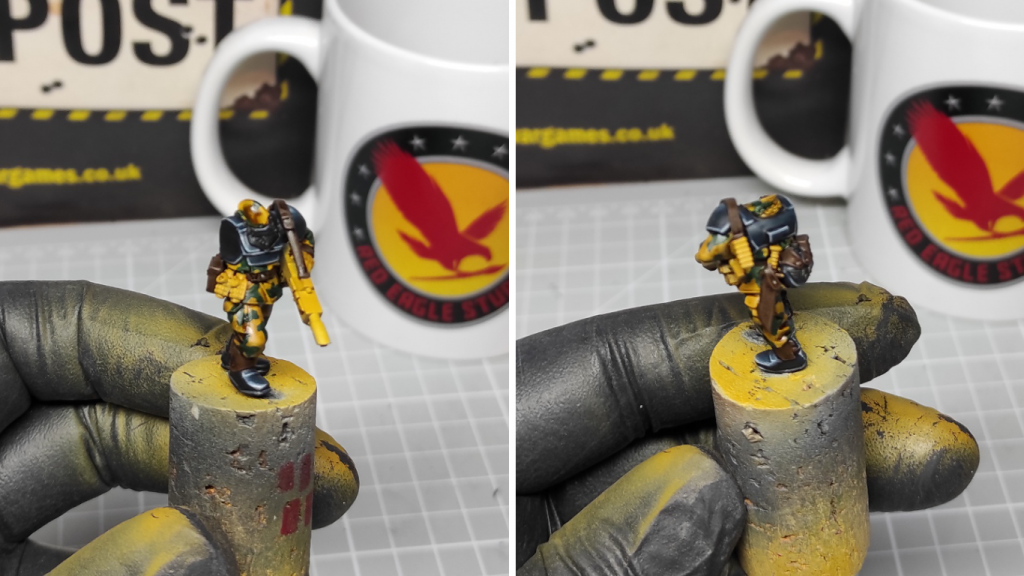
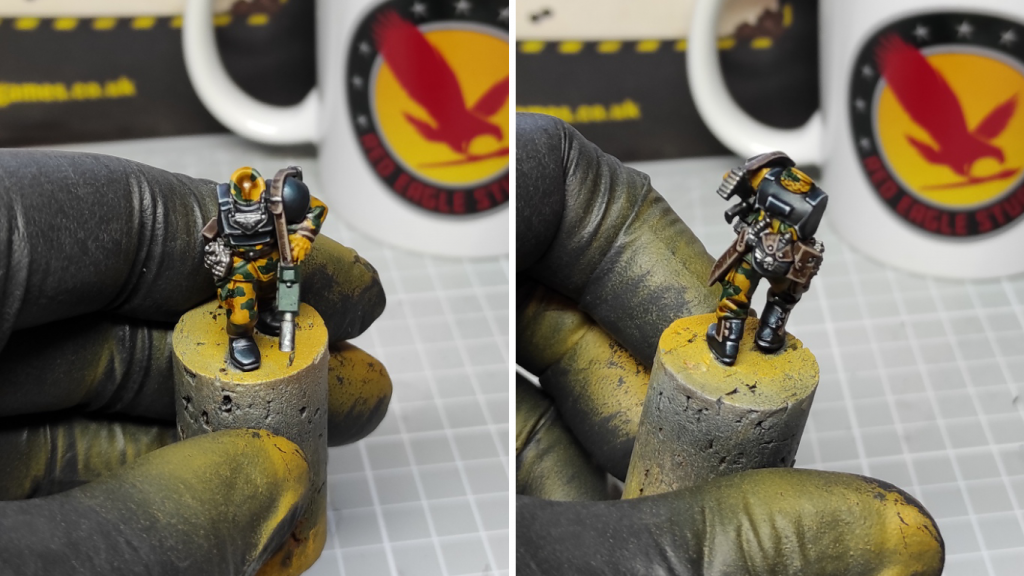
Using Citadel Caliban Green, paint random camo patterns onto the cloth areas of the model. I tend to adopt a wobbly Y shaped pattern of varying sizes, avoid right angles as they don’t look natural.
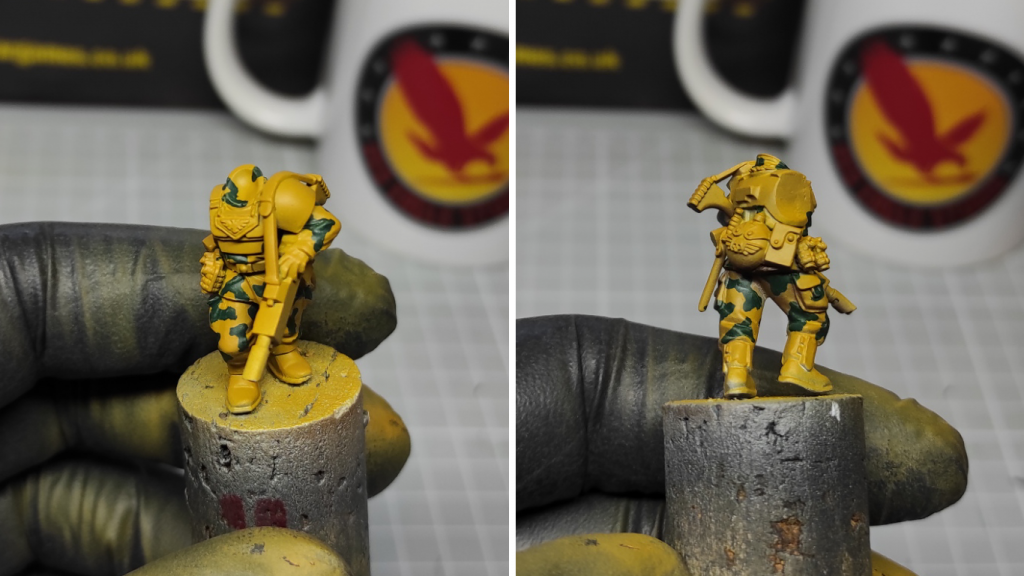
Step 5:
Mix the army painter Strong Tone and Quick Shade mixing medium, 1 part each. Apply this evenly all over the model using a large brush, avoid areas pooling and wipe excess off with a dry brush. This will stain the camo areas, giving a very realistic look.
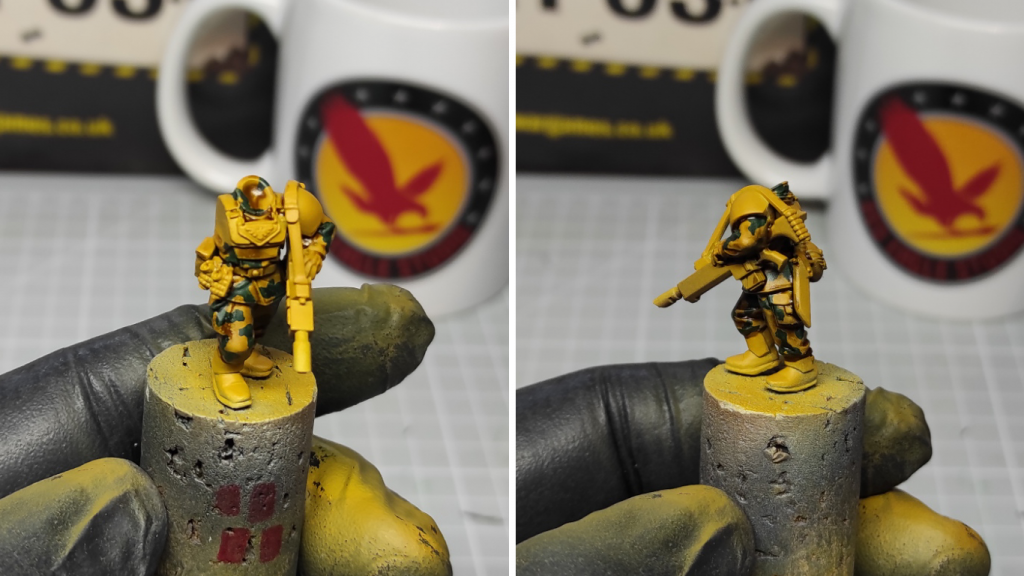
Step 6:
Paint the shins, belts, equipment pouches and cuffs with Vallejo Chocolate Brown.
Step 7:
Apply the army painter Strong Tone over the Chocolate Brown sections, this will create a thin dark line separating the camo and the brown areas, helping to create some definition.
Step 8:
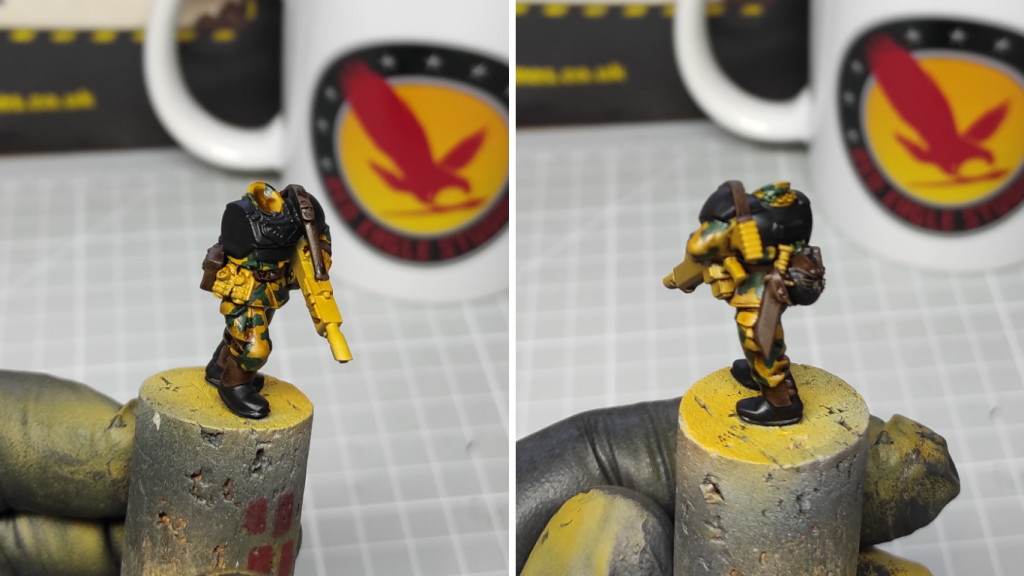
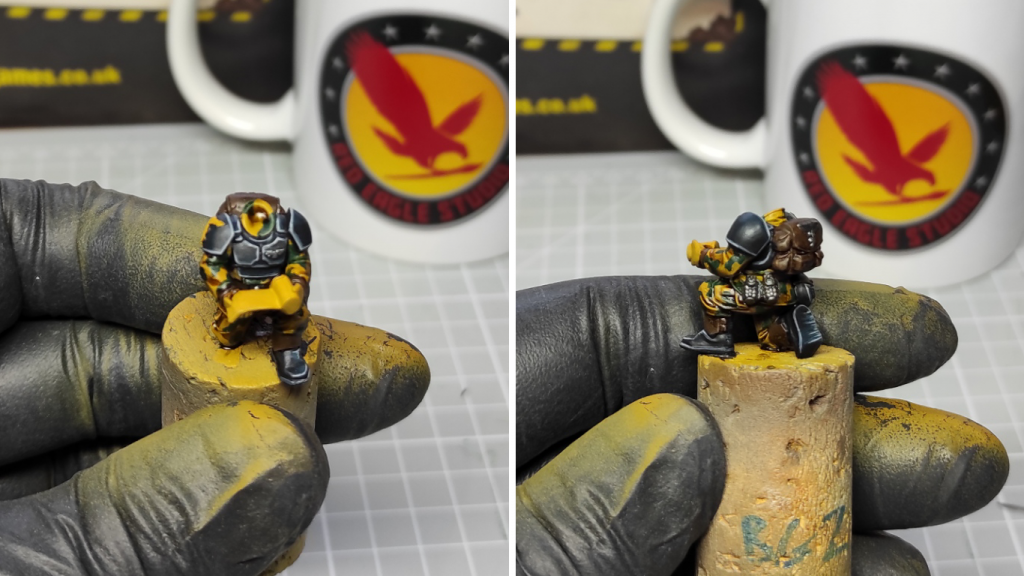
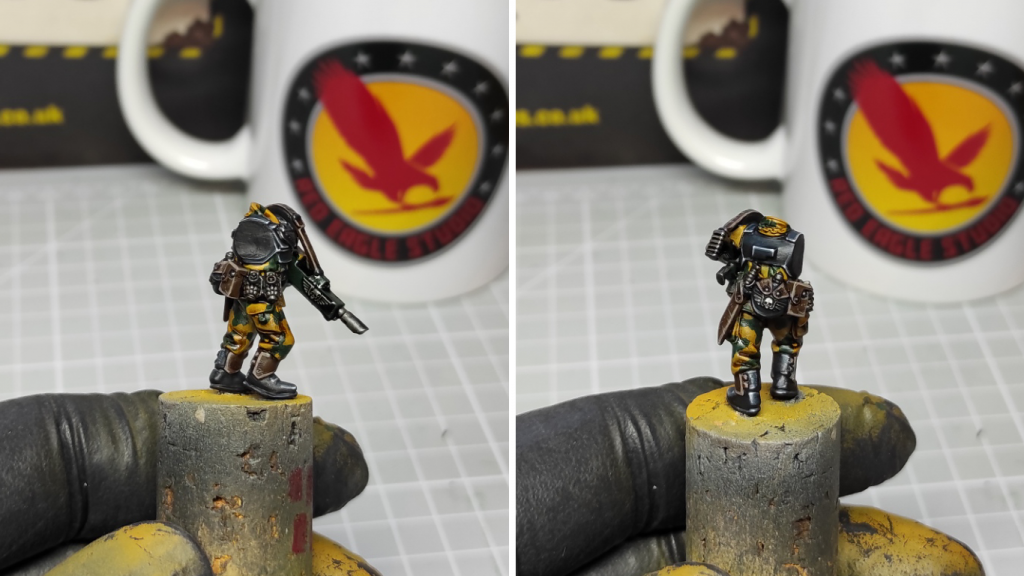
Apply the army painter Matt Black to the boots, body armour, shoulder pads.
Step 9:
Apply Citadel Incubi Darkness to the black areas, concentrating on the upper areas where the light would hit and avoiding the recesses.
Step 10:
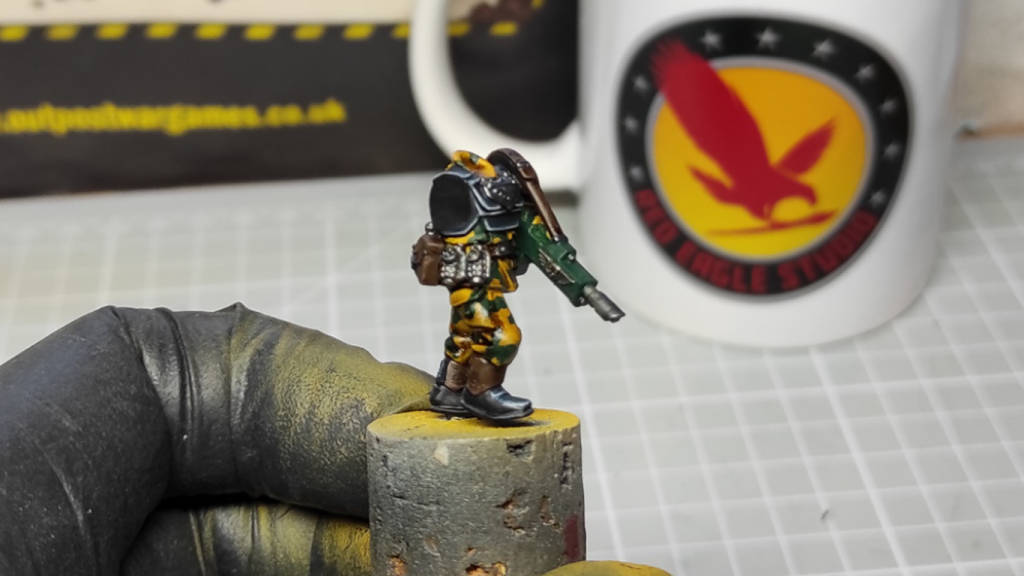
Apply citadel Thunderhawk blue as an edge highlight, you can also dilute it slightly and glaze it on the upper curved areas on the shoulder pads to create a shimmer of light reflecting.
Step 11:
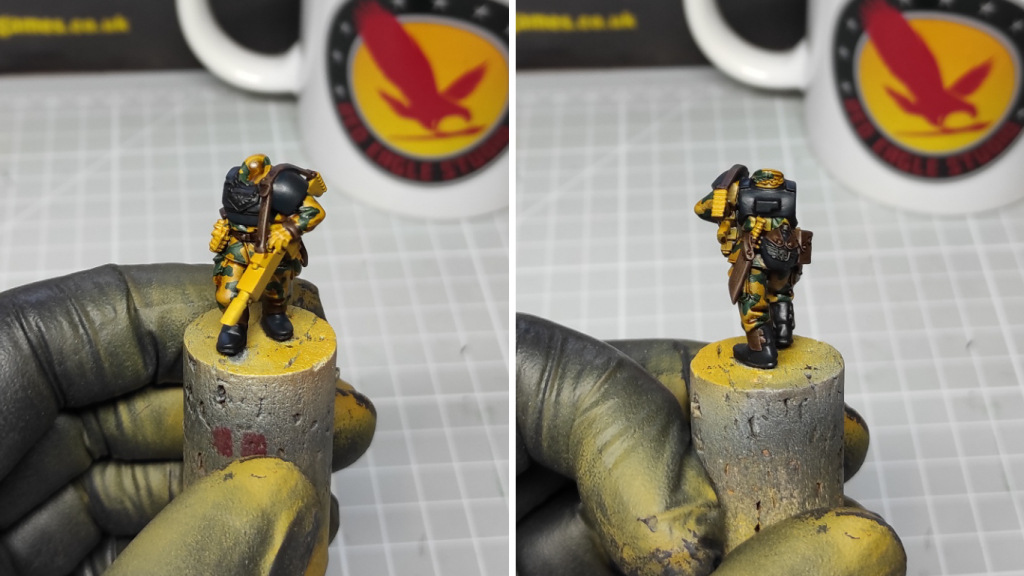
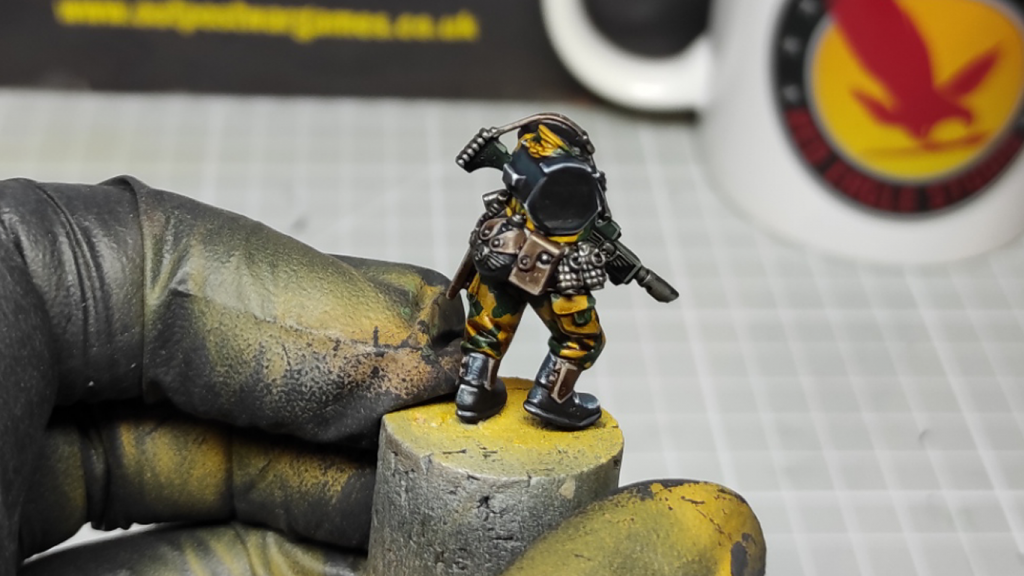
Apply a thinner edge highlight of the army painter Ash Grey, its important to not redo the previous Thunderhawk blue stage, but to paint a smaller line of this colour. Doing this accurately will make the black armoured sections look very 3D and crisp.
Step 12:
Apply Vallejo magnesium to all the metallic areas, use this straight from the pot as its already diluted.

Step 13:
Dilute the army painter Matt Black, glaze the lower parts of the back armour and shoulder pads, this will create some depth to the armoured sections, fixing any areas that look a bit too grey to the eye.
Step 14:
Apply citadel Caliban green to the Lasgun casing, avoid hitting any of the metal areas.
Step 15:
Apply citadel Baneblade Brown as an edge highlight to all the chocolate brown sections. With larger pouches you can feather this colour, creating little scratches almost, giving a more leathery look. If you’re feeling adventurous, a couple small dots on the pouches add realism and gives the impression its worn too.
Step 16:
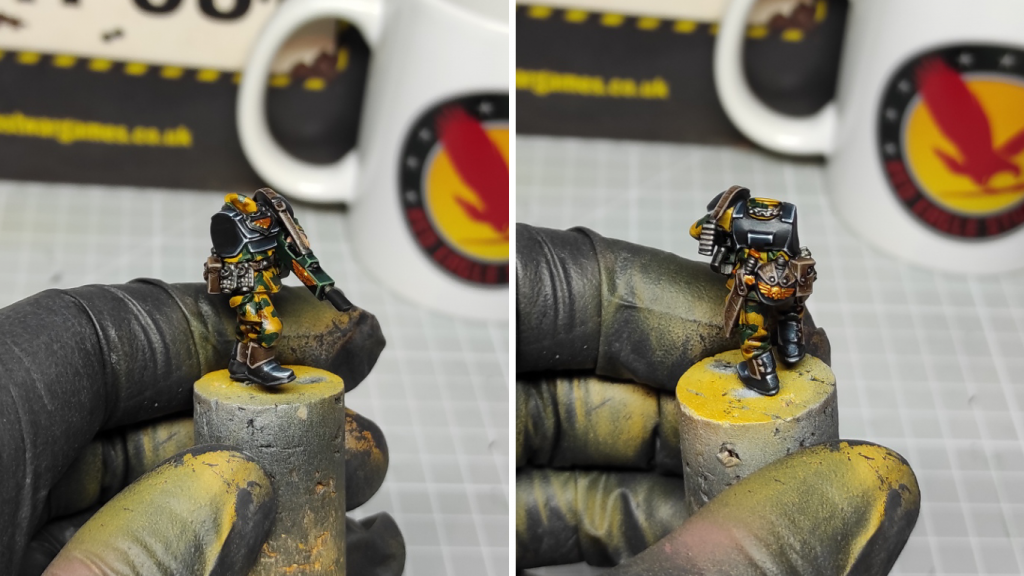
Apply Ulthuan Grey to the corners and tips of the black armoured sections, this will really help make the model pop like its reflecting the light.
Step 17:
Apply the army painter Dark Tone over the metallic areas.
Step 18:
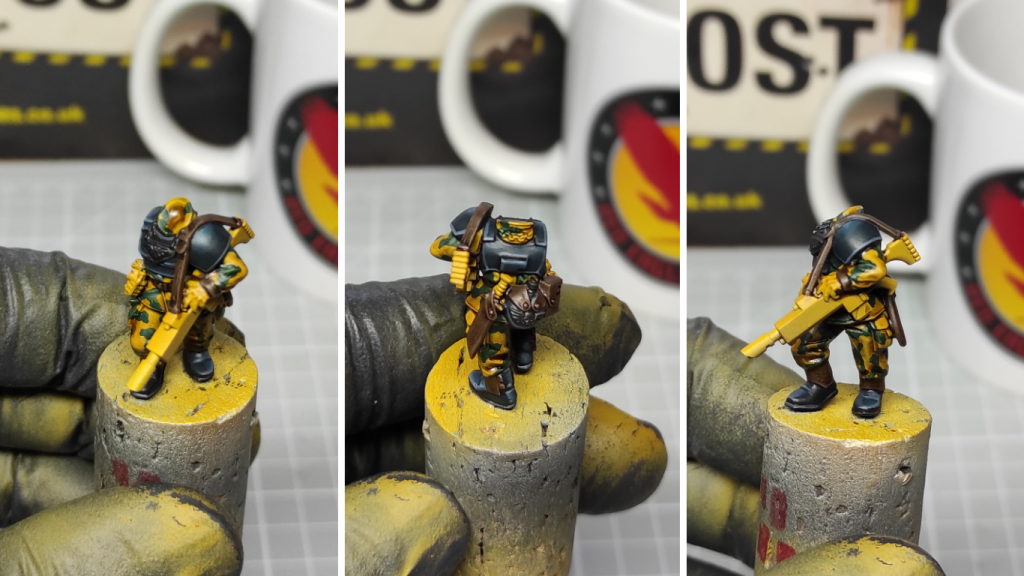
Mix Vallejo Burnt Umbar and citadel Baneblade brown, use this on larger brown areas like the ammo pouches and bayonets covers, to soften areas between the edge highlight and chocolate brown. Any area that looks a bit rough or pale, pop this colour on and it makes it look less harsh.
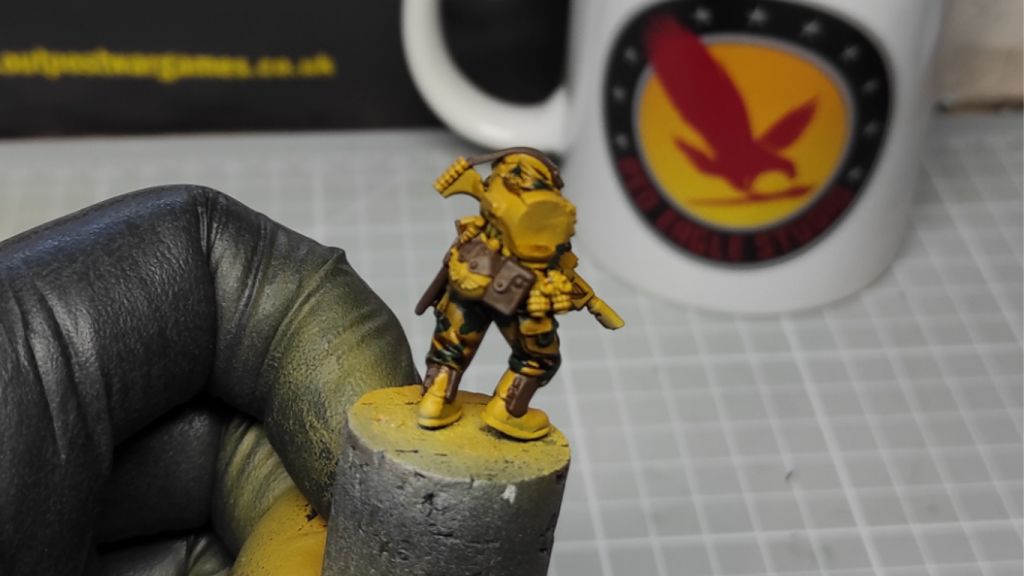
Step 19:
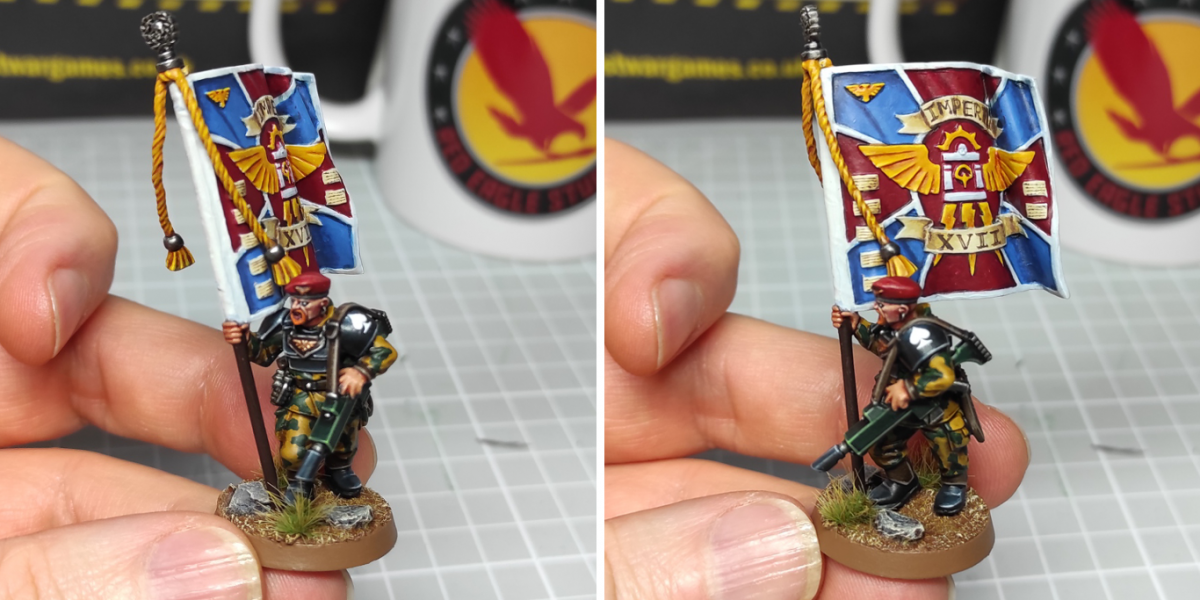
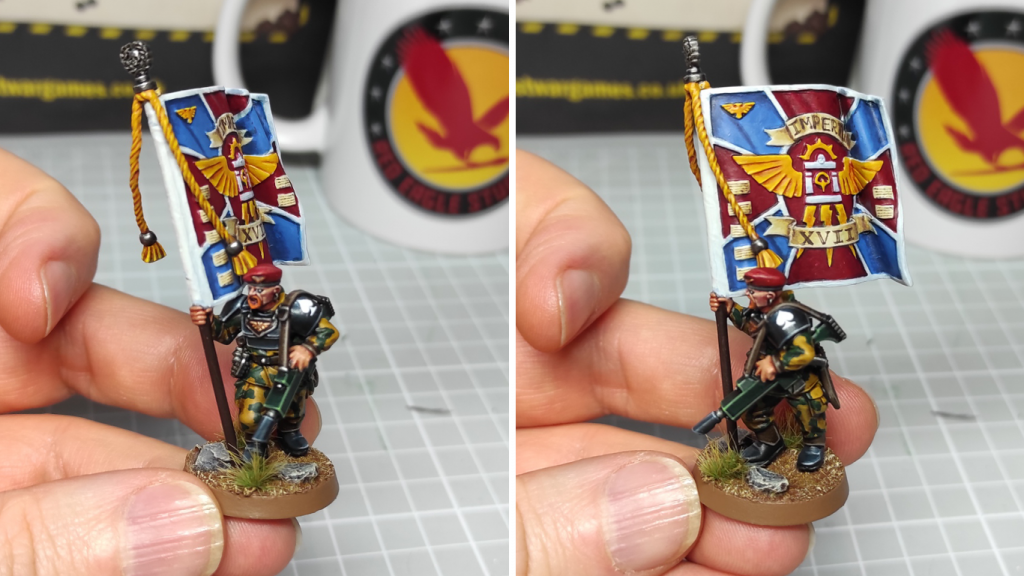
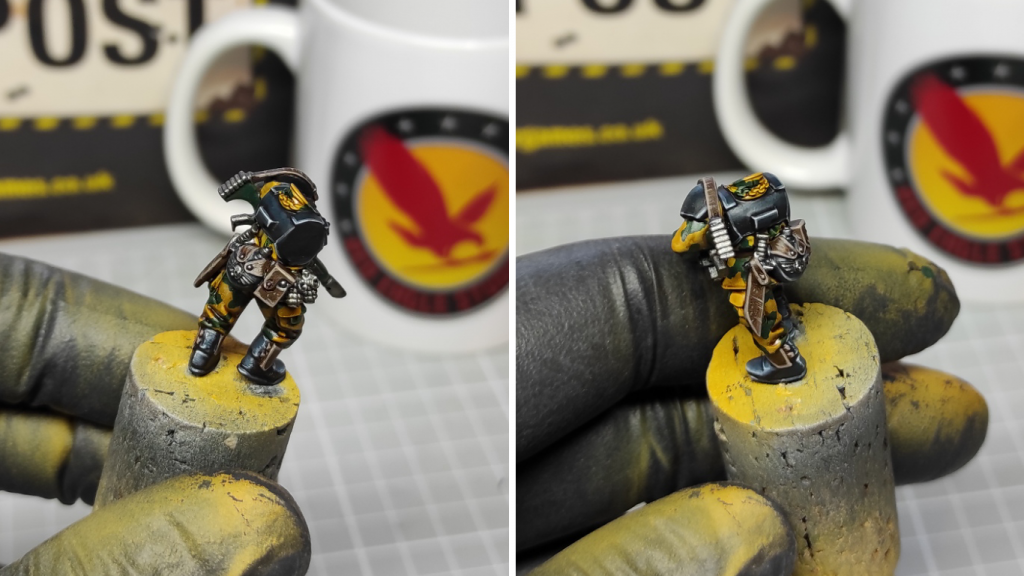
Apply Citadel Retributor Armour onto any eagles.
Step 20:
Apply citadel Reikland Fleshshade onto the gold areas, this creates some shadow and gives a warm look to the gold. Contrasting nicely with the paler body armour.
Top Tips:
1_ I would recommend painting models in batches of 5 or 10, depending on how long you can maintain focus. Not only does it maintain a consistent look, it also allows you to move onto the next model while the previous one dries, keeps your brush moving at all times.
2_ Try and use a size 2 brush when painting the camo pattern, by dabbing the brush tip onto the model you can create the perfect thickness of pattern with little effort and its much quicker than using a smaller size.