
How to Paint Warhammer: Raven Guard
- No Comments
Matt Wright from WrightyMinis and welcome to this “How to Paint Warhammer” painting tutorial!
Posting on socials, I have had a lot of people ask me about my Raven Guard, in this guide I will be showing you how to quickly and effectively paint what can be a tricky topic, black armour. So get your brushes and wet pallet and lets paint some Raven Guard!
Paints needed for this recipe:
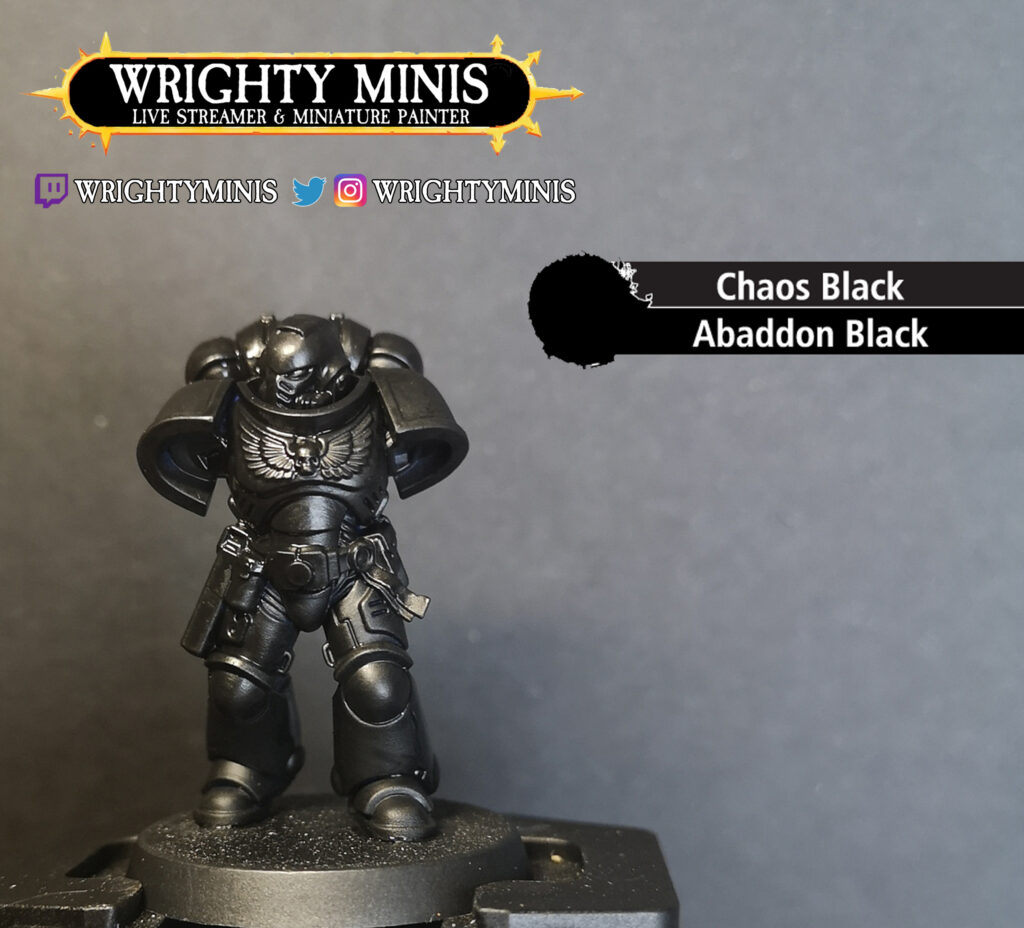
- Chaos Black (spray)
- Abaddon Black
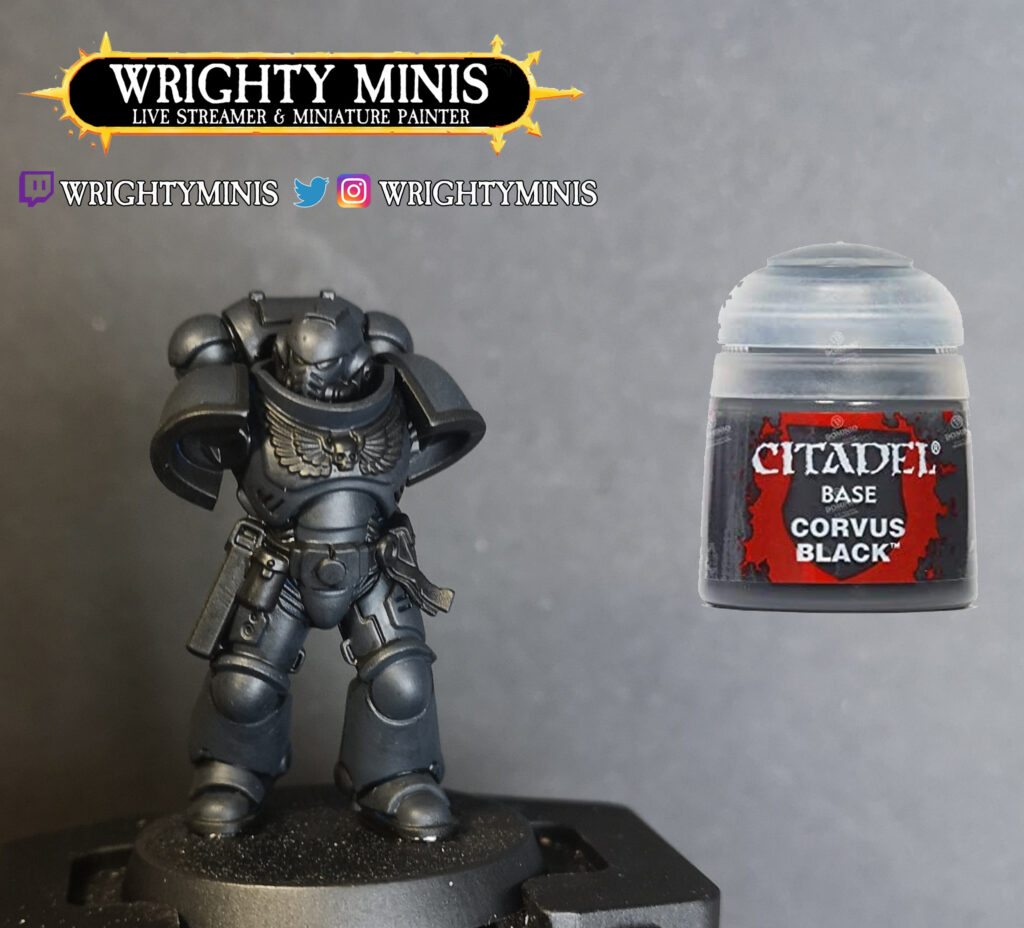
- Corvus Black
- Dryad Bark
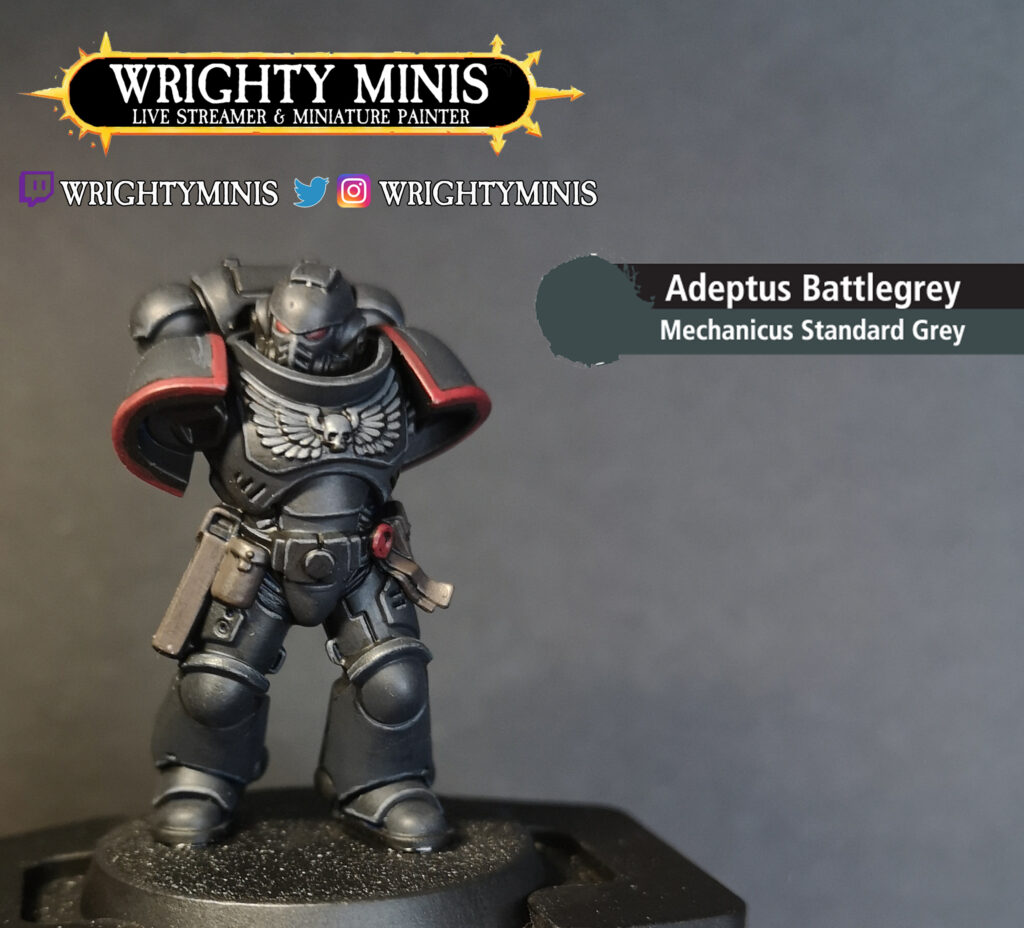
- Mechanicus Standard Grey
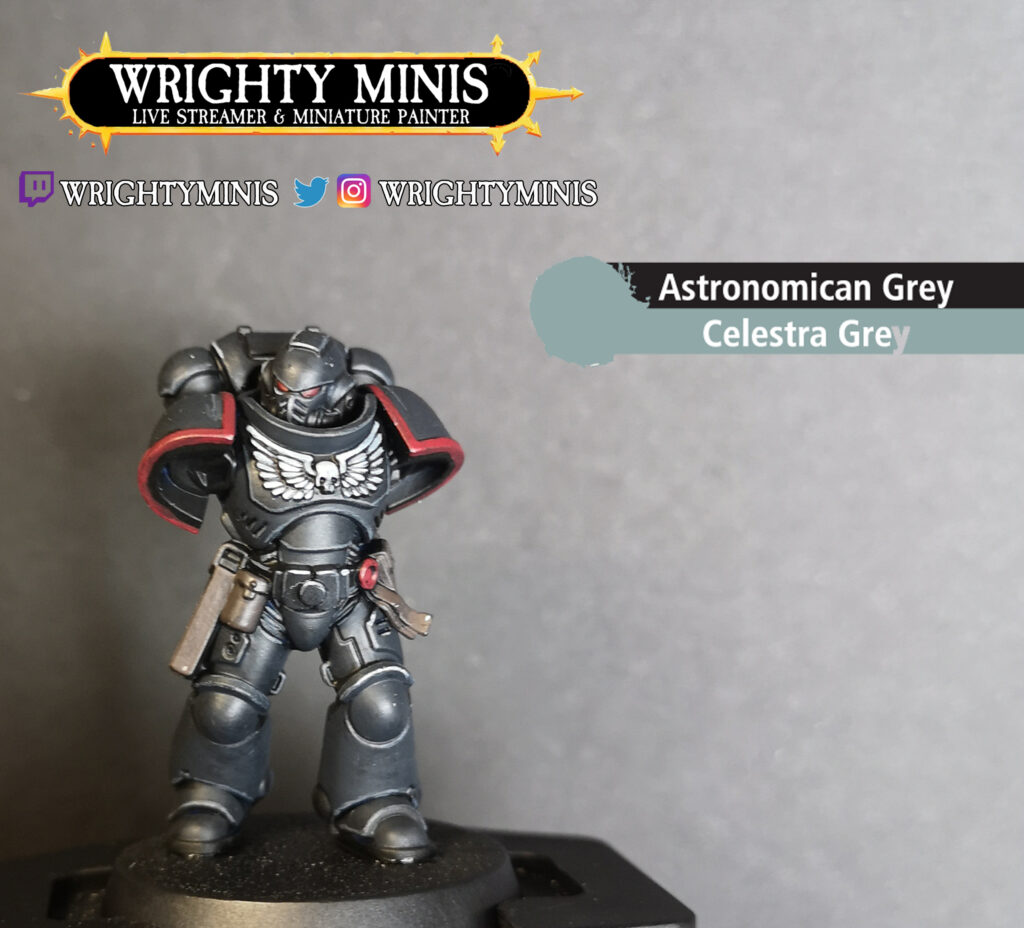
- Celestra Grey
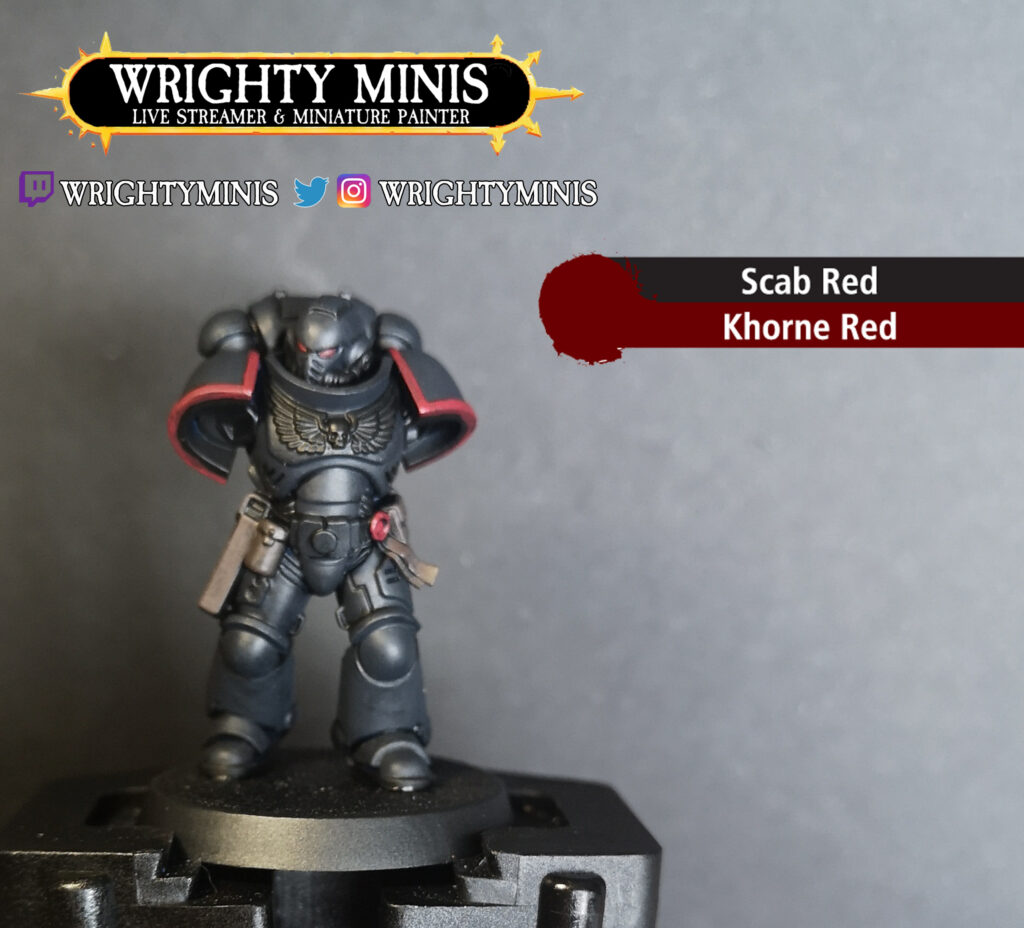
- Khorne Red
- Evil Sunz Scarlett
- Zandri Dust
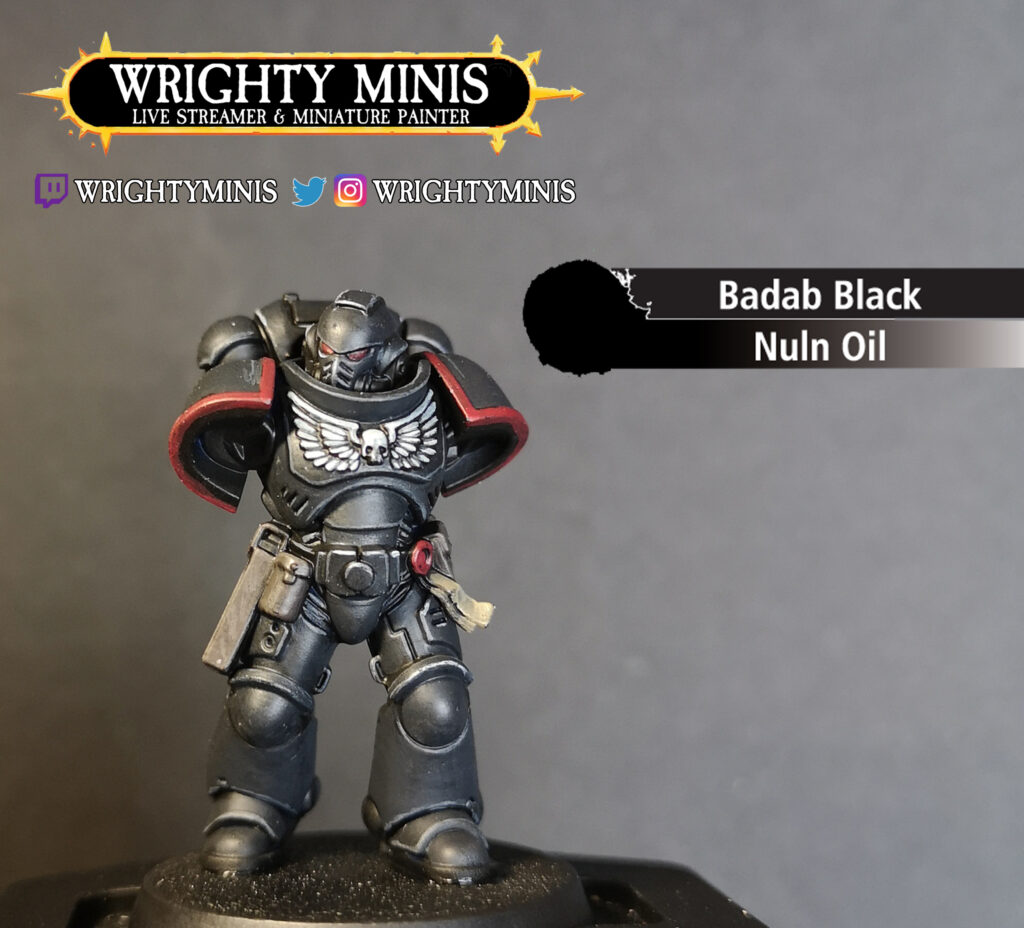
- Nuln Oil
Step 1: Base Coat
Get your Space Marine primed with a can of Chaos Black and cover any missed spots in Abaddon Black.
Step 2: Armour Base Colour
Now that your mini is primed, use Corvus Black to paint all the armour leaving the shoulder trim and eyes.
Step 3: Pouches and Seals
Using a detail brush, give the pouches and holsters a coating of Dryad Bark.

Step 4: Shoulders, Eyes and Seal
Using Khorne Red, paint the shoulder trim, purity seal and eyes. I painted mine as 3rd company so change the shoulder depending on which company you are using. With the eyes, I use a Army Painter Detail brush, starting from the front of the eye, I paint backwards leaving a small section of the back of the eye black for a highlight (I will go further into this later in the tutorial).
Step 5: Aquilla, Highlights and Belt
Using a fine detail brush, pick out the edges of the armour like in the above image, paying most attention to sections of the armour that will be hit by light. This is known as edge highlighting.
TOP TIP: when getting used to edge highlighting try holding a lamp above and slightly off to the side of the model, this will show the areas where light hits the model more harshly. Take a picture for reference!
With the belt, I like to keep the base coat on show, and highlight the top and bottom of the strap. Also, pick out the joints if the armour.
The aquilla can be tricky to do, I would recomend watering your paint down to 75% water 25% paint and using a super fine detail brush, starting with the tip of the brush towards the base of the feather and stroke outwards.
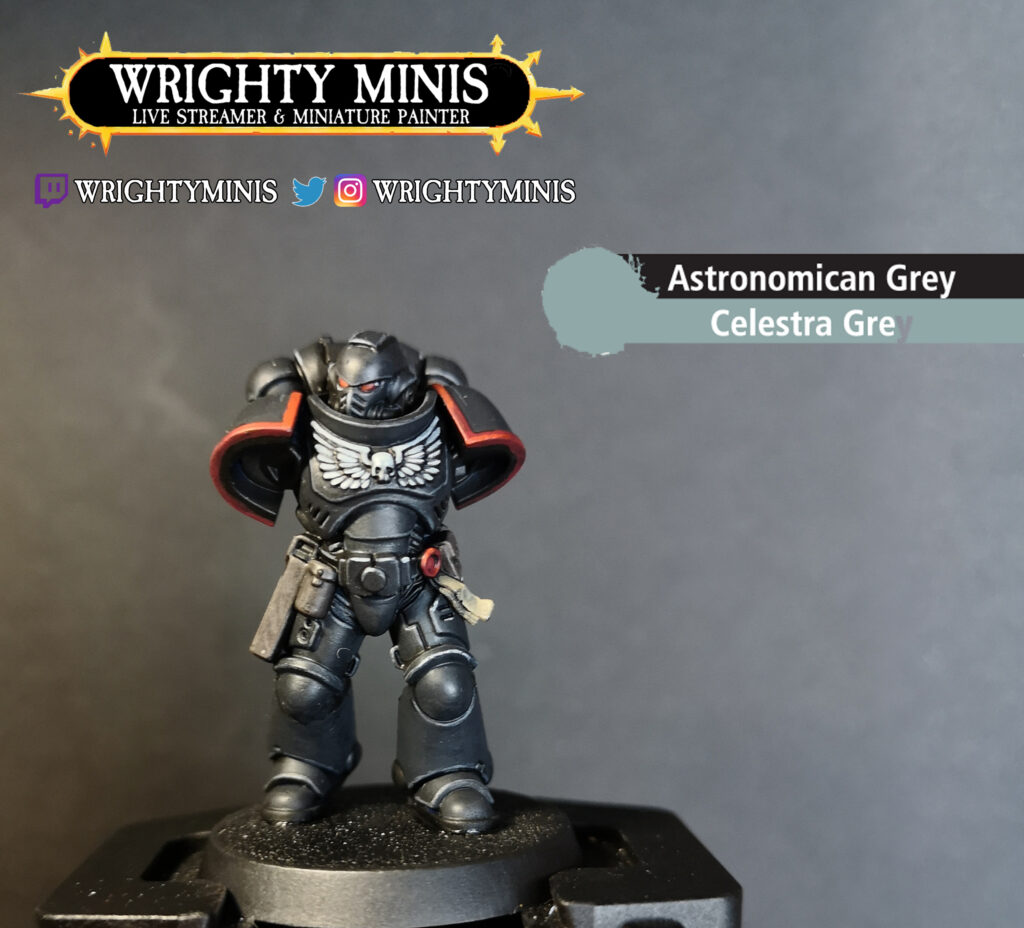
Step 6: Aquilla Second Coat and Extra Highlight
With Celestra Grey, water this down to the same consistency as the previous step as the brighter the paint, the higher the likelyhood of it “Chalking”. Using your Super Fine Detail Brush hightlight hte Aquilla and any higher points of the armour, this will give your mini more depth.
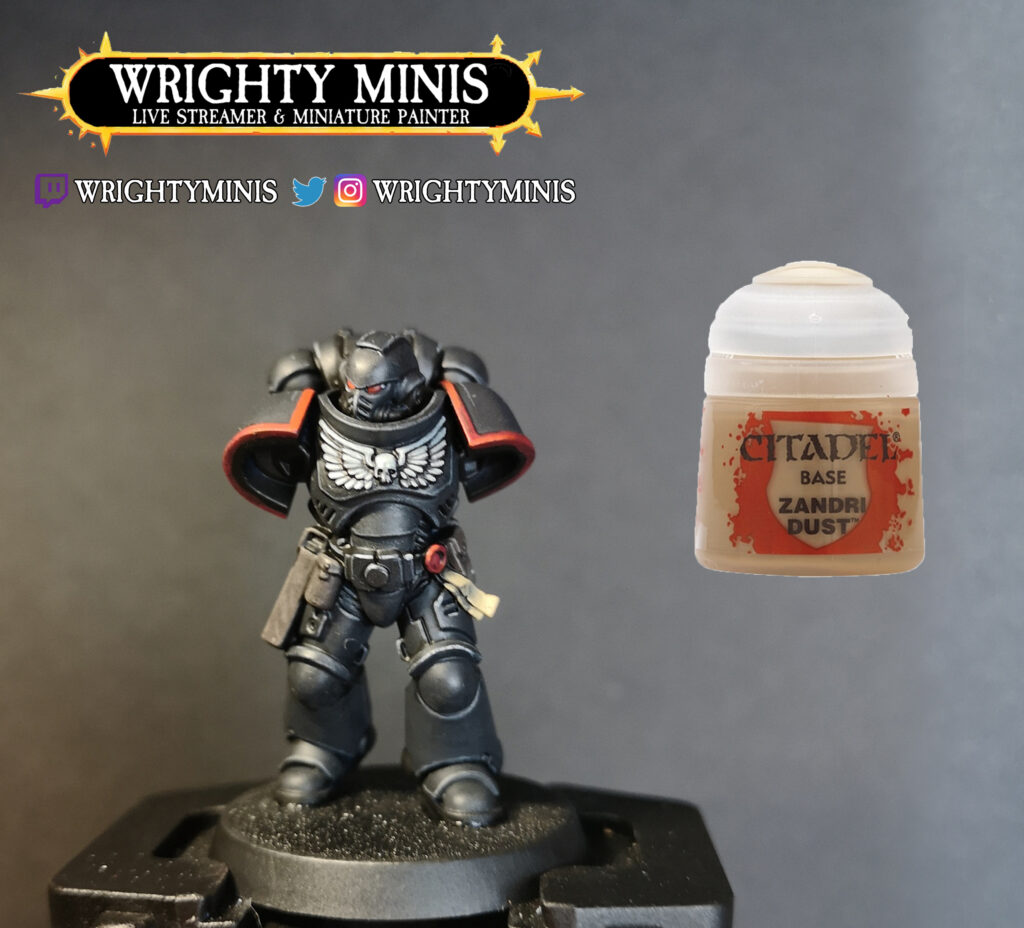
Step 7: Purity Seal
Using a small amount of Zandri Dust, paint the paper of the purity seal. You can then highlight the edges using a 50/50 mix of Zandri Dust and Celestra Grey.
Step 8: Leather Highlights
Mix 50/50 Dryad Bark and Zandri Dust, water this down and edge highlight the holster and pouches, on larger areas apply thin layers to give the leather depth.
Step 9: Shading
Use Nuln Oil on the “Darker” areas on the model, such as under under armour pannels, try using your reference photo and look for the shadowed areas. Also apply this to the purity seal paper.
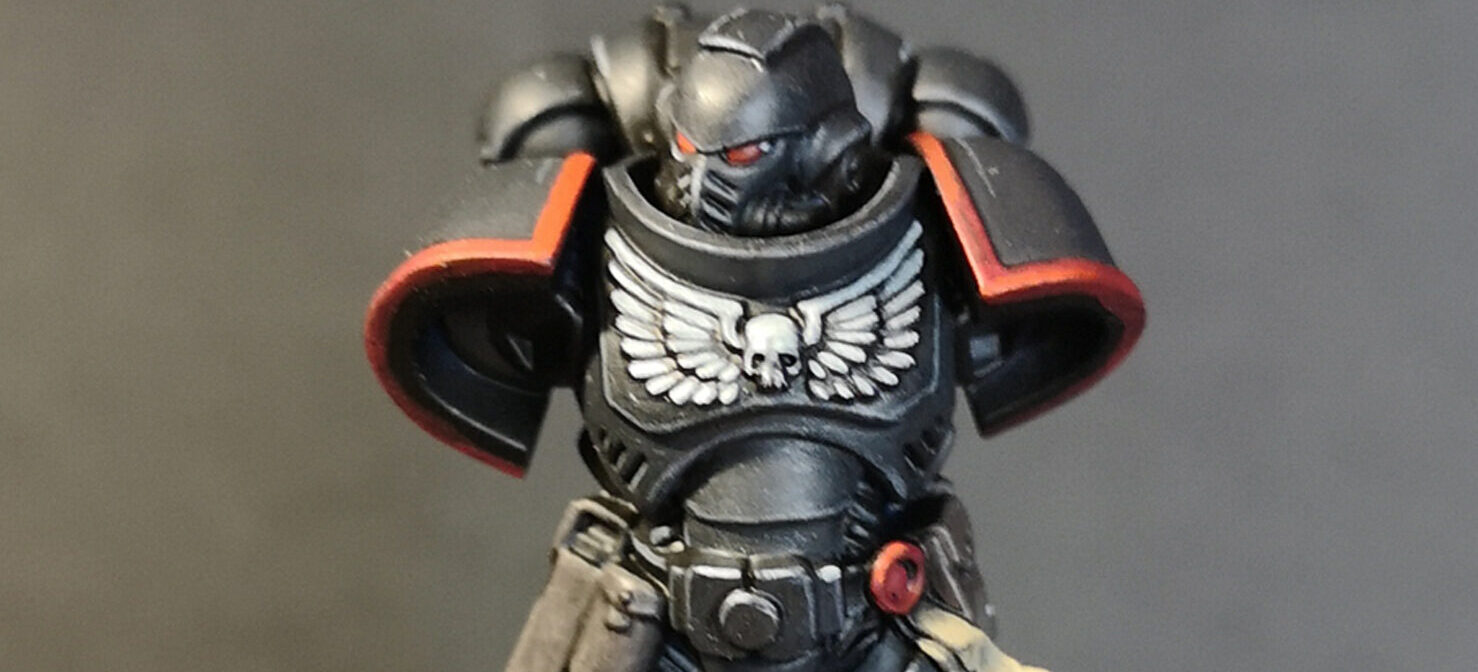
Step 10: “It’s in the eyes”
Using the technique mentioned in Step 4, mix 50/50 Khorne Red and Evil Sunz Scarlett and use a Super Fine Detail Brush to brighten up the front of the eyes. While you have this mix, also pick out the upper sections of the seal (and the shoulders if you are painting up the 3rd Company).
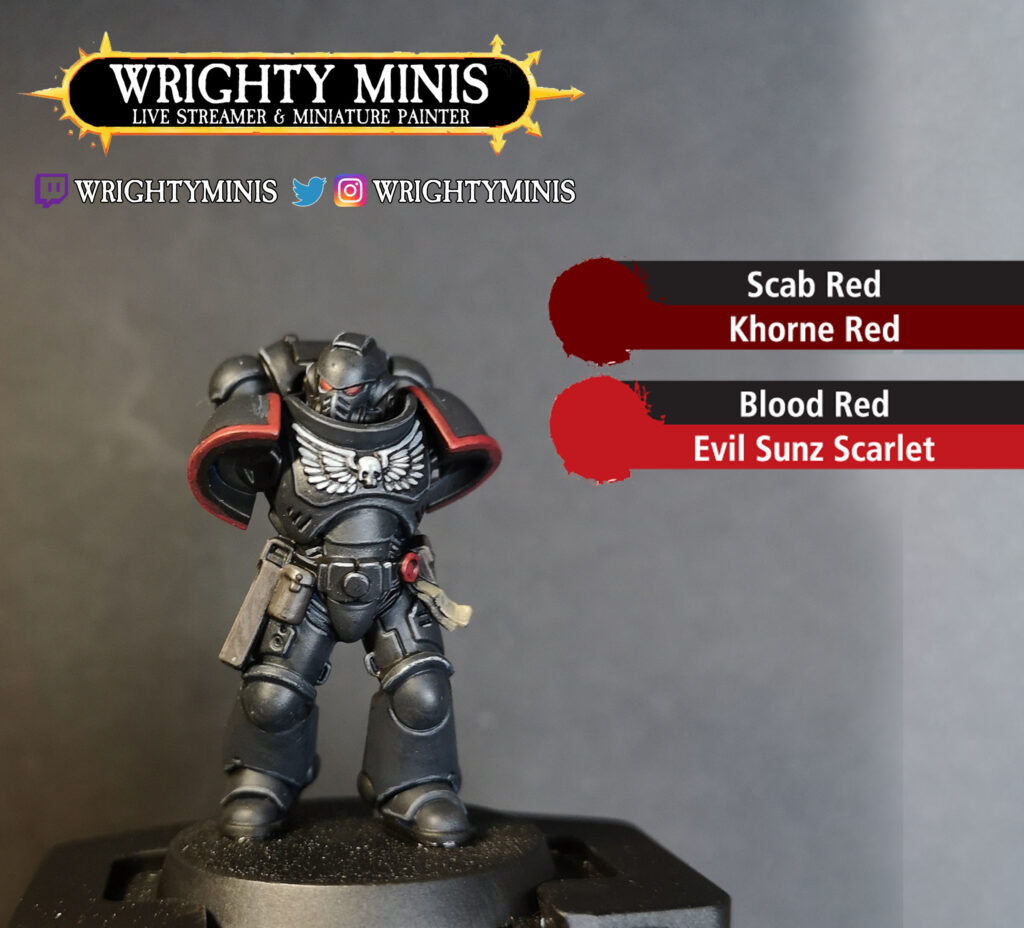
Step 11: “The ‘Eyes’ have it!”
Use Evil Sunz Scarlet and apply this to the purity seal, shoulders and to the very front of the eyes. The goal with this is to effectively highlight the edge highlight. This is known as an extreme highlight.
Step 12 – “Twinkle in your eye”
Using a very fine brush, for example, the Army Painter brush – The Psycho, get a small amount of Celestra Grey and apply a tiny dot towards the back of the eye. Once dry you can go one step further and apply a small amount of Gloss Varnish to the eyes to give them a glassy look.
Step 13: I cant think of a pun…
Using a small amount of Zandri Dust, highlight the higher sections of the purity seal to give it depth.
Outro
And thats it. I hope this tutorial has helped you with your Raven Guard! You can find more tutorials in the painting tutorials section on the website.