

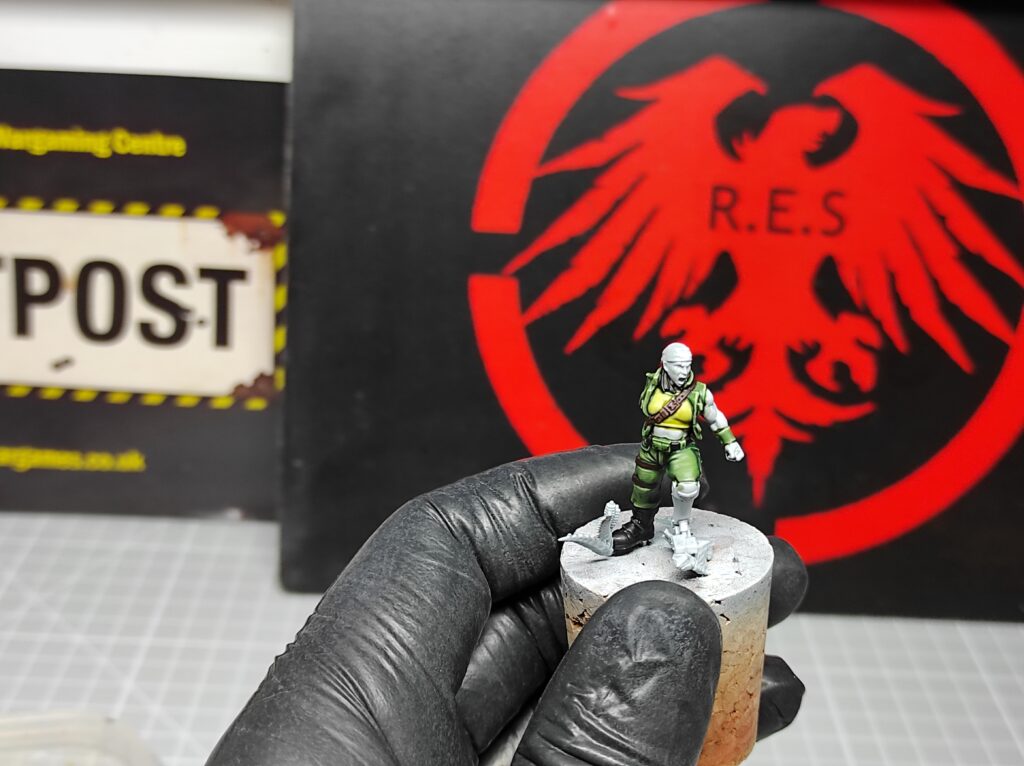
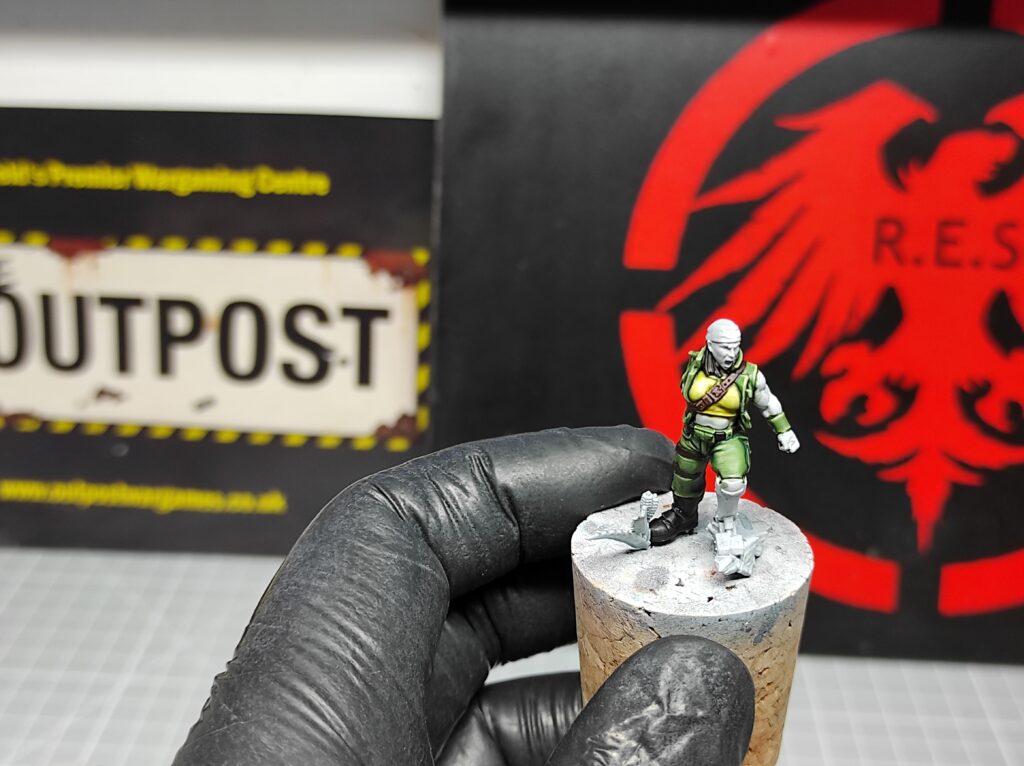
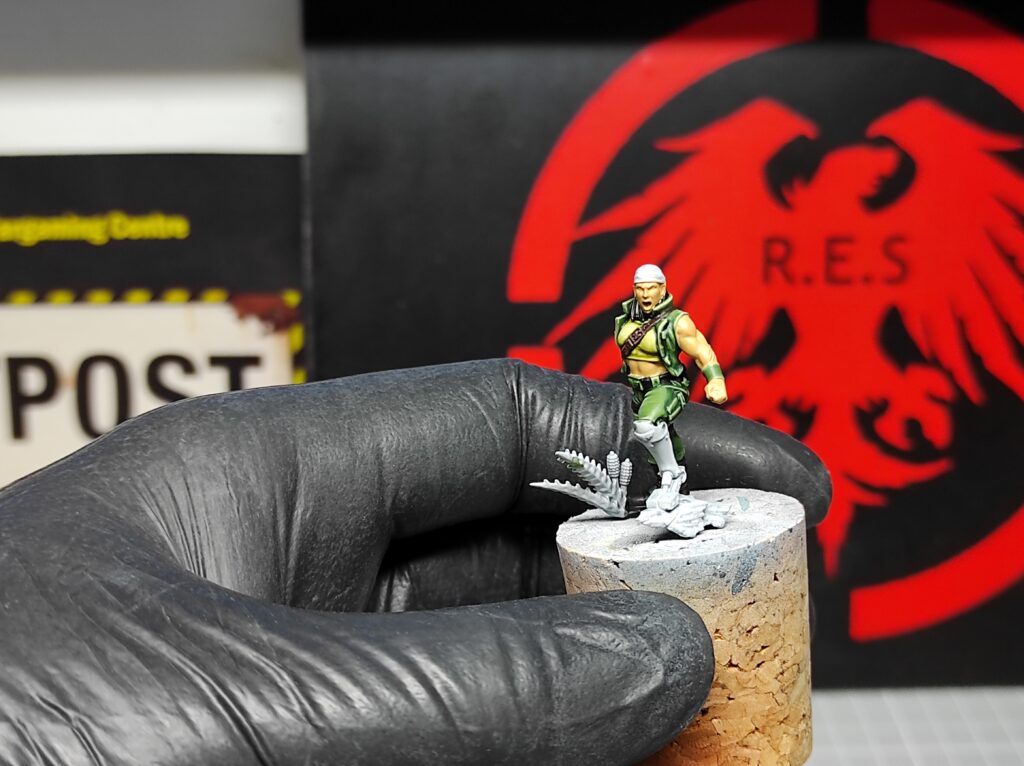
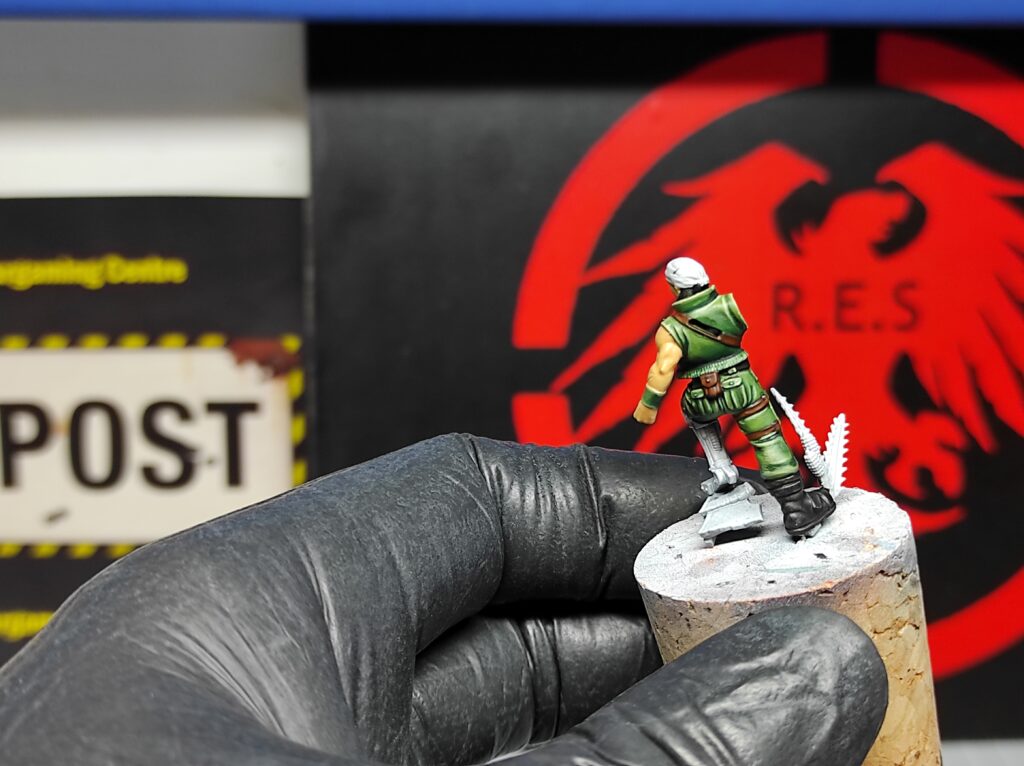
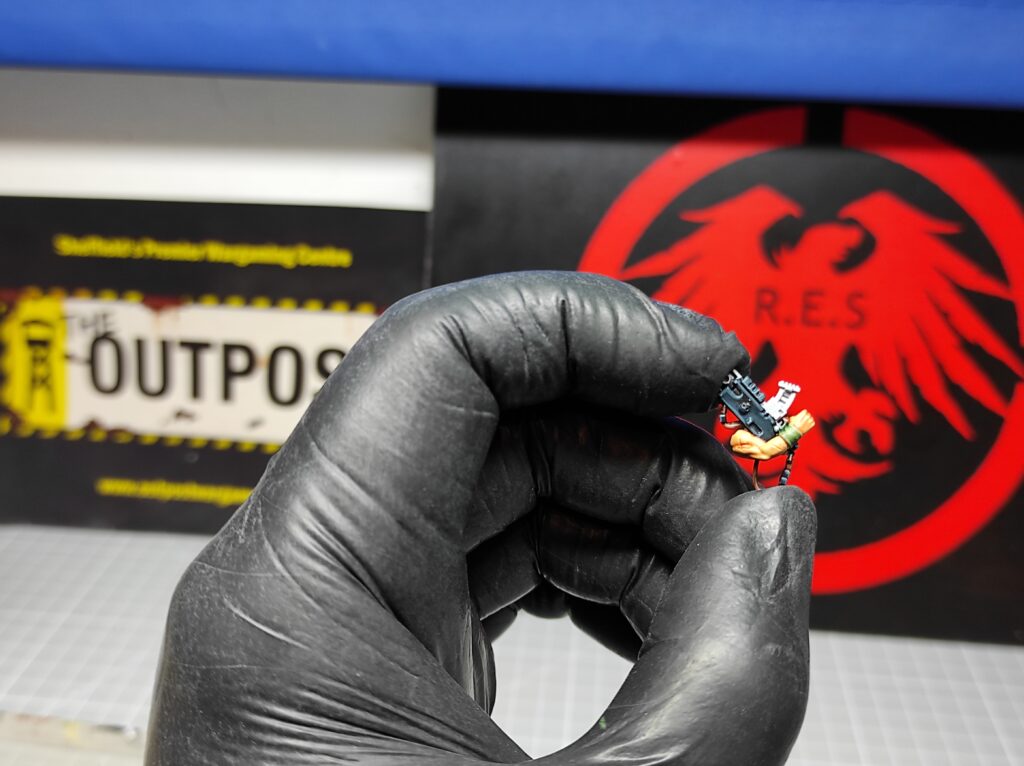
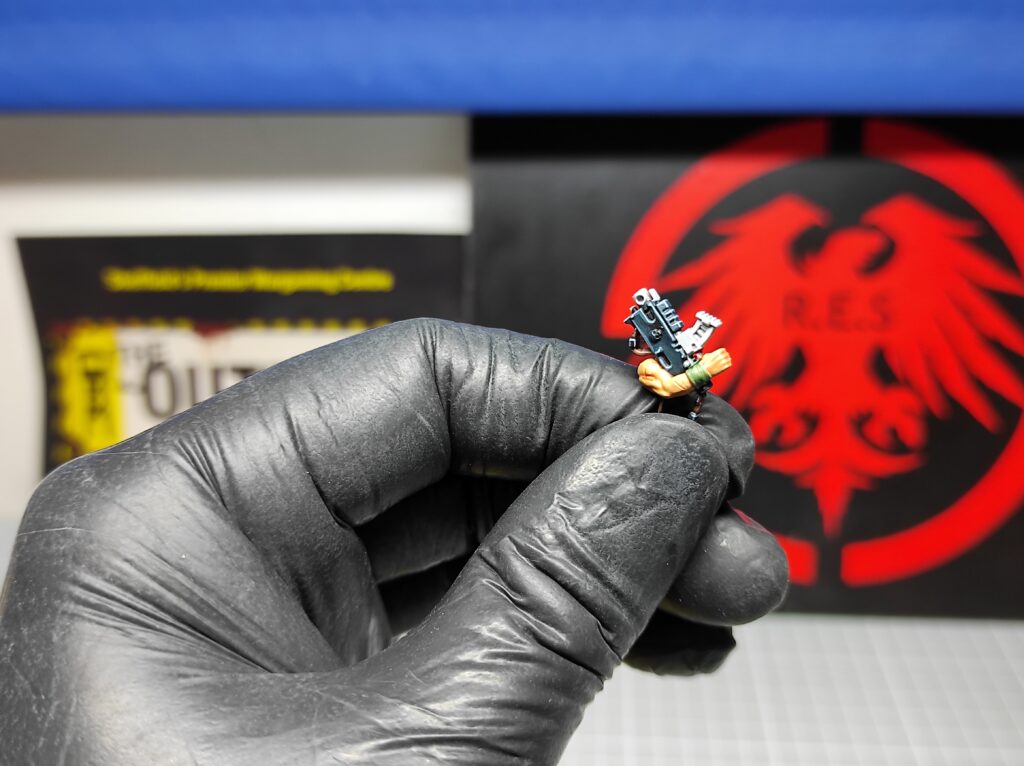
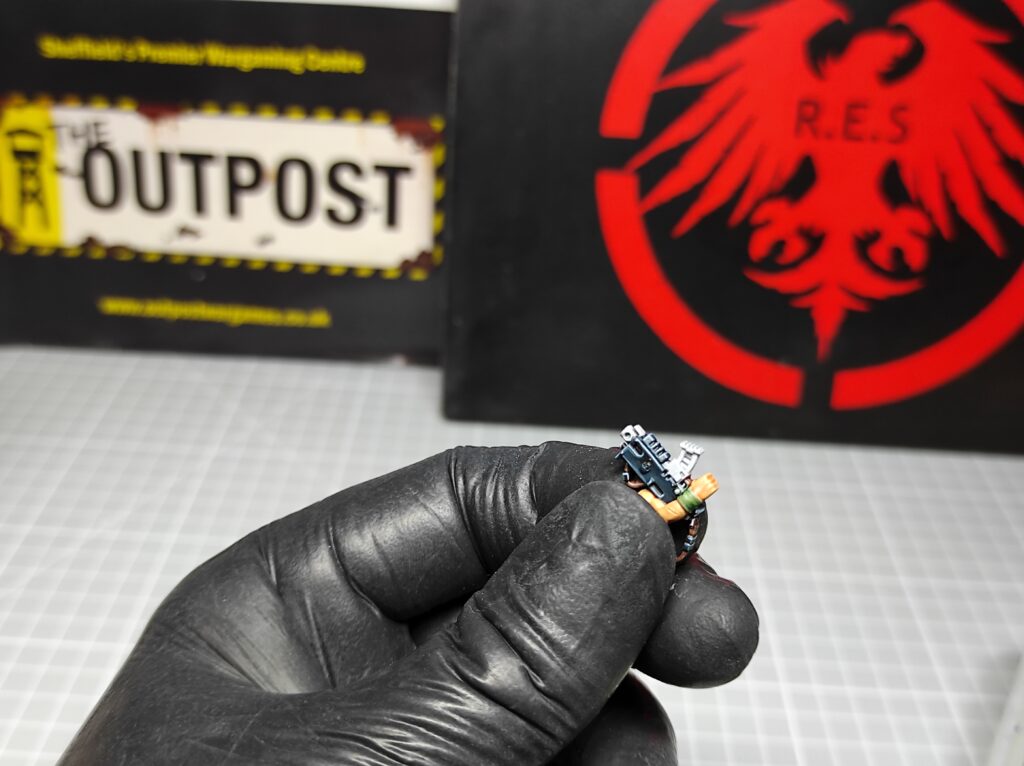
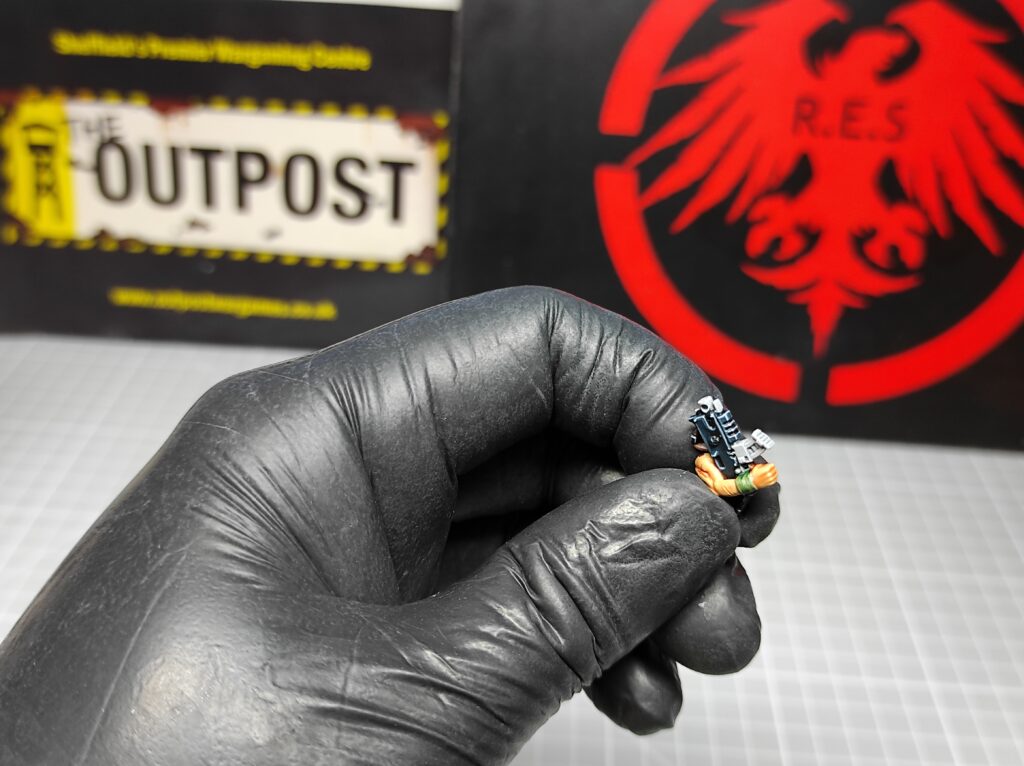
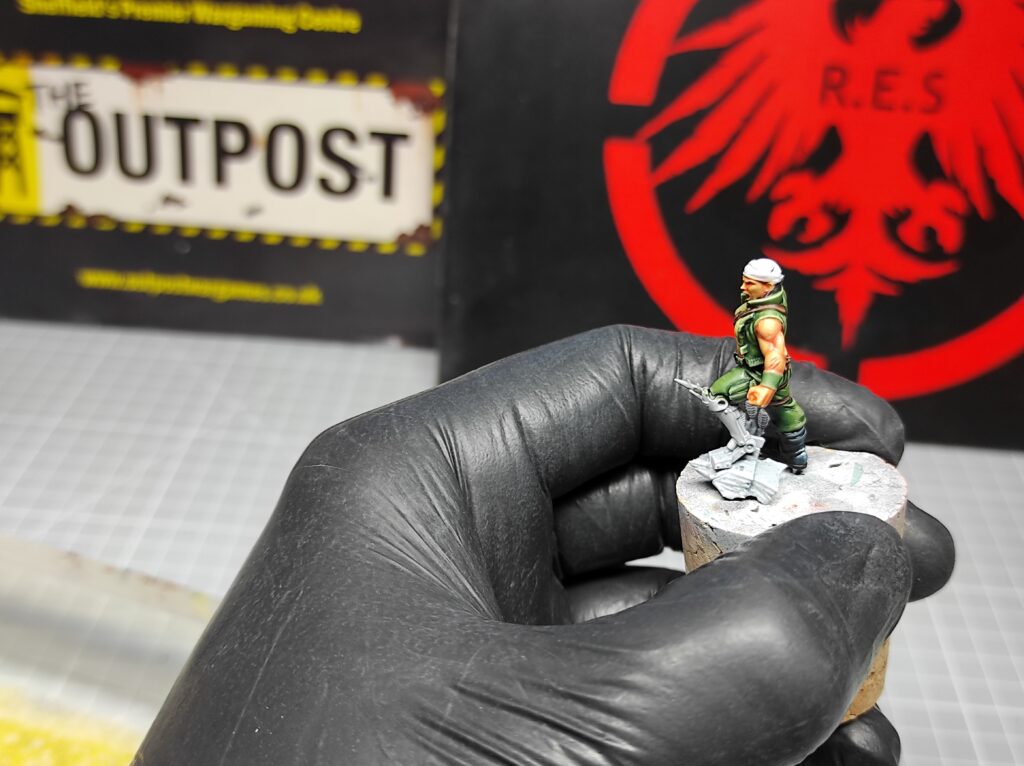
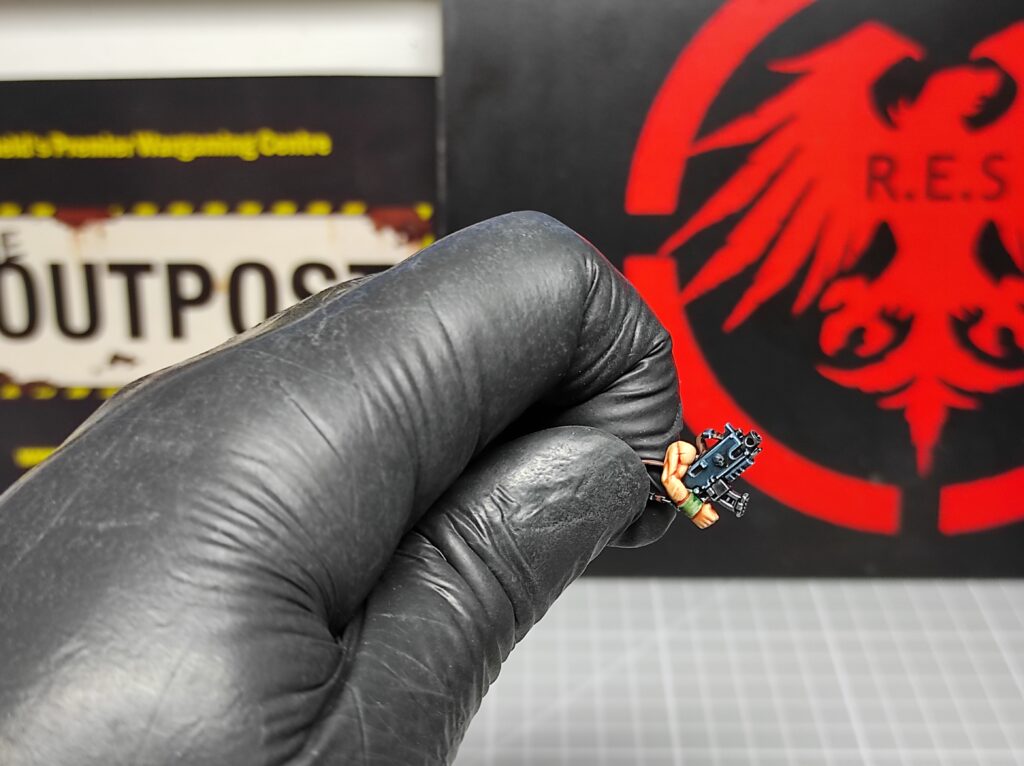
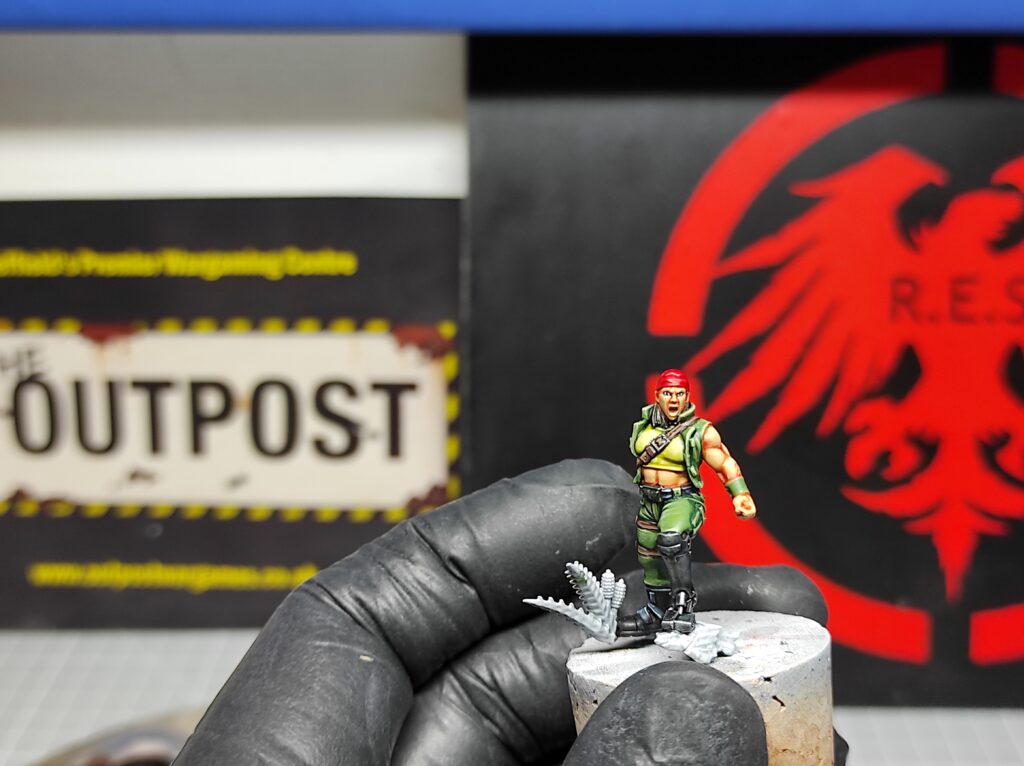
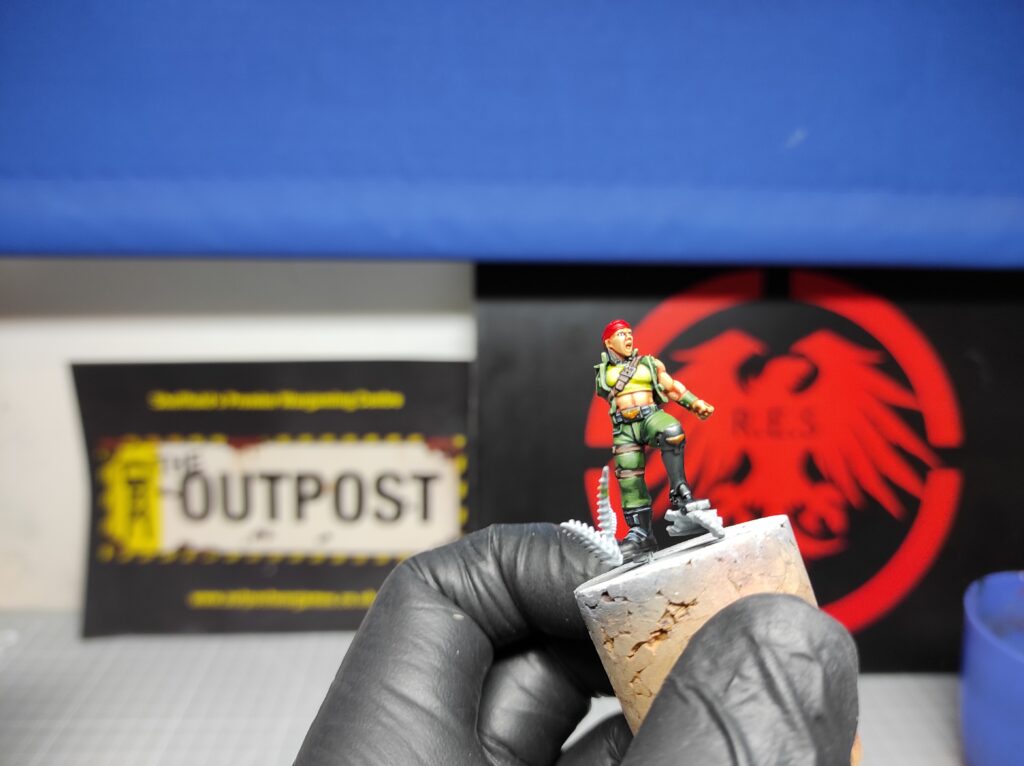
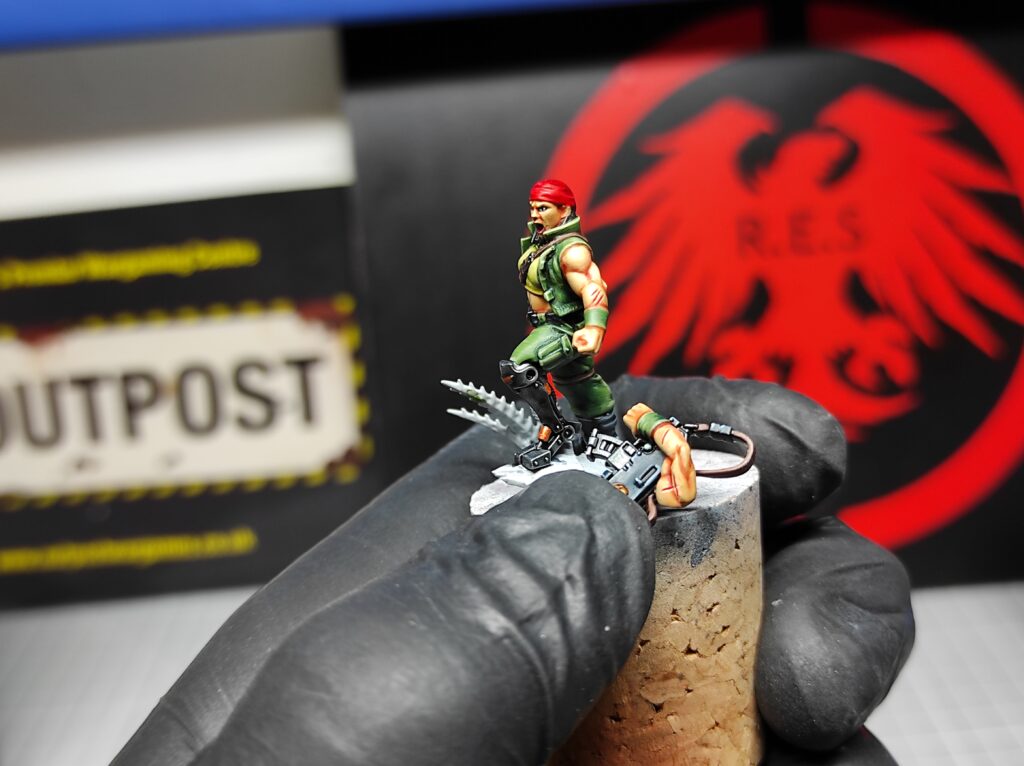
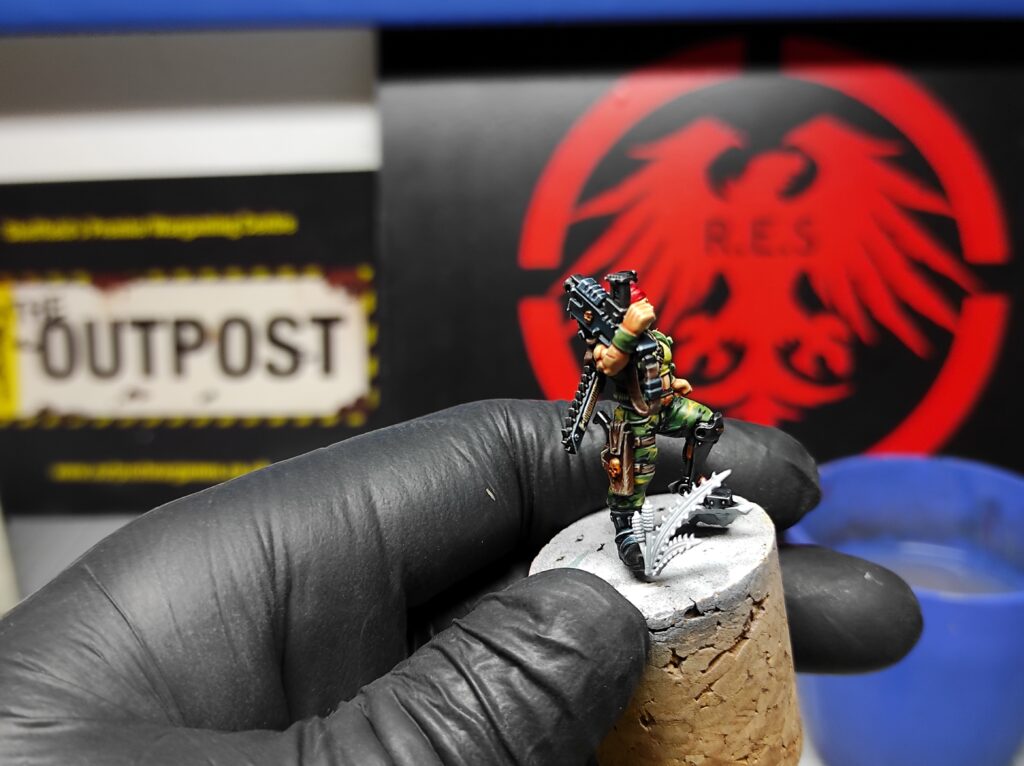
How to Paint Warhammer: ‘Ripper’ Jackson
- No Comments
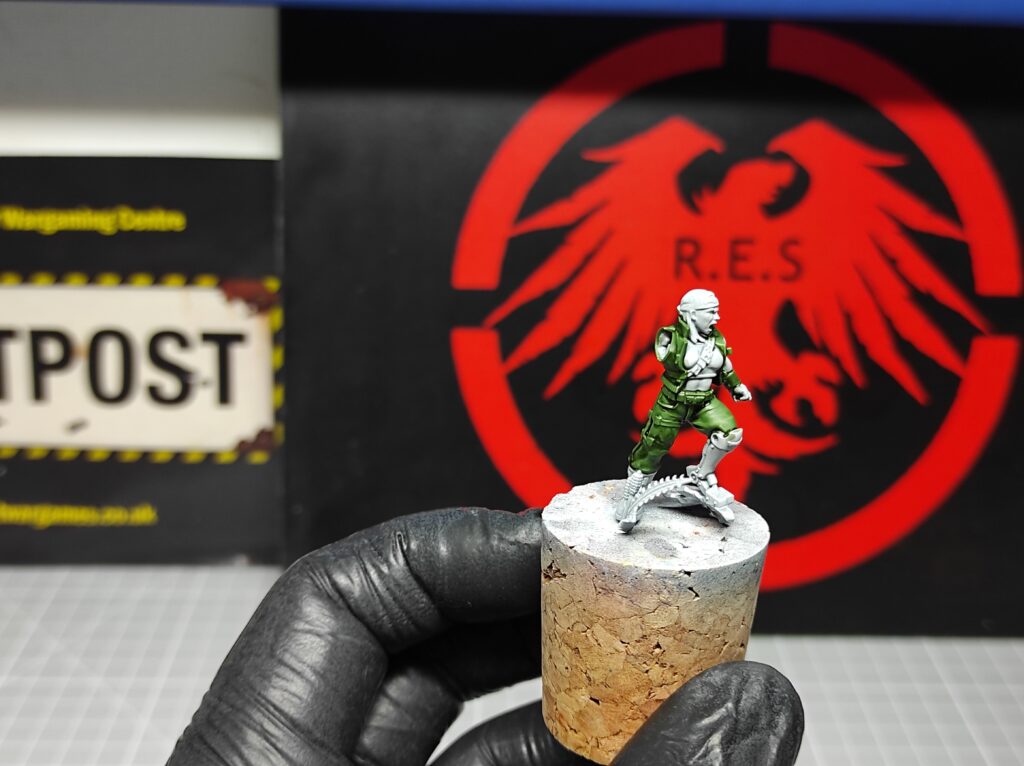
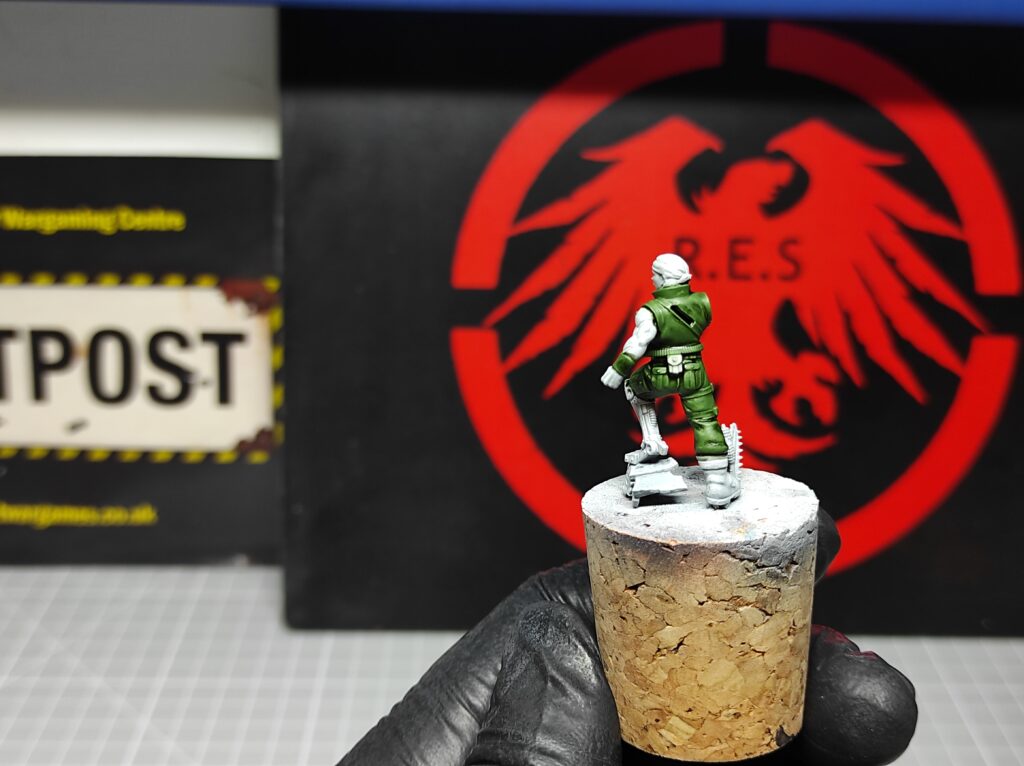
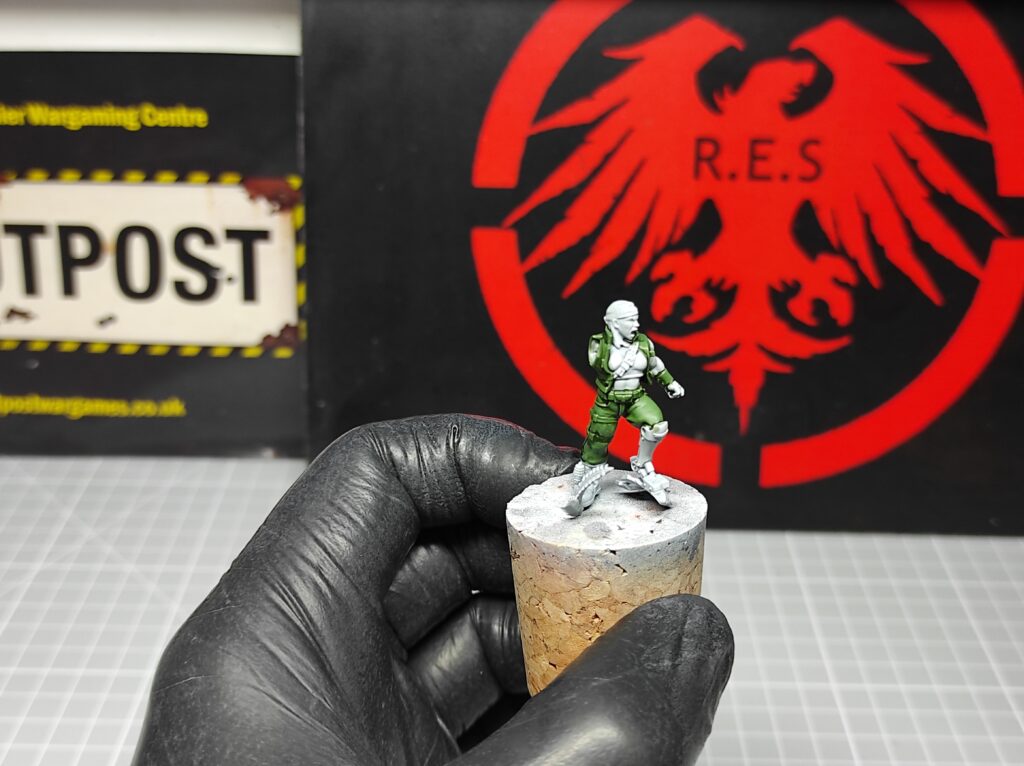
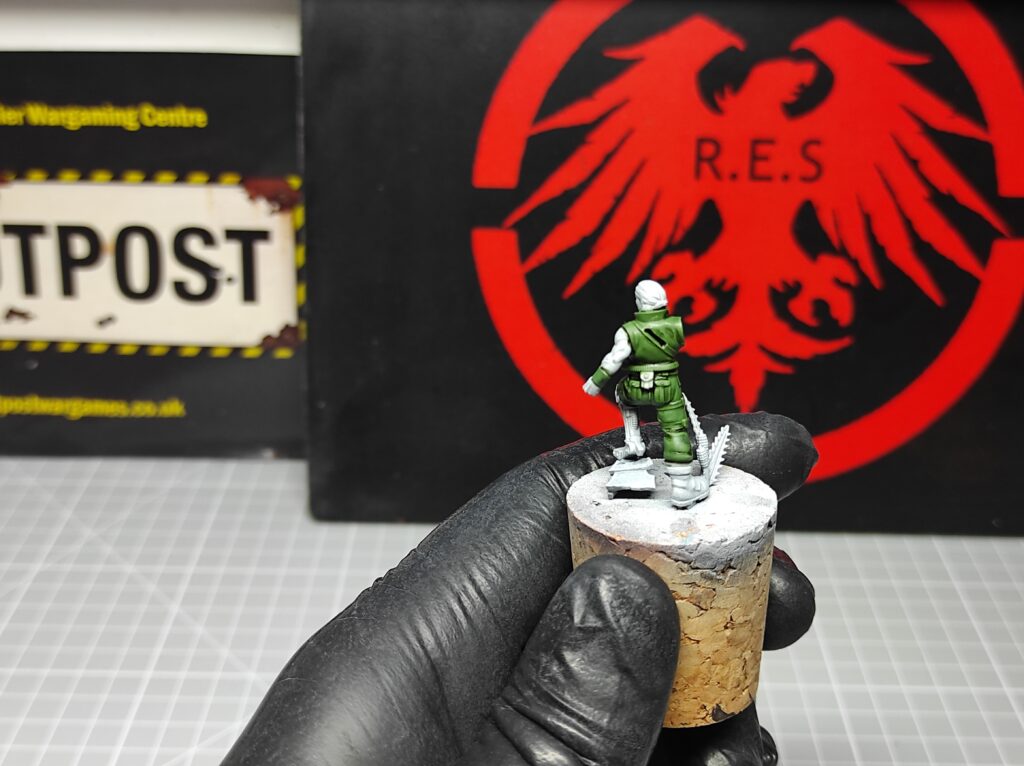
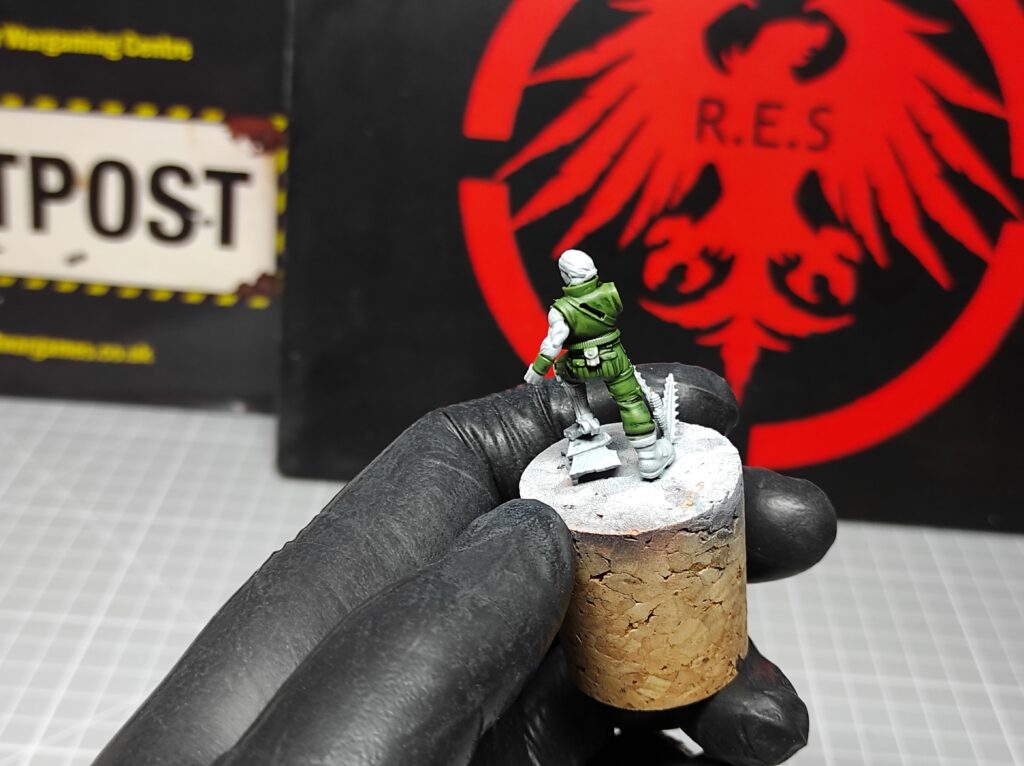
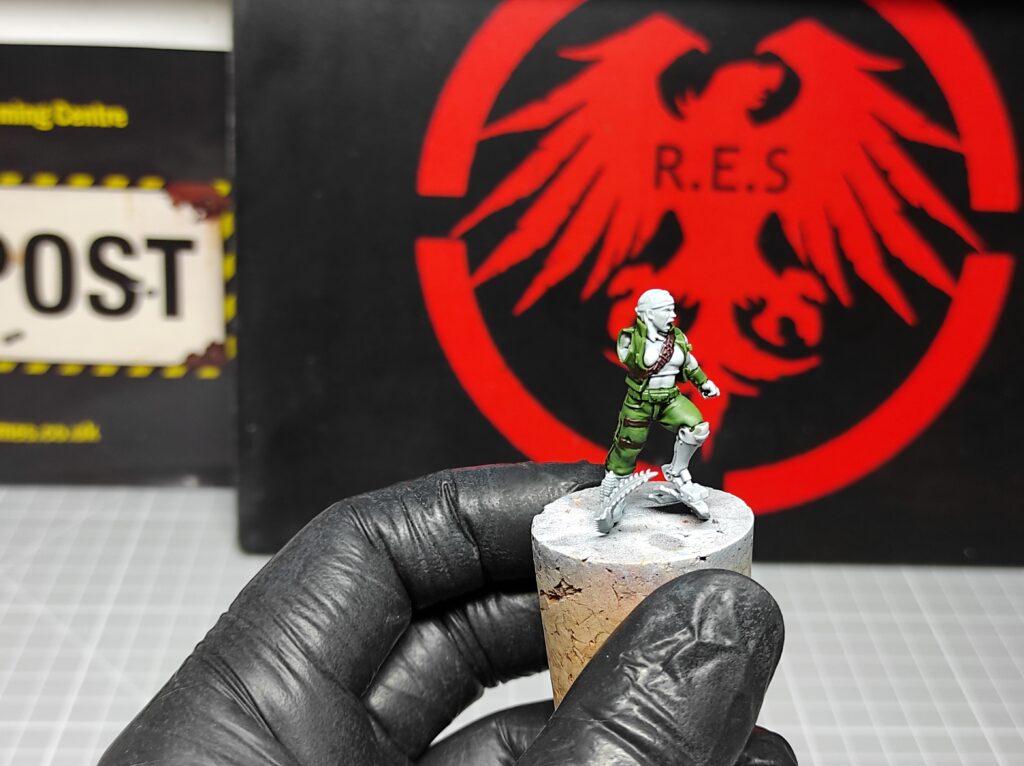
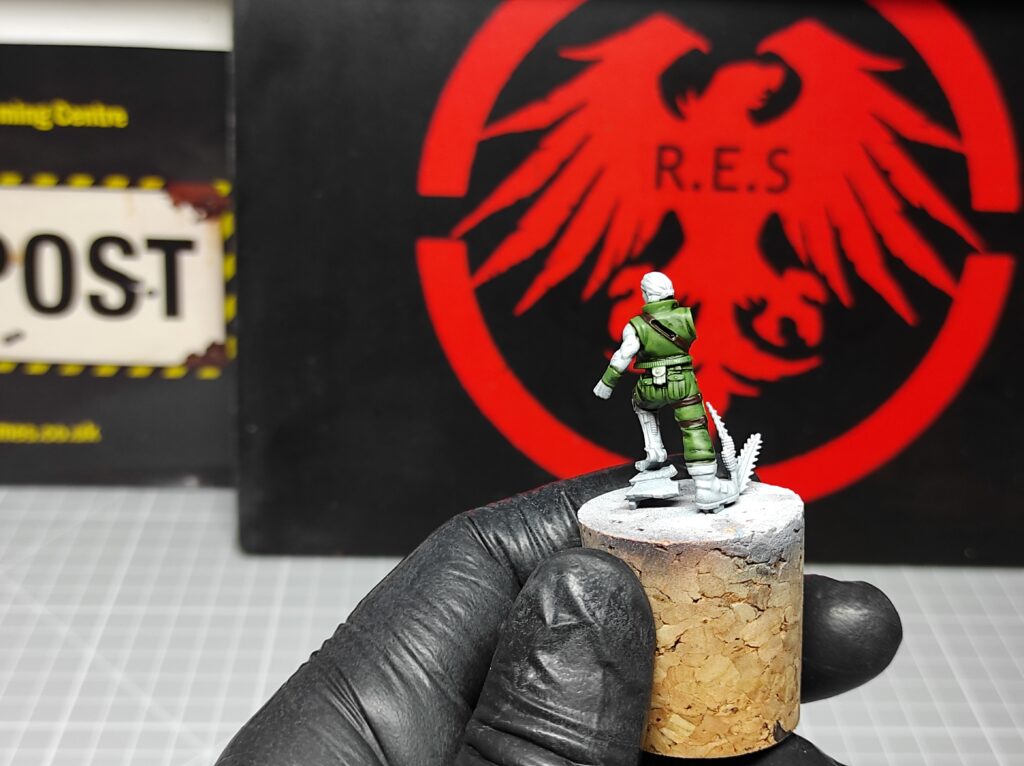
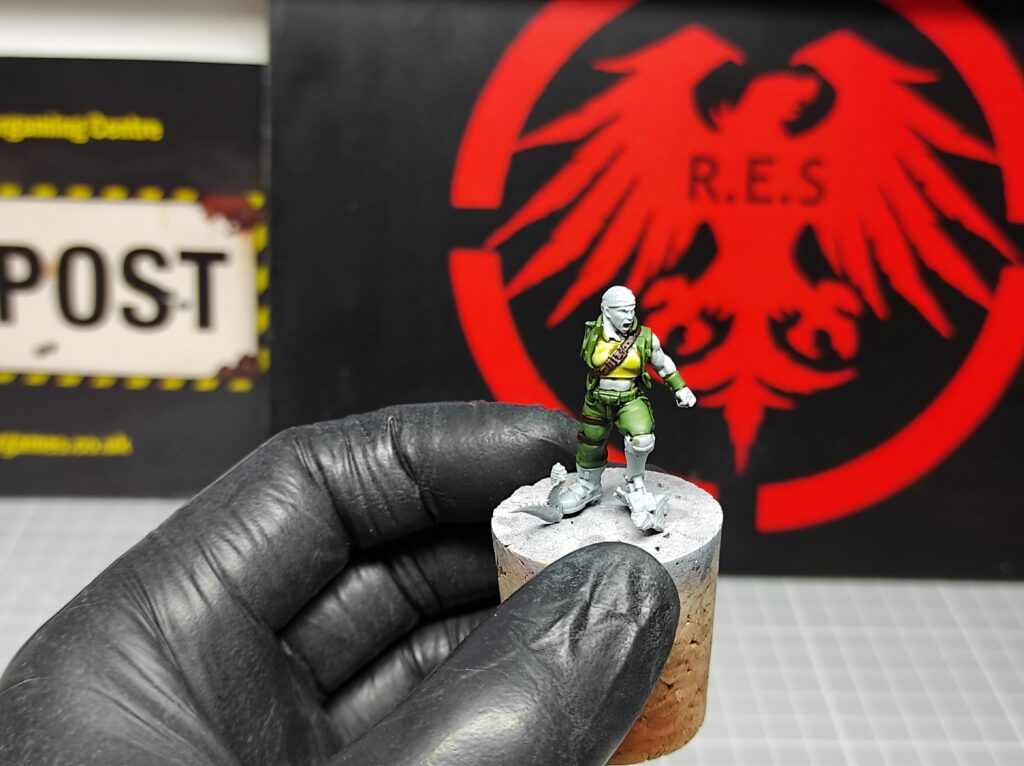
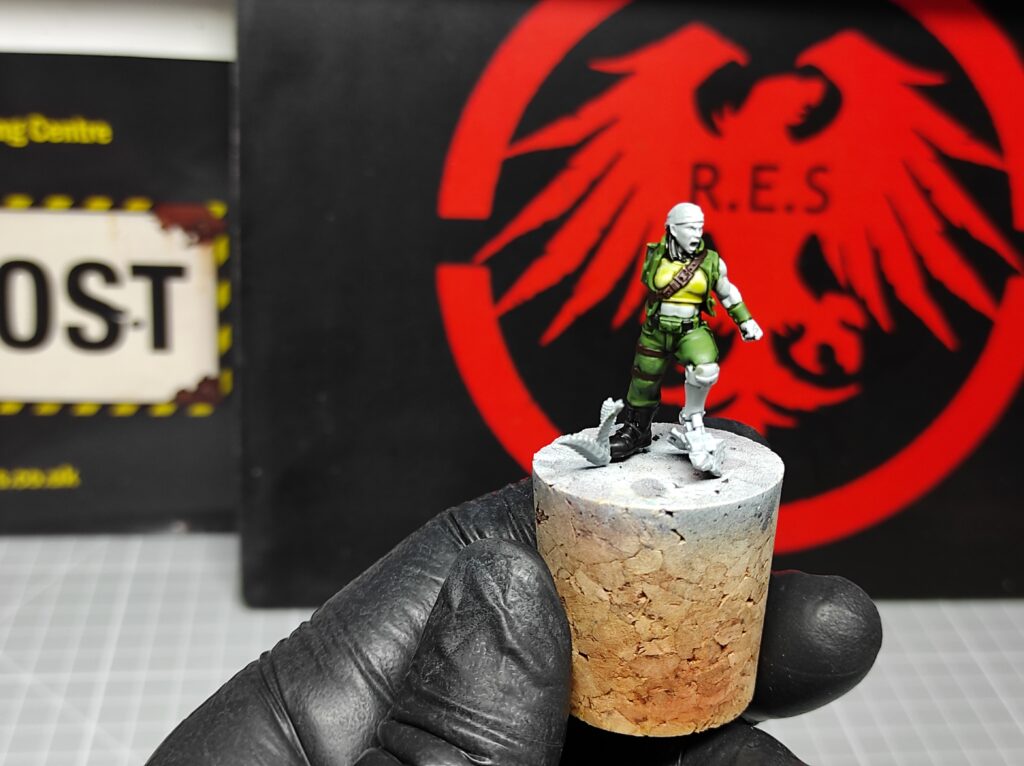
Welcome to this Warhammer Painting Guide by Red Eagle Studio. This is a step by step painting tutorial for painting your Warhammer 40,000, in this guide I will show you how to paint Sergeant ‘Ripper’ Jackson.
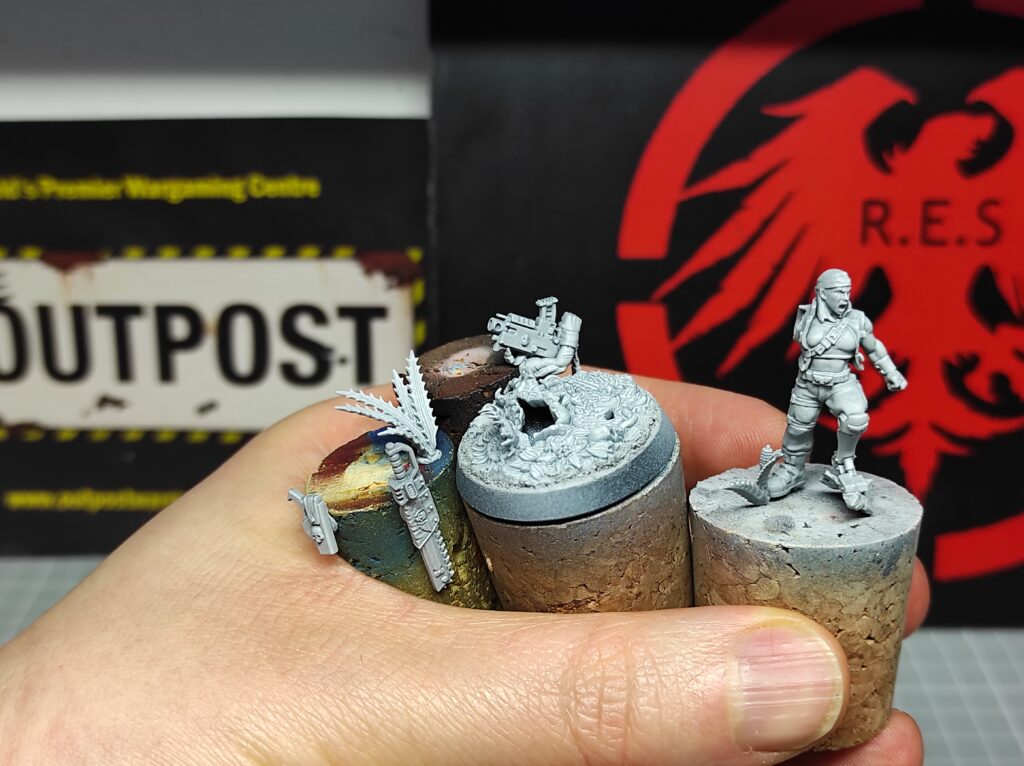
If you want to follow along and paint your own Sergeant ‘Ripper’ Jackson, click here and pick one up while stocks last.
Step 1:
Undercoat with Gey Seer (Citadel Paint). This paint has great coverage and gives me a great neutral grey to work from.
Step 2:
Basecoat the green camouflage sections with Loren Forest (Citadel Paint), 2 coats for solid coverage. This green gives a nice natural tone to the model, giving the camo a realistic look.
Step 3:
Apply a wash of Military Shader (Army Painter) over the green areas. Try not to let it pool into large drops, apply it evenly and ensure it settles in the recesses. This will help create some dark shadows and contrast nicely once it is highlighted later.
Step 4:
Using Loren Forest (Citadel Paint) I smooth out the top parts of the camouflage like the thighs, shoulders and back. This removes the unwanted “coffee stain” look that washes can create on flat areas.
Step 5:
Highlight the green camo with a 50:50 mix of Loren Forest (Citadel Paint) and Elysian Green (Citadel Paint). Avoid painting in the recesses and the underneath the model, gently painting towards the top parts of the model. Im trying to recreate where the sunlight would hit the model, brightening the areas it would hit.

Step 6:
Paint any leather straps with Rhinox Hide (Citadel Paint). This dark brown will stand out nicely alongside the green camo, whilst still looking natural and earthy.
Step 7:
Paint the tshirt with Plaguebearer Flesh contrast (Citadel Paint) paint, this will basecoat and shade the model all at once. Avoid pooling the paint on the top most parts, brush downwards to create shadows on the lower parts of the tshirt.
Step 8:
Paint the belt, boots and gun casing black. Try to be accurate here to avoid hitting the camo areas. Add a little water to some Caliban Green (Citadel Paint) and paint the areas of the green camo clothing that would be in shade. Like the curved area under the left leg, left wrist band, lower part of the back where the chainsword will create shade. Leave the Military shade we applied earlier in the extreme recesses though, we want to keep that as the darkest recess colour. This will create a smooth and gradual darkening to the shaded areas, making the clothing creases stand out more.
Step 9:
Using Deathguard Green (Citadel Paint) start to highlight the edges of creases and wrinkles in the clothing. Less is more here. We’re trying to help make the edges of clothing stand out, gently brush on the paint with multiple small strokes. This is called feathering as the effect looks a little similar to actual feathers.
Step 10:
Highlight the previous Deathguard Green highlights with and even thinner edge highlight of Nurgling Green (Citadel Paint). Always leave some of the previous colours showing when highlighting this will create a smoother finish and a more gradual gradient in the colours. Avoid the paint drying, otherwise it will create a patchy drybrush affect.

Step 11:
Dilute Coelia Greenshade (Citadel Paint) with water, wiping most of the paint off your brush, and gently paint the lower parts of the back and thighs, focusing on the areas that would be in the shadows. This will strengthen the green in the darker parts of the model, really making the camo stand out.
Step 12:
Dilute Ogryn Camo (Citadel Paint) and lightly paint the top parts of the tshirt, avoiding any recesses. This will really make the camo pop and stand out, try and be neat with this stage.
Step 13:
Mix Flayed One Flesh (Citadel Paint) and Ogryn Camo 50:50, add a little water and gently highlight the tshirt using a dabbing method and not the using wiping of the brush method. This will give a smooth and realistic fabric look to the tshirt. Effectively highlighting the previous Ogryn Camo stage.

Step 14:
Using the same technique, use a small amount of Flayed One Flesh and highlight the previous colour with the dabbing technique again but only on the highest areas on the tshirt.
Step 15:
Apply 2 thin coats of Kislev Flesh (Citadel Paint) to all the flesh areas. Its important that this is applied evenly to ensure a smooth base for the skin tone.
Step 16:
While that’s drying, Paint the leather areas with a 50:50 mix of Rhinox Hide (Citadel Paint) and Mournefang Brown (Citadel Paint). This will start to make the leather look a little more 3d.
Step 17:
Paint Wyldwood contrast paint (Citadel Paint) on the edges of the painted leather sections, effectively pin washinging inbetween the brown and green areas with a strong, thin line of paint. Ensure the lines are as thin as possible, avoid overloading the brush as this creates thicker lines.
Step 18:
Highlight the leather sections with Baneblade Brown (Citadel Paint). Concentrating on the raised edges and thereby defining the pouches and straps more.
Step 19:
Mix Volupus Pink (Citadel Paint), Guilliman Flesh (Citadel Paint) and Contrast medium (Citadel Paint) 1:1:6 parts, wash this over the skin areas avoiding pooling. This will shade the flesh and add a little warm pink to the skin tone. Focus on the cheeks, around the nose, in-between the eyebrows, ensuring it settles there the strongest.
Step 20:
Paint the lower halves of the black sections like the belt, boots and gun casing with Incubi Darkness (Citadel Paint). This will create some depth to the black and help avoid a flat black look.
Step 21:
Edge highlight the black areas with Thunderhawk Blue (Citadel Paint). Keep the highlight a consistent thickness, this will help define the sharp edges.
Step 22:
Highlight the Thunderhawk (Citadel Paint) edges with Fenrisian Grey (Citadel Paint). Adding a little more water than normal to this paint, will help to create an even smaller highlight.
Step 23:
Paint the recesses on the black areas with Black Templar (Citadel Paint) contrast paint.
Step 24:
Using Ulthuan Grey (Citadel Paint), paint a dot on all the top corners of the gun casing and boots.
Step 25:
Dilute Volupus Pink (Citadel Paint) with water, glaze this onto the sides of large areas of flesh like shoulders, biceps and the face. The less paint you use here the better, too much, and you will stain the skin harshly.
Step 26:
Paint any metal areas with Magnesium (Vallejo), no need to dilute.
Step 27:
Highlight the flesh areas with Kislev Flesh (Citadel Paint), apply thinly using the dabbing technique we used before to the upper parts.
Step 28:
Mix Kislev Flesh (Citadel Paint) and Screaming Skull (Citadel Paint) 50:50 and dab on a lighter highlight. The skin should now look like it gradually blends from the pinky recesses to this lighter skin tone, smoothly.
Step 29:
Using Reikland Flesh (Citadel Paint), gently brush into the deep recesses to create more contrast with the flesh.

Step 30:
Mix Black Templar (Citadel Paint) and Dark tone (The Army Painter) 50:50 and paint over the metal areas. This has a great consistency and also creates high contrast when it dries.
Step 31:
Paint the bandana with Blood Angels Red (Citadel Paint) contrast paint. This will give a nice bold, two tone red to the area.
Step 32:
Paint the chainsword grip with Flesh Tearers Red (Citadel Paint) contrast paint.

Step 33:
Paint the eyes black, ensuring they are oval in shape and not round. Oval looks normal, round looks like you’re in shock.
Step 34:
Paint a white oval inside the black oval eyes. Its important the white is surrounded by a thin line of black, helping the eyes stand out next to the flesh tones.
Step 35:
Paint the pupils black, much like cat eyes. Avoid doing a dot, as this will look like she’s in severe shock or scared. Ensure both eyes look identical.
Step 36:
Paint any eagles or skulls with Sycorax Bronze (Citadel Paint).
Step 37:
Paint the scroll on the chainsword with 2 coats of ushabti bone (Citadel Paint).
Step 38:
Mix white and ushabti bone (Citadel Paint) 1:2 and paint the edge of the scroll.
Step 39:
Glaze the centre of the scroll with a small amount of reikland fleshshade (Citadel Paint).
Step 40:
Paint the lower lip only with a mix of Kislev Flesh (Citadel Paint) and Khorne Red (Citadel Paint) 2:1, also highlight the grip on the chainsword. Painting just the lower lip creates a more realistic face, avoid doing the top lip too, it will resemble a clown. I glued on the chainsword, holster and arm at this stage.
Step 41:
Dilute Dryad bark (Citadel Paint), and paint script onto the scrolls on the chainsword. Use a brush with the finest tip, gently drag across the scroll with the occasional bump upwards to resemble writing from a distance. Ensure each line of script is spaced equally.
Step 42:
Using Fenrisian Grey (Citadel Paint), add some scratches and super fine dots to the black gun casing, this will help make it look well used and scuffed.
Step 43:
Mix Kislev Flesh (Citadel Paint) and white 50:50 and paint raised areas like knuckles, top parts of muscles, focus on the eyebrows, nose and tops of the cheeks. Also edge highlight any areas you feel you want brighter on the clothing and leather sections while you’re at it.
Step 44:
Edge highlight the metal areas with Aluminium (Vallejo), creating some scratches and dots on larger areas like the ammo mag and the bionic leg.
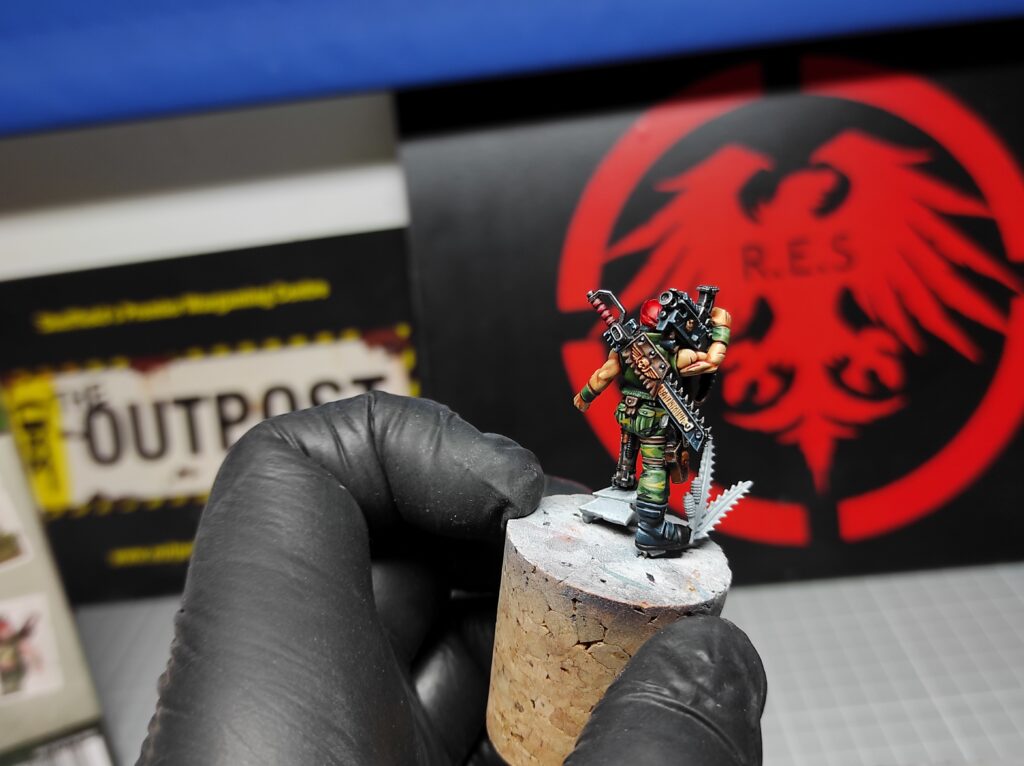
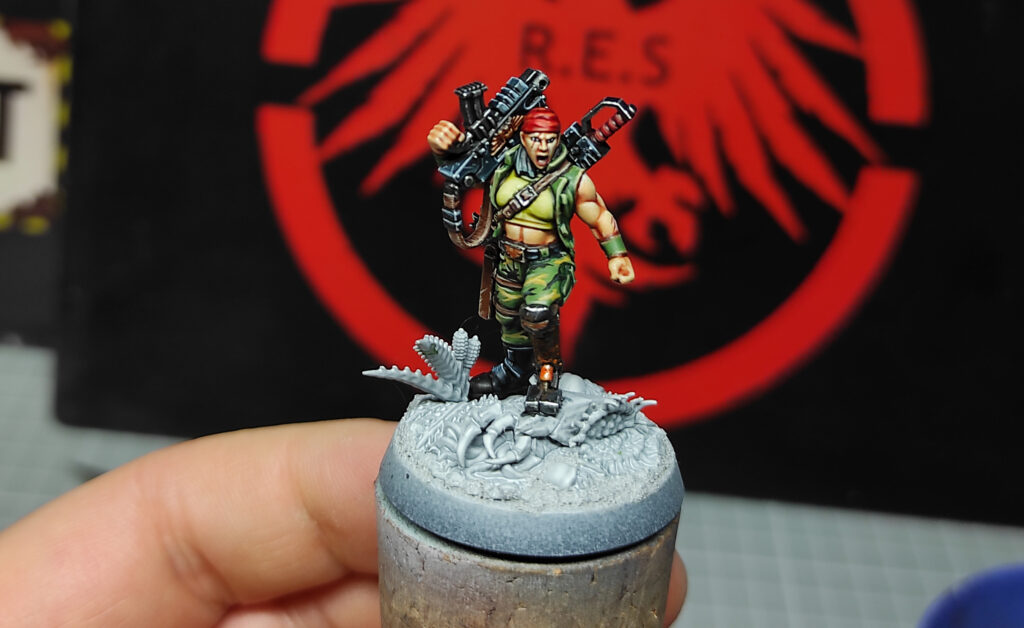
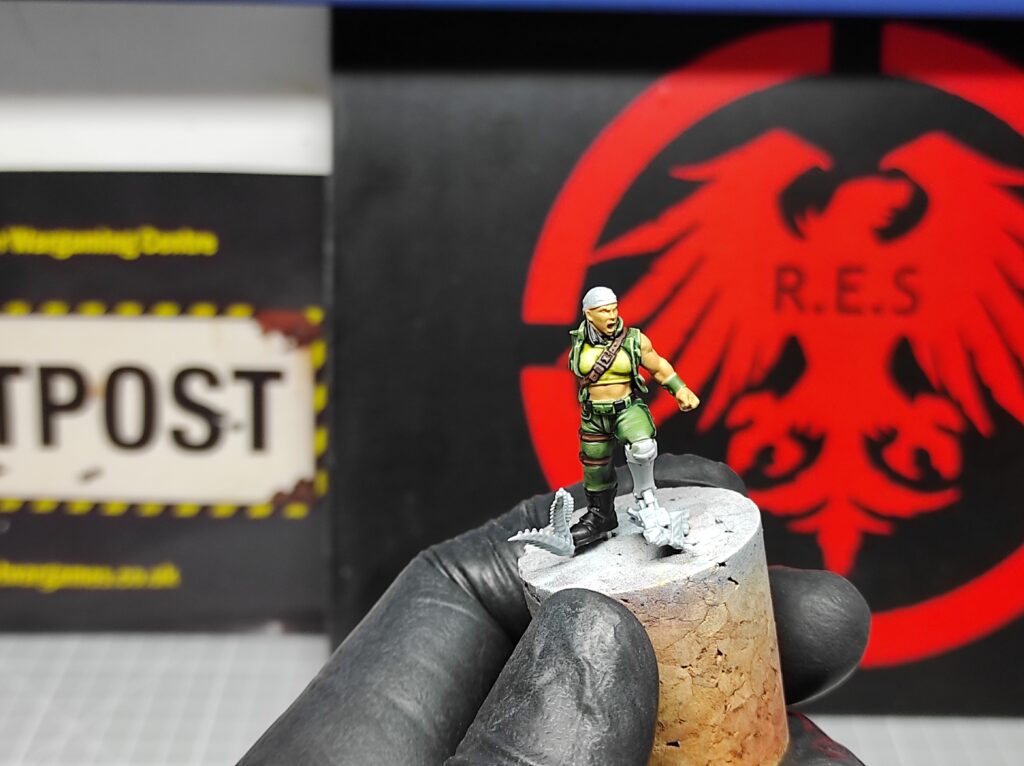
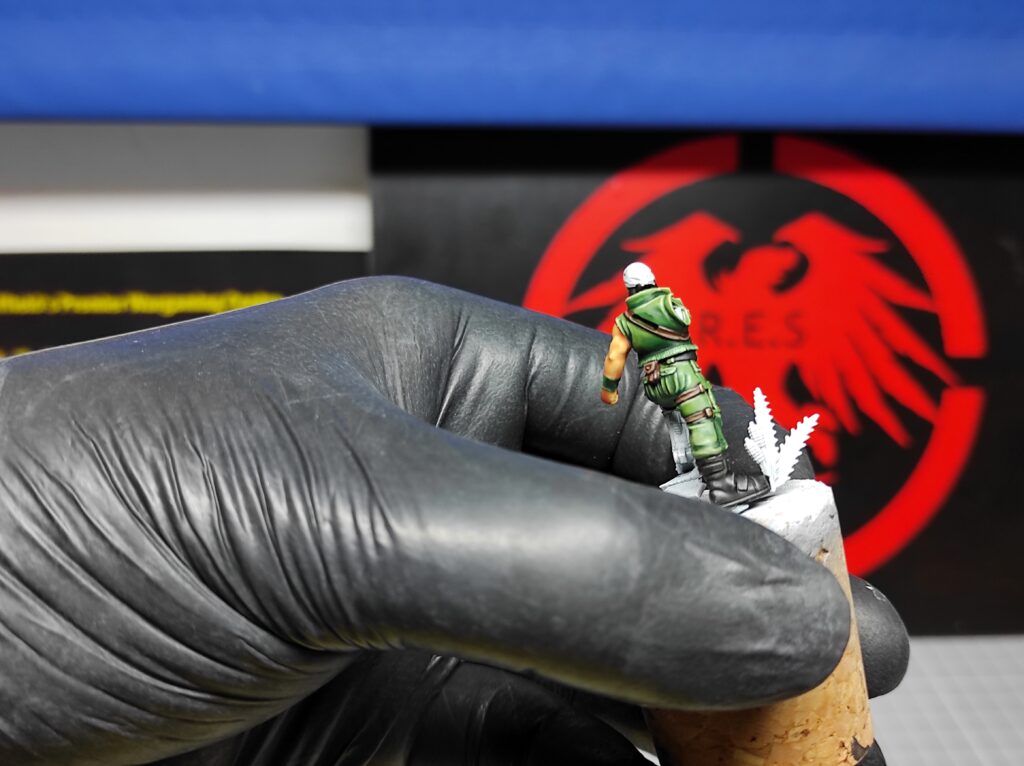
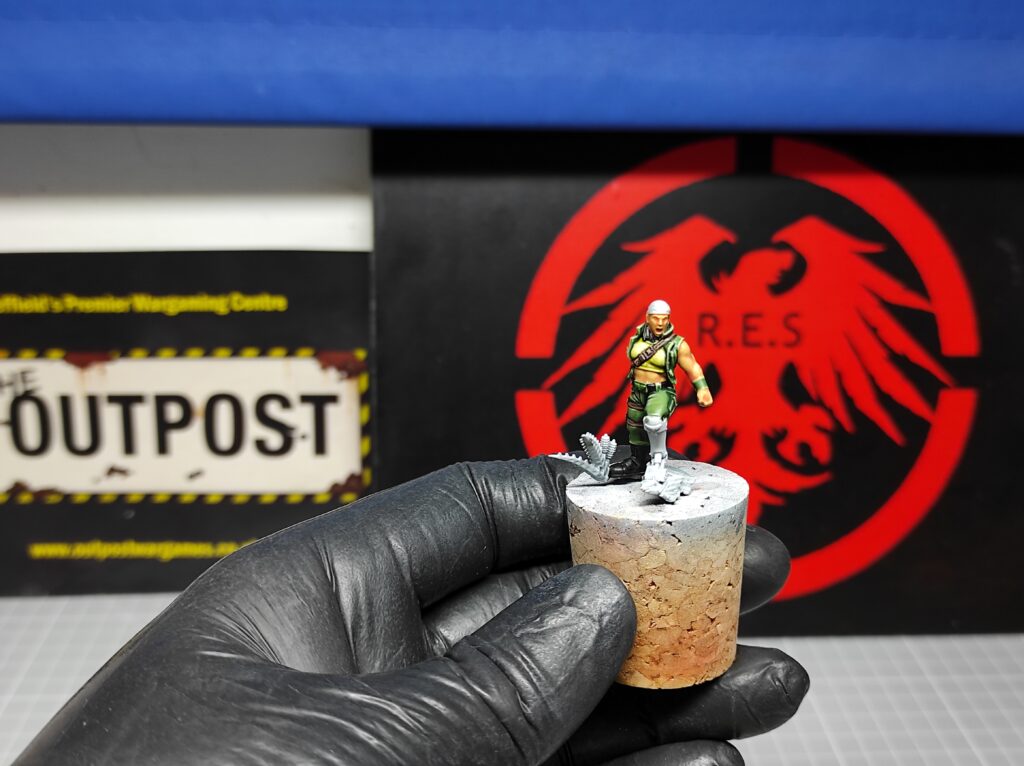
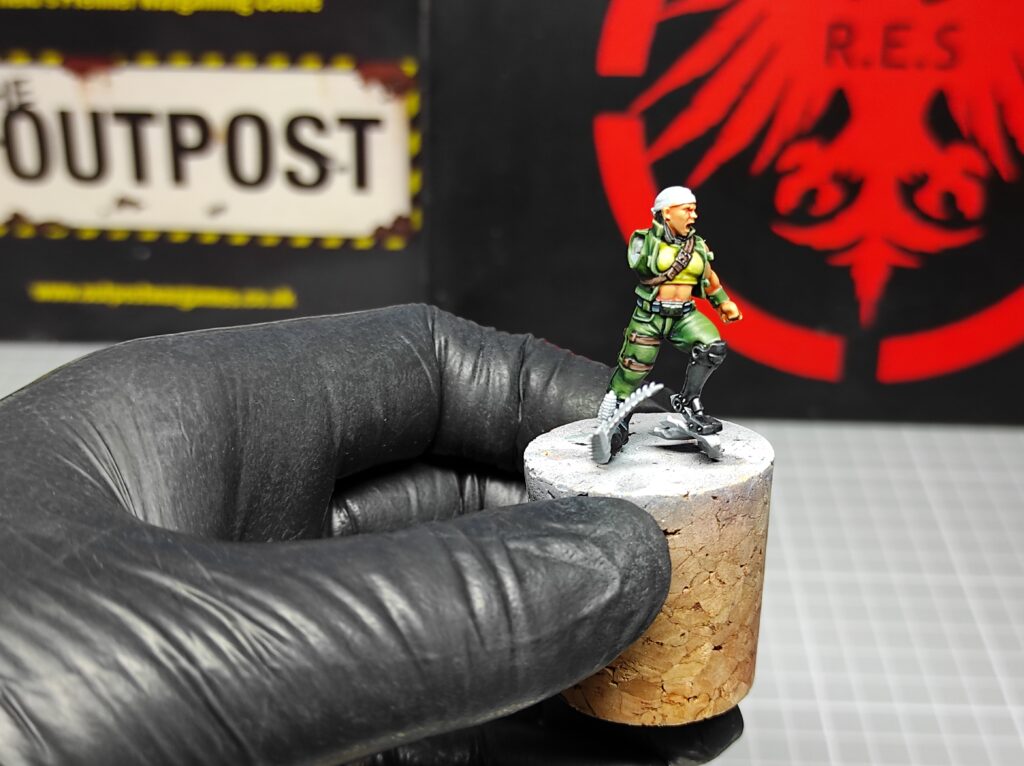
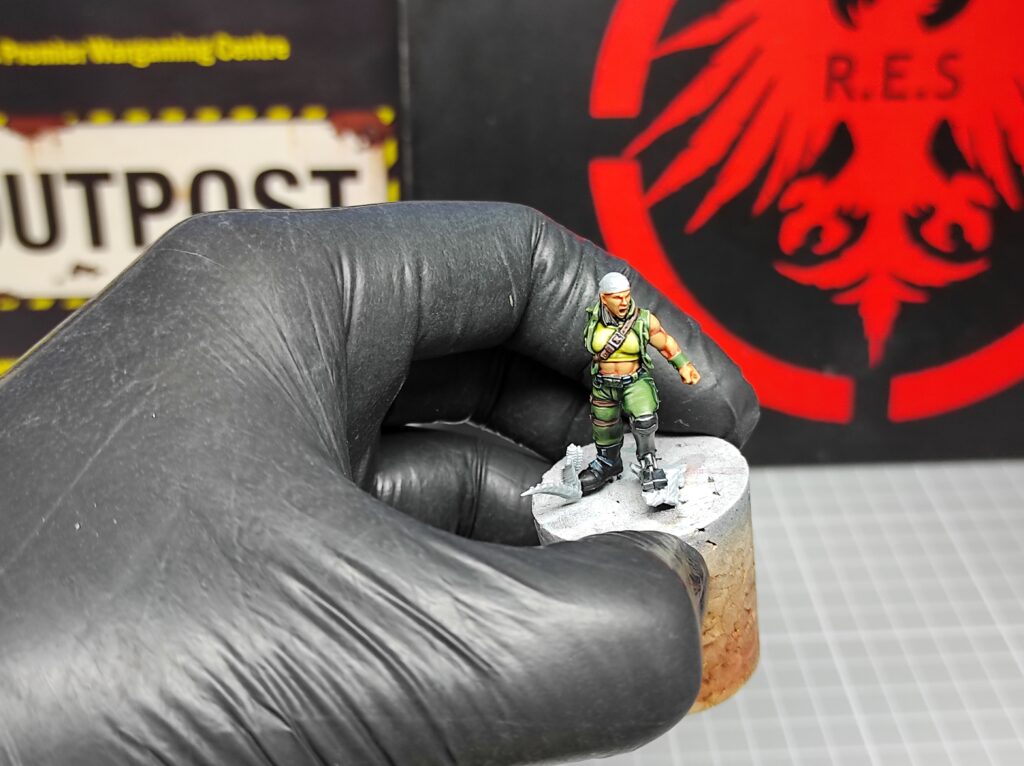
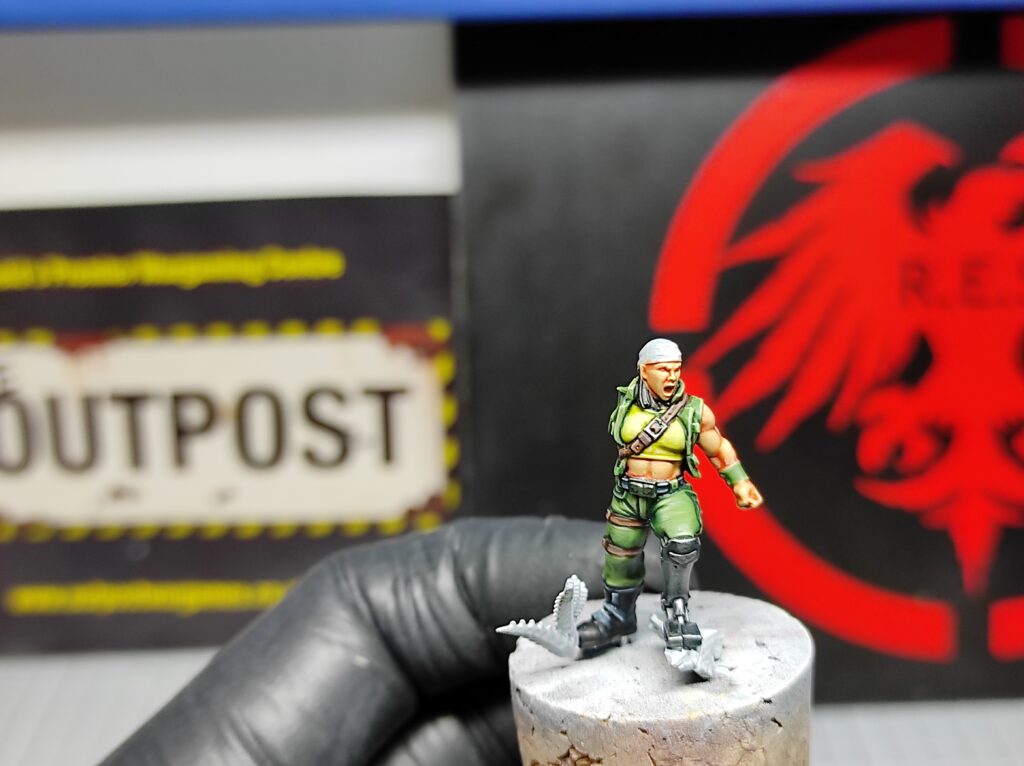
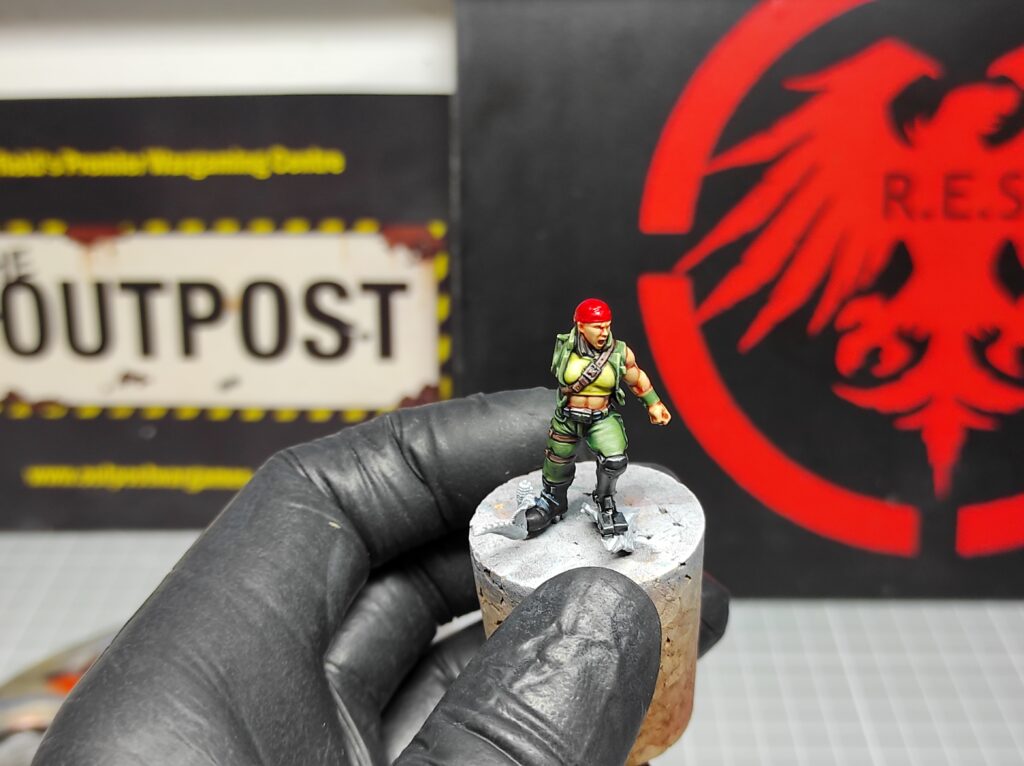
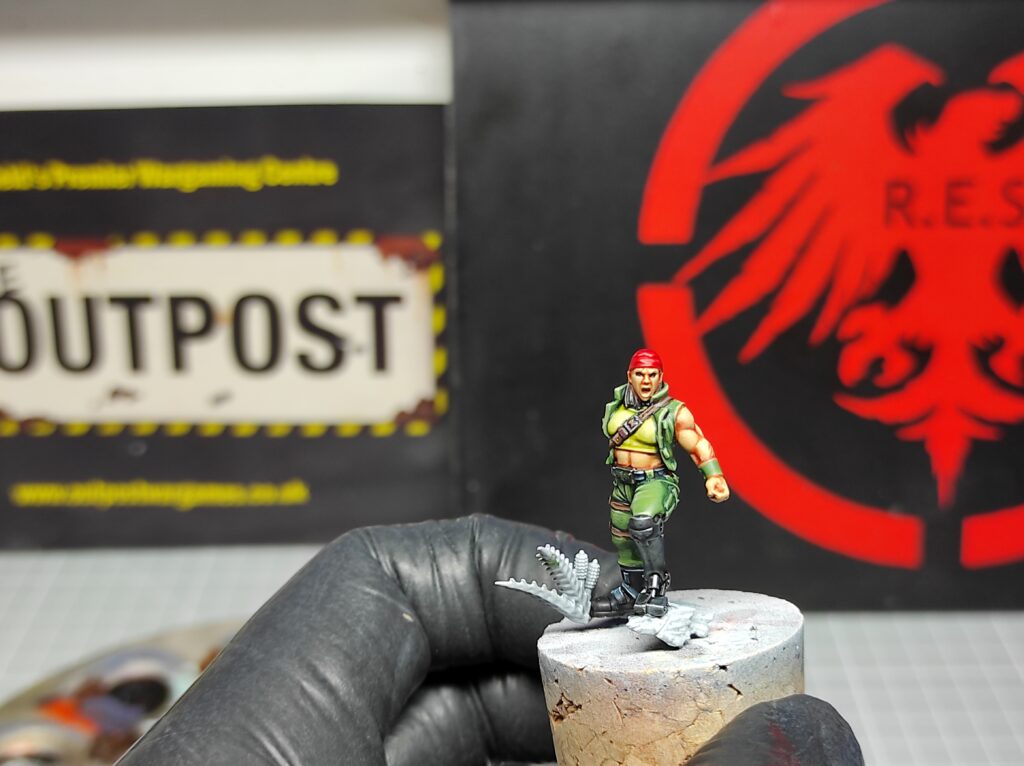
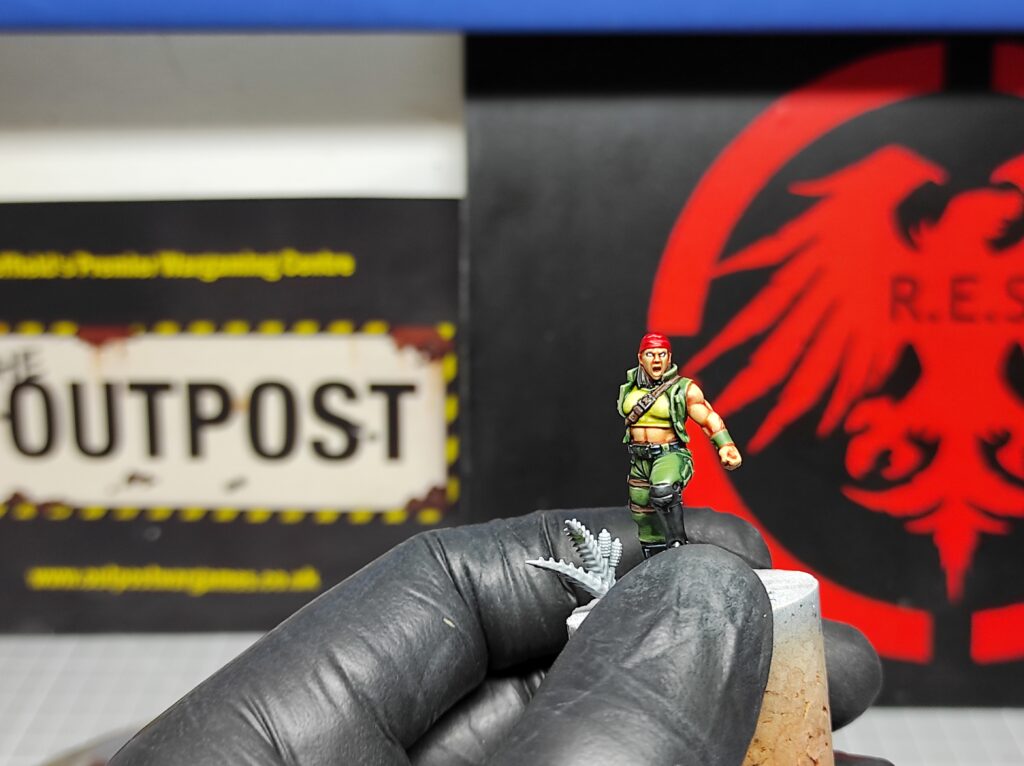
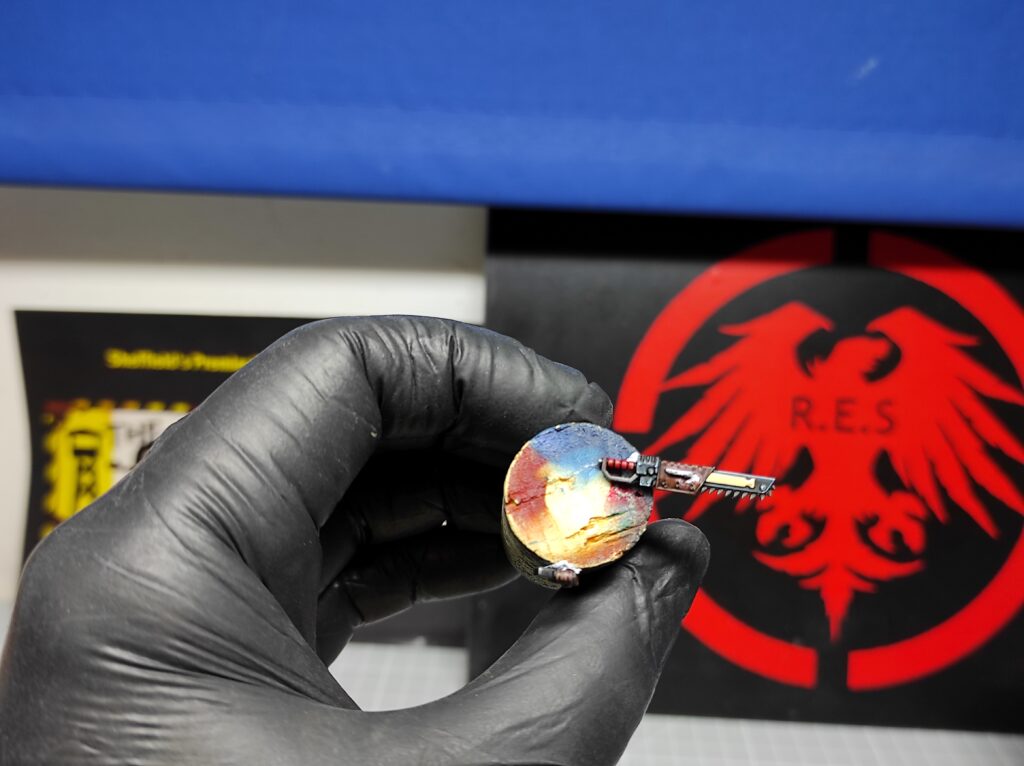
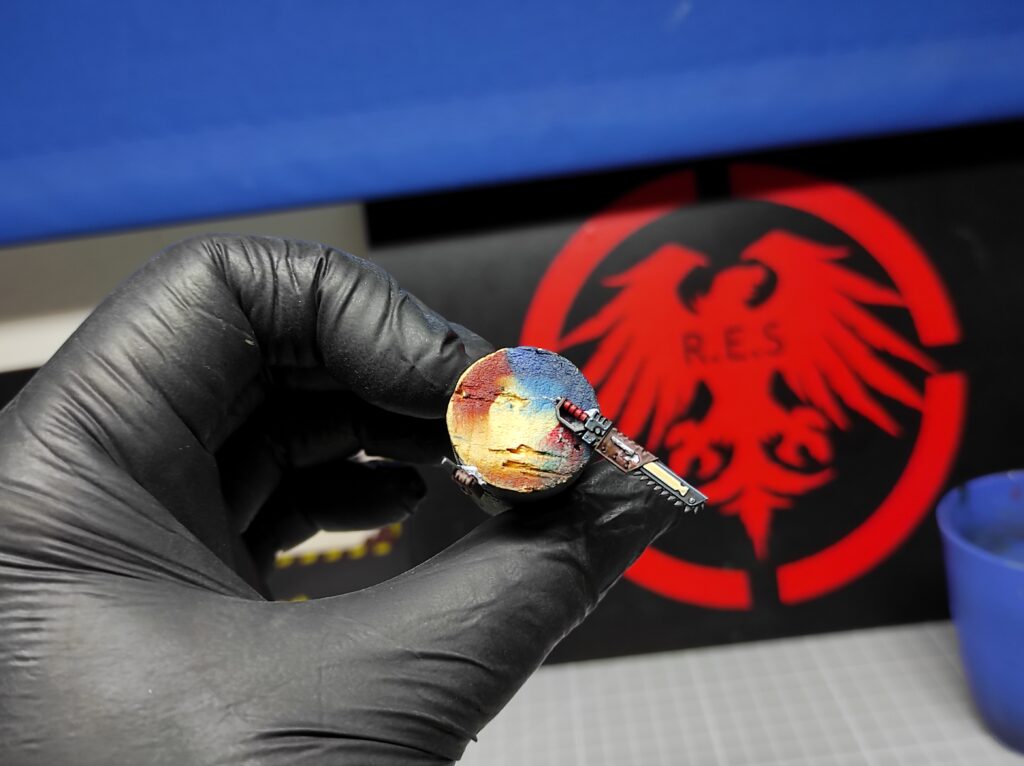
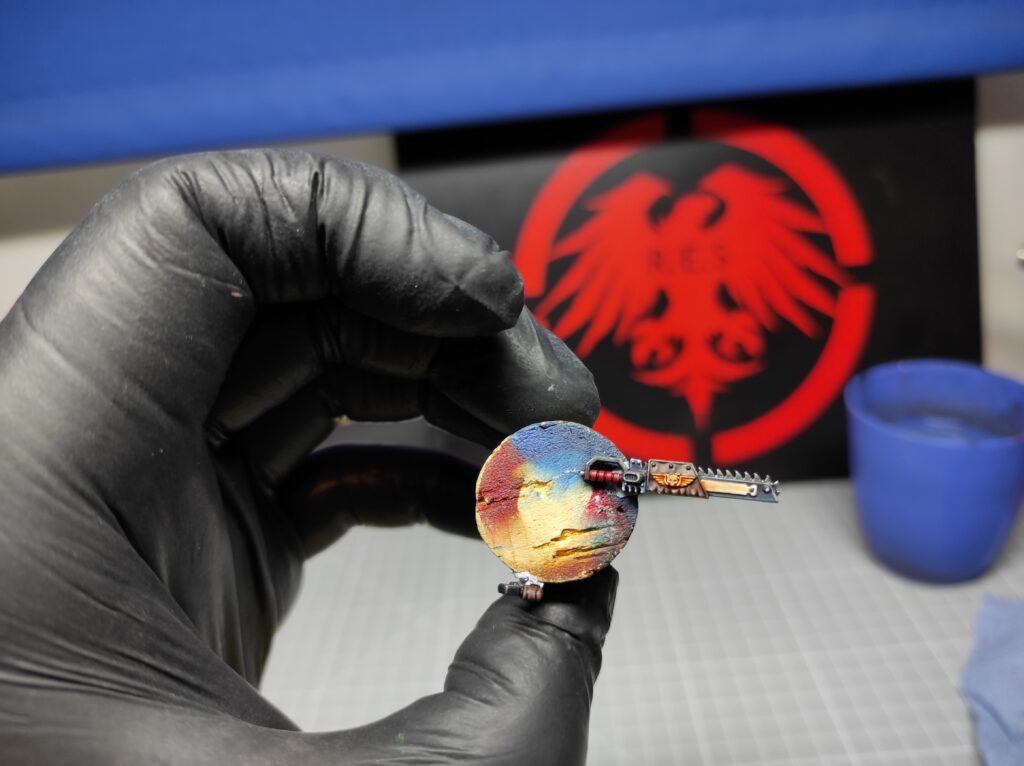
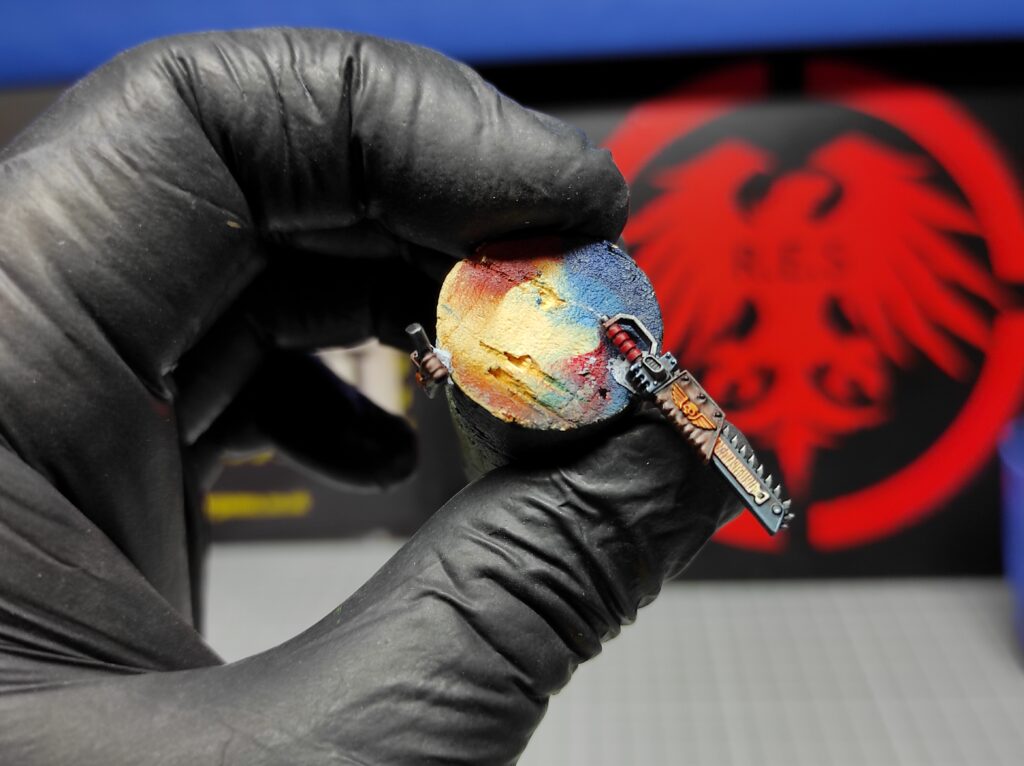
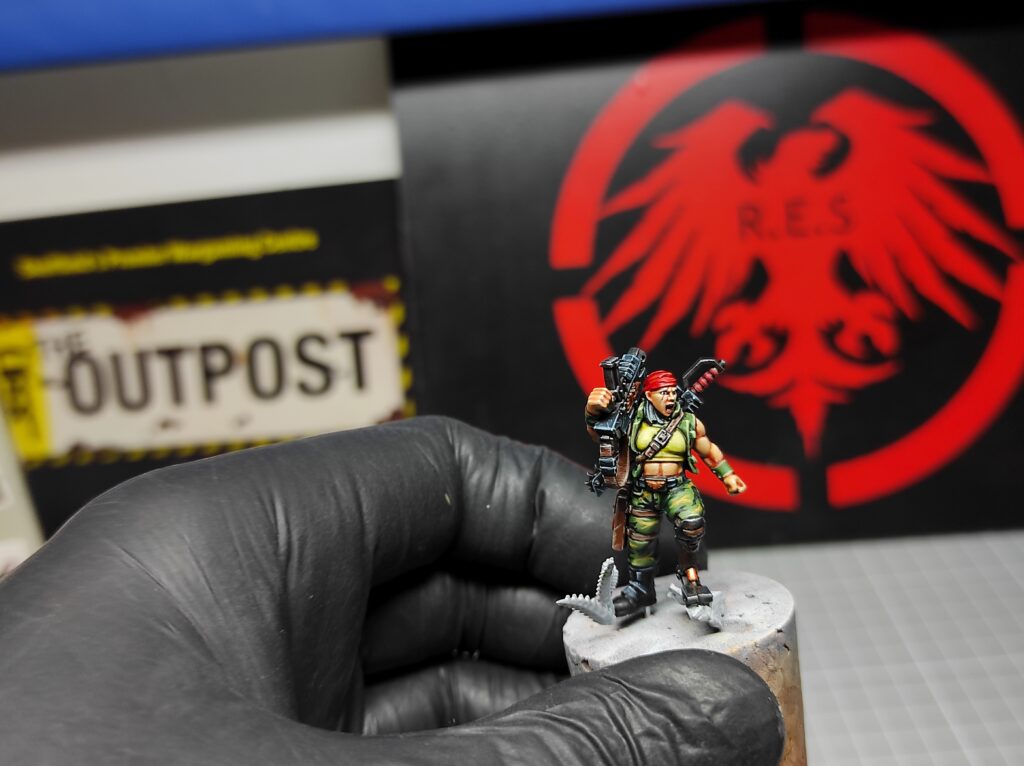
All you have left to do is a suitably cool base and Ripper Jackson is finished.

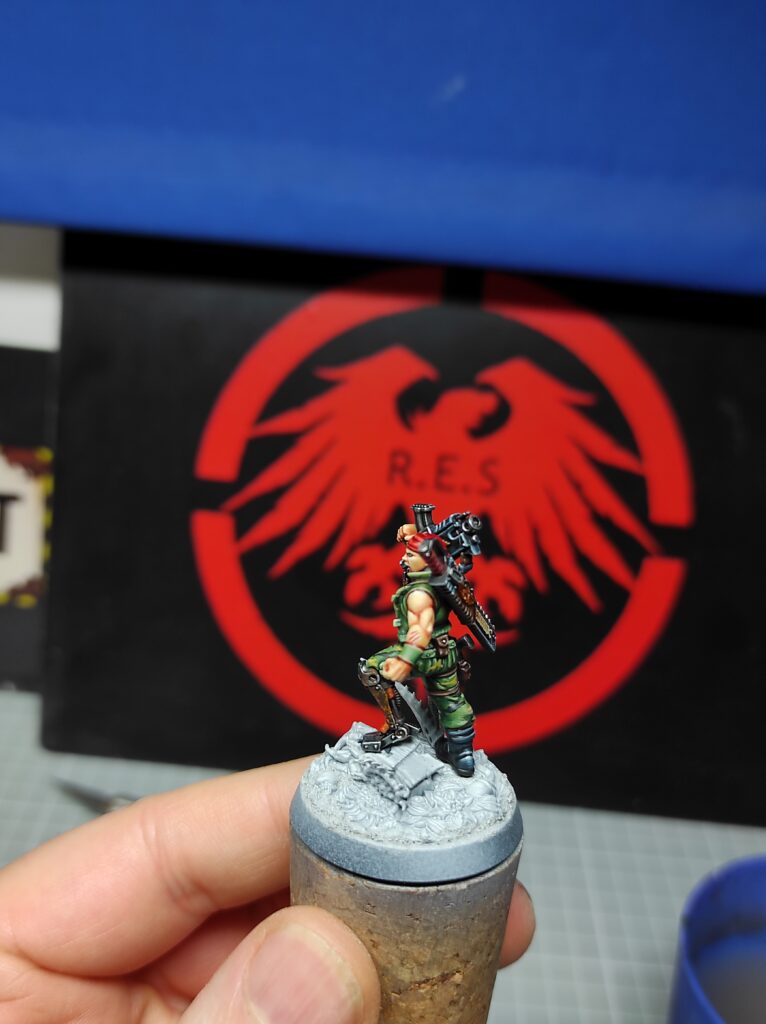
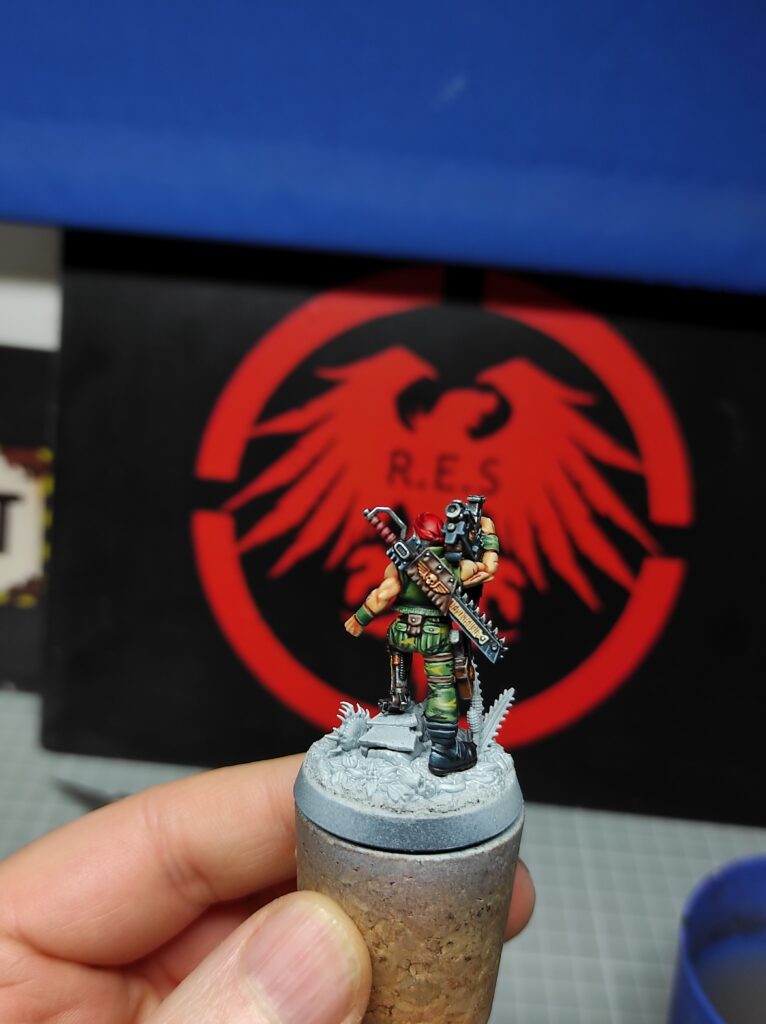

And that’s your How to Paint Warhammer: Sergeant ‘Ripper’ Jackson guide.