
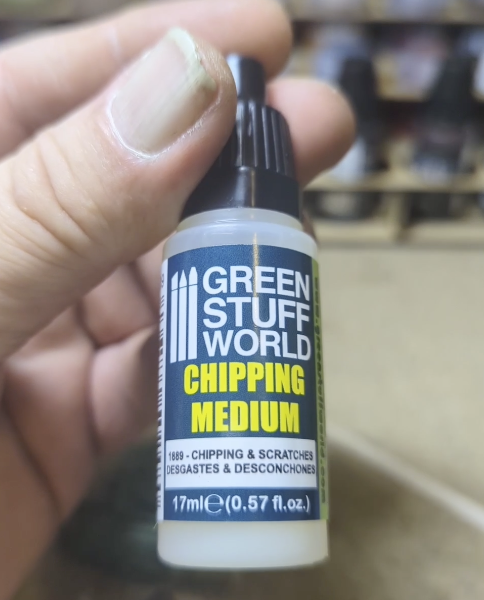
How to use Chipping Medium
- No Comments
Have you ever wondered how to use Chipping Medium?
Well look no further! Here’s a quick tutorial on how to get the most out of your chipping medium.
1. Base Layer
Start with painting your base in whichever colour you want to show through at the end. We recommend using a contrasting colour to make it stand out through the chipping work.
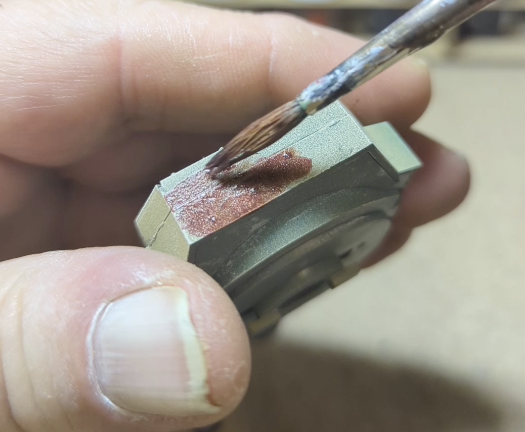
2. Create Steel Effect
Take some silver paint, we recommend Dark Star Molten Metals Silver. Place it randomly around your model, paying special attention to the edges. You want the base colour to still show through, as this will make the end effect look more realistic.
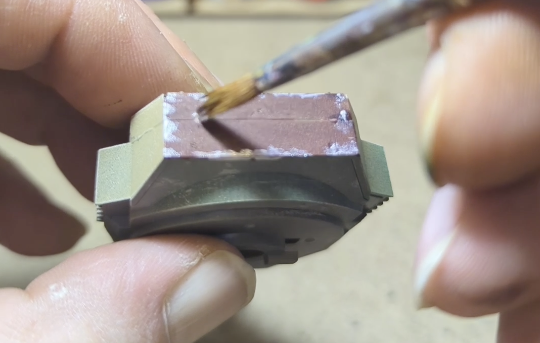
3. Add Chipping Medium
Add a layer of chipping medium on the areas that you want to chip and leave it to dry.
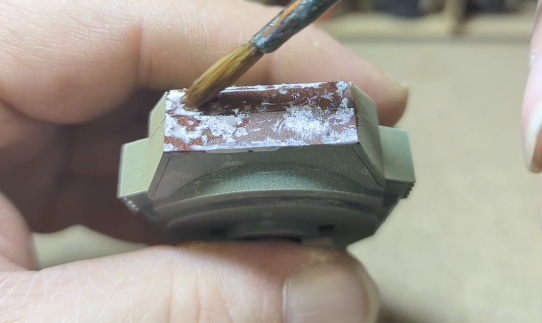
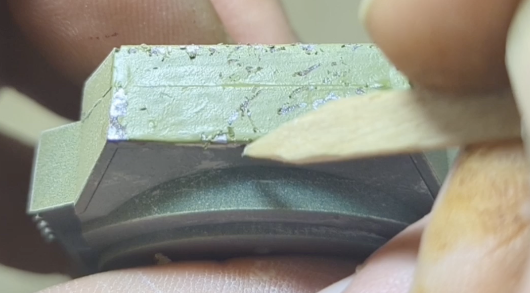
4. Take Away the Top Layer
Cover this area with a layer of paint.
Take a wooden cocktail stick and start to chip away at where you think there’ll be the most dinks and scratches along the model. With the chipping medium, you’ll find that the top layer of paint comes away easily. You can also put scratches into the paintwork with the cocktail stick to get a realistic chipped effect.
Keep working the medium, getting all the corners and edges of your model. Once you’ve finished chipping the paint, don’t forget to seal it in with a coat of matt varnish.
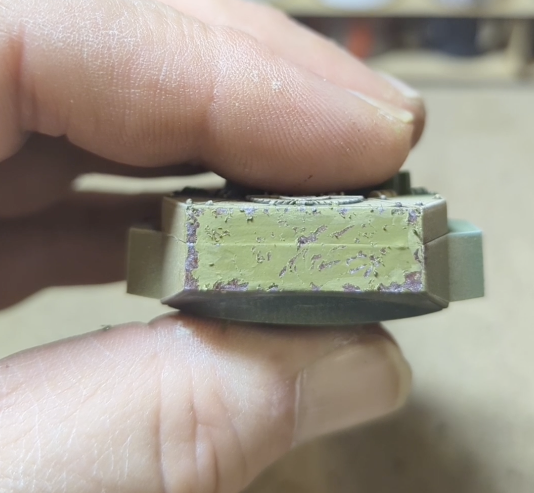
And you’re done! Your model now looks suitably chipped.