
Dealing with “foggy” or “frosting” varnish
- No Comments
In this post we explore the issue of “foggy” or “frosty” varnish, how it occurs, and can it be fixed?
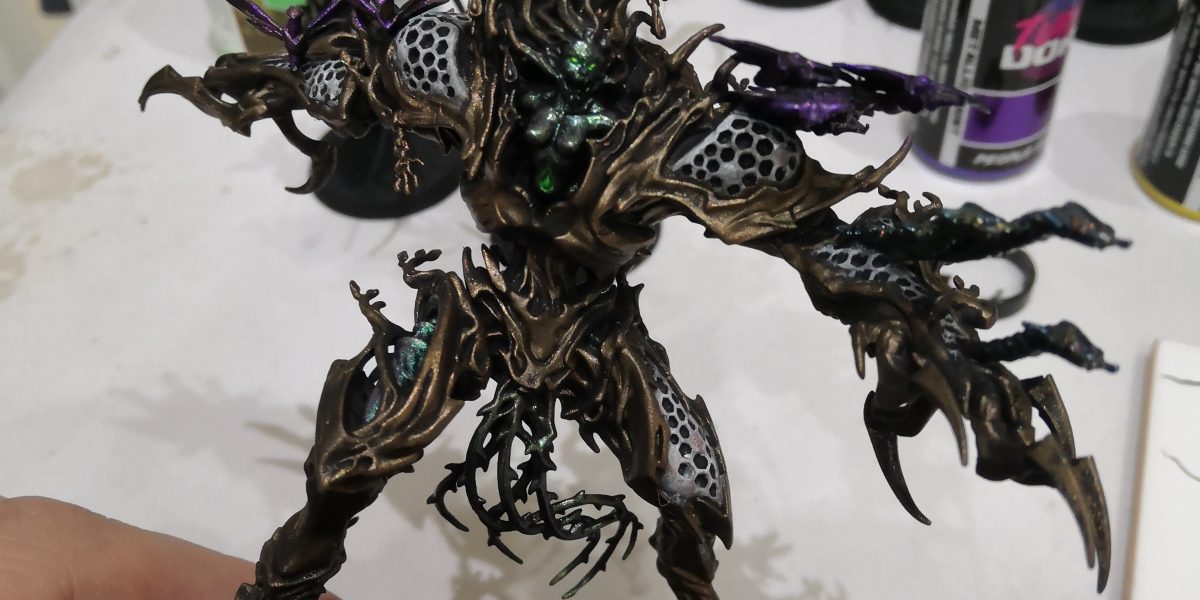
I’ll let you in on a secret; I pretty much never varnish my miniatures. This is perhaps a little foolish on my part, especially when I’m dealing with metal miniatures that can chip easily. I’ve never really had much luck with varnish, so often it goes cloudy, foggy or frosty. Lots of different terms for the same thing; it goes white when it should stay clear. Not the result you want on a miniature you’ve spent ages on.
How does it happen?
There are three main reasons for this happening with varnish. The two most common are excessive moisture in the area, which applies with both spray and brush on varnish. This could be due to high humidity, the previous layer of paint not being fully dry or in the case of brush on varnish, the brush itself not being dry.
- While humidity may be a little difficult to control, ensuring that the paint on the model is completely dry before varnishing is easy.
- The brush is the same, although I struggle to prevent my automatic impulse to thin whatever is on my brush with water, resisting that urge is key to effective varnishing.
- The next cause of varnish fogging, although this only really applies to spray varnish from a rattle can or airbrush, is spraying from too great a distance. Spray varnish needs a slightly more aggressive hand than spray on primer. If it’s allowed to dry before hitting the model, it will crystalise leading to fogging. I’m not saying you should spray from an inch away, but being a little closer than you usually would with a paint primer is what I’d recommend.
- Finally, not agitating the varnish enough can cause fogging. Giving the can a good shake for at least 2 minutes sounds like an exaggeration, but it is essential that the chemicals mix properly.
Can it be fixed?
Now we’ve spoken about why things can go wrong, lets look at some ways to fix it.
There’s the most drastic method of stripping the miniature and starting again from scratch. Obviously this is something we want to avoid though. For those of you that want to go this route, I’ll write up a post about how to go about that in the future (I have lots of experience, as my local Infinity group will attest to!).
Before we go all in with chucking your hard work into a tub of chemicals, let’s explore some other options.
Varnish
A layer of satin or gloss varnish sounds like it would be pointless, but from what I understand the way that matt varnish works is that as it dries it creates tiny ridges that diffuse the light refraction. Satin and Gloss varnishes dry smooth and can be used to fill in these tiny gaps and reduce or remove the fogginess. After the gloss has dried, you can go over it with a matt varnish and hopefully this time avoid the fogging effect.
The next method is one I’ve never tried, so please don’t come after me if it ruins your careful paintjob! I have however heard from a number of reputable sources, so I’m happy to pass it along.
Olive oil?
Apparently a layer of olive oil can achieve the same results as gloss varnish. It’s applied the same way as with gloss varnish, and once dry should achieve the same result. Each time I’ve heard this tip it’s always been olive oil, I can’t recommend sunflower oil or smearing a stick of butter on your model!
More Paint
The final method isn’t so much a fix for the fogginess, but again may be preferable to stripping the model completely. If the fogging is only on a small part of the model, it may be possible to cover over the foggy varnish with paint. Repainting the affected area might be a pain, but could be the last thing to try before resorting to the most drastic of measures.
Hopefully this post helps a little!