How to Create a Norse Ruin Snow Base
- No Comments
We’re going to transform the base that we created with our textured rolling pin into a snowy norse ruin base. So come follow along with us, and hopefully we can inspire you to create something exciting with your bases!
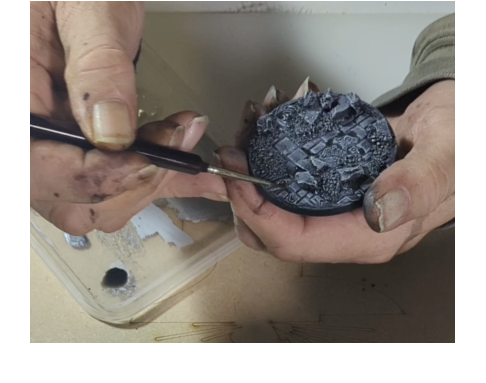
1. Create Texture with Cork and Basing Rocks
Let’s start by creating some of the ruin pieces from cut up pieces of cork board. We’re using The Colour Forge’s cork sheet. Here we’re starting to create the building blocks of columns that have fallen down and other pieces of rubble.
The best way to use the cork is to cut it into uneven chunks and lay them onto the base before gluing them down, that way you can see which arrangement looks best. We then used superglue to stick down the pieces.
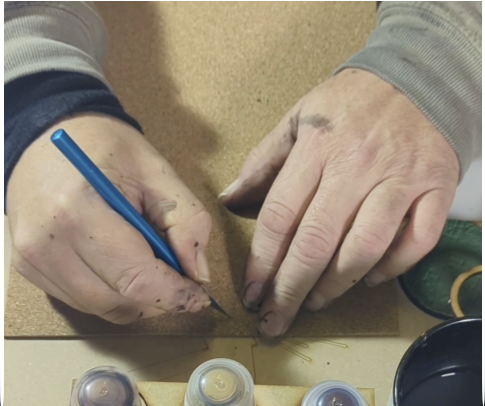
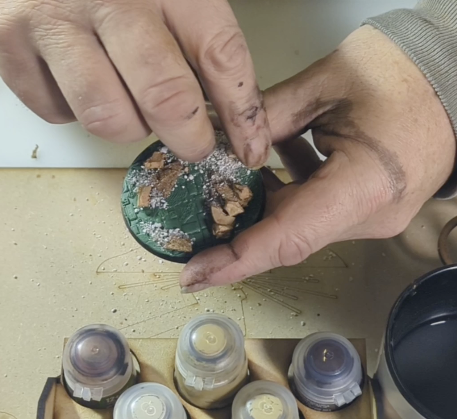
Next, we want to start building up the dimension on the base. We used some larger pieces of cork to create more of the rubble, and then sprinkled some fine basing rocks on top to add texture and depth.
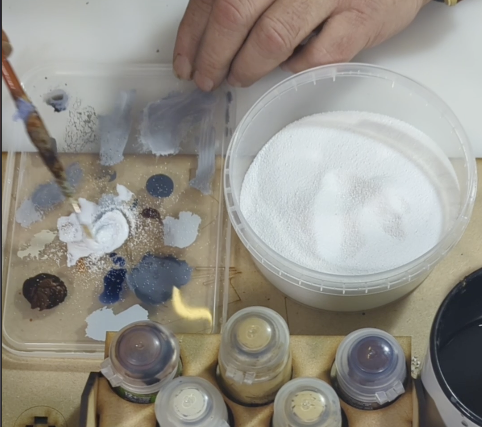
2. Start Building up Layers of Paint
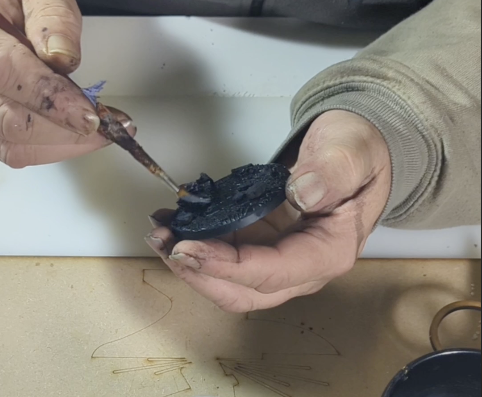
Once you’re happy with how the base shape is looking, it’s time to give it a good coat of black spray paint to prep your base. We’re using The Colour Forge’s Matt Black spray.
Paint on a coat of Seer Grey on top of your base, making sure to get even coverage without taking away too much detail. You still want some of the black base layer coming through, so best to get a lot of paint off the brush before placing it onto the base.
Create a 50/50 mix with Corax White, and pick out the surface edges and detail with your brush. Again, you want to be light with your brush, as you don’t want to lose the detailing you’ve created underneath.
Finally, layer on some Darkstar Midnight Shroud onto the top of your paint, making sure to get it into all the recesses on the base.
3. Create the Snow for the Norse Base
Now it’s time to create the snow for our Norse base!
Create a mix with white glue and fine basing snow. Your mix is ready when there is no more white glue showing through, but it doesn’t feel like sand.
Before you start applying the snow to the base, think about which direction you want the snow to land on the base.
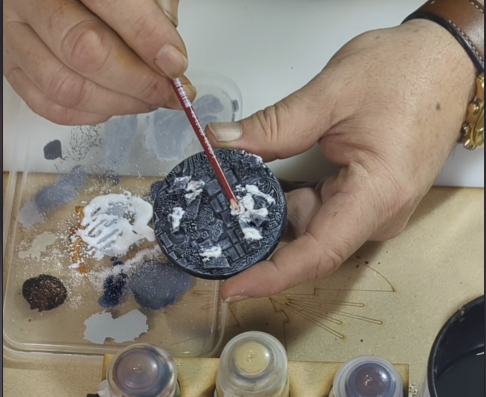
Remember, snow falls at an angle, so think about which areas will be covered by snow and which sides will be protected.
Use a flat surface to place the larger pieces of snow on your base. We’ve used the back end of a paintbrush, but you can also use a cocktail stick or a coffee stirrer for this part of the build.
Finally, add more glue into your snow mix to create a more liquid paste. Lightly drag it across the surface where you think the wind would blow the snow, being careful again not to completely erase the texture detail underneath.
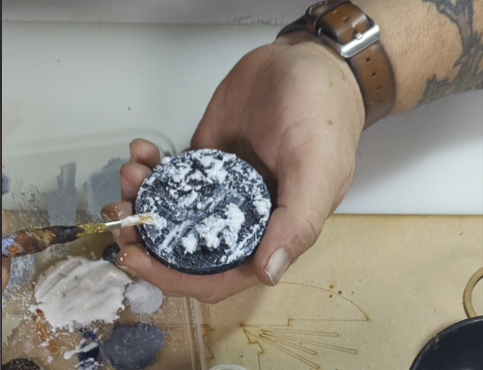
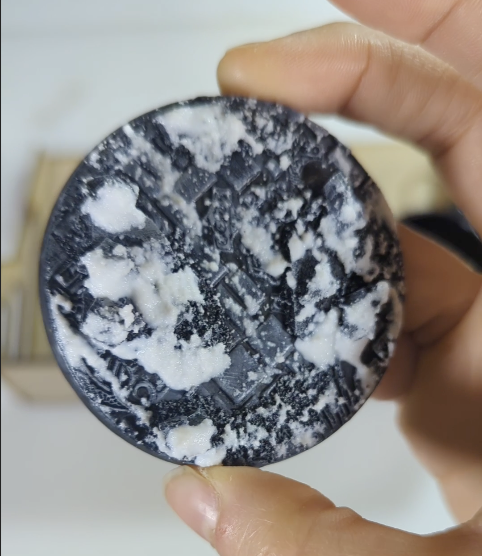
And there you go! Our Norse ruin base is complete!