

How to Paint Warhammer: Chipping Effect
- No Comments
Welcome to this Warhammer Painting Guide by Red Eagle Studio. This is a step by step How to Paint Warhammer: Chipping Effect. A painting tutorial for your Warhammer 40,000, in this guide I will show you how to produce a weathering effect known as chipping.
Creating chips on models can really make them look more realistic, adding a more weathered look as if the model is interacting with its environment. This technique is best used on large models to start with, they are more forgiving and will provide good practice to perfect the method. Once you’re feeling more confident, use the same technique on smaller vehicles and eventually infantry sized models. When used on the whole army it will create some consistency, tying all the models together and look pretty cool. Its fairly quick, forgiving and actually quite enjoyable.
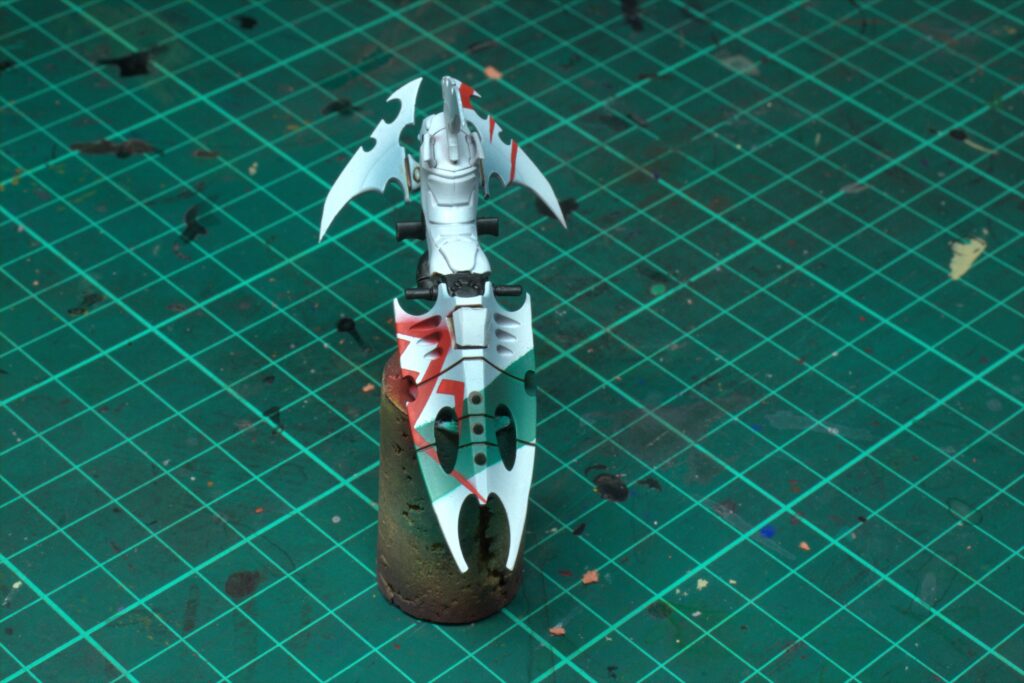
Step 1 – Mount the model
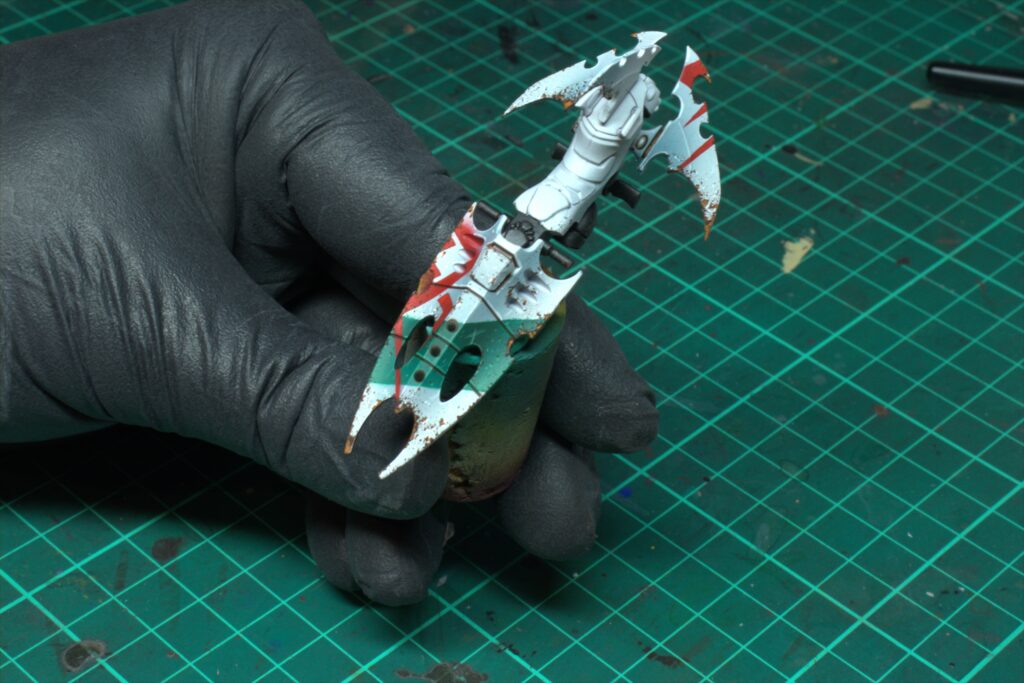
Mount a painted model onto a painting handle, I used a cork on this occasion as the model would normablly be on a flying base.
This will prevent you touching any wet paint and causing smudges during the next stages.
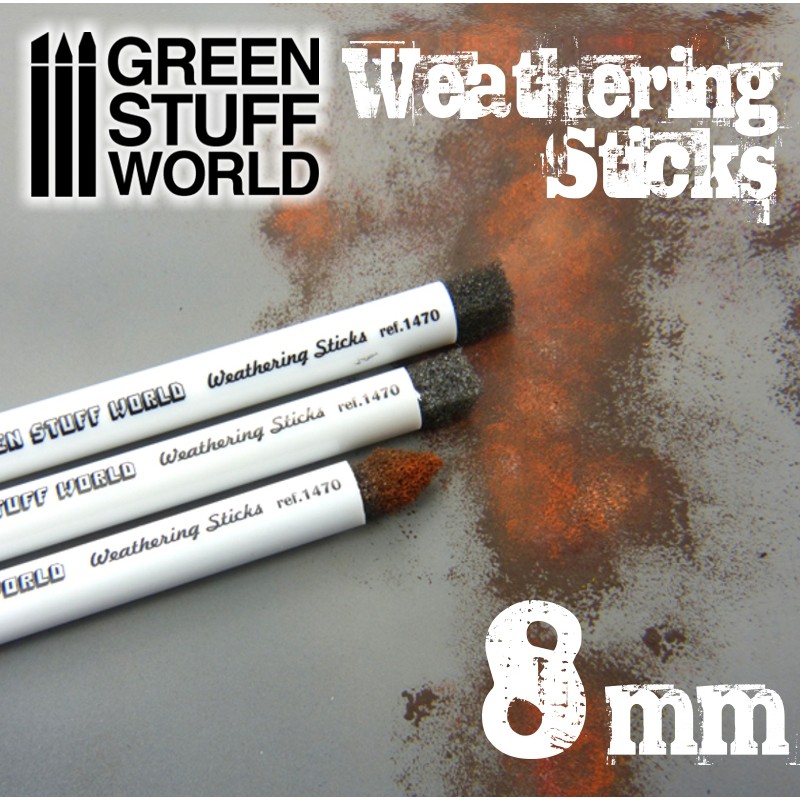
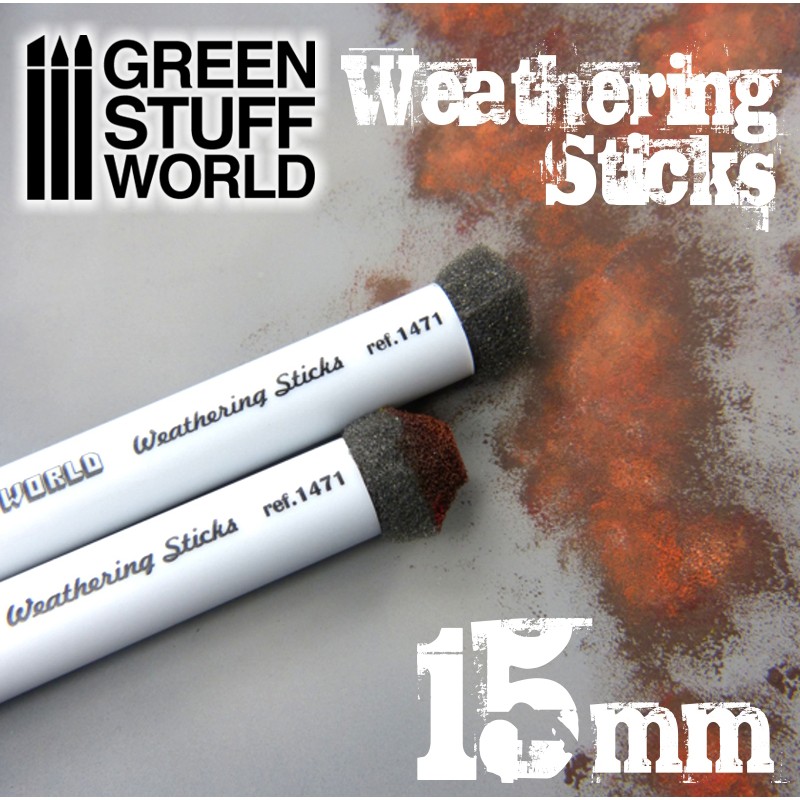
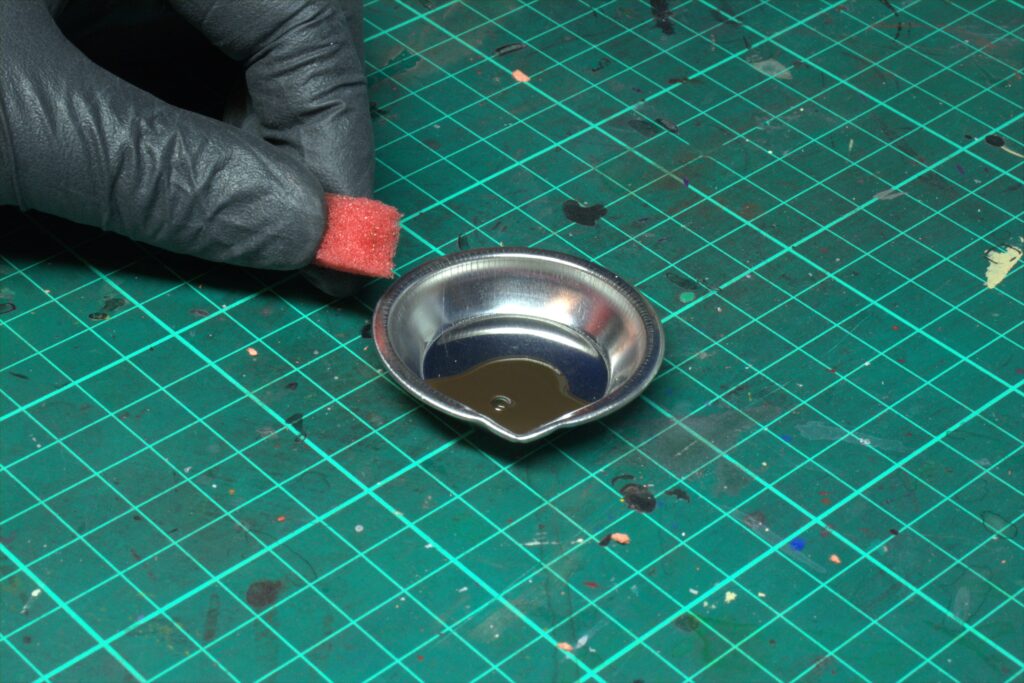
Step 2 – Sponge
Now we need to prepare to create the chips. Use Weathering Brushes (15mm or 8mm) or tear off chunks roughly the diameter of a pencil for accurately applying the paint.
(Try to tear it off rather than cutting it with a knife, this will create a rough bobbly edge to the foam to help create random shapes soon.)
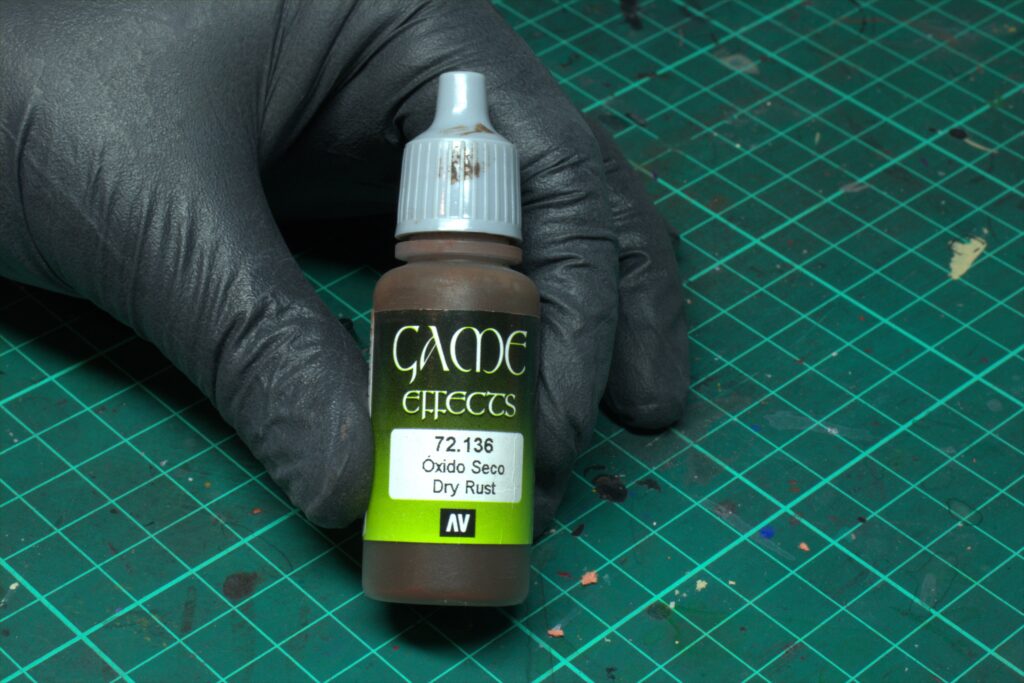
Step 3 – Dry Rust
I’m using Vallejo Dry Rust, it’s very dark and contrasts nicely with the bright white and green colours on the model. Now dab the sponge into the paint and dry off any excess on some tissue paper. This paint has a fine sandy texture in it, creating some realism to the chips we are about to create.
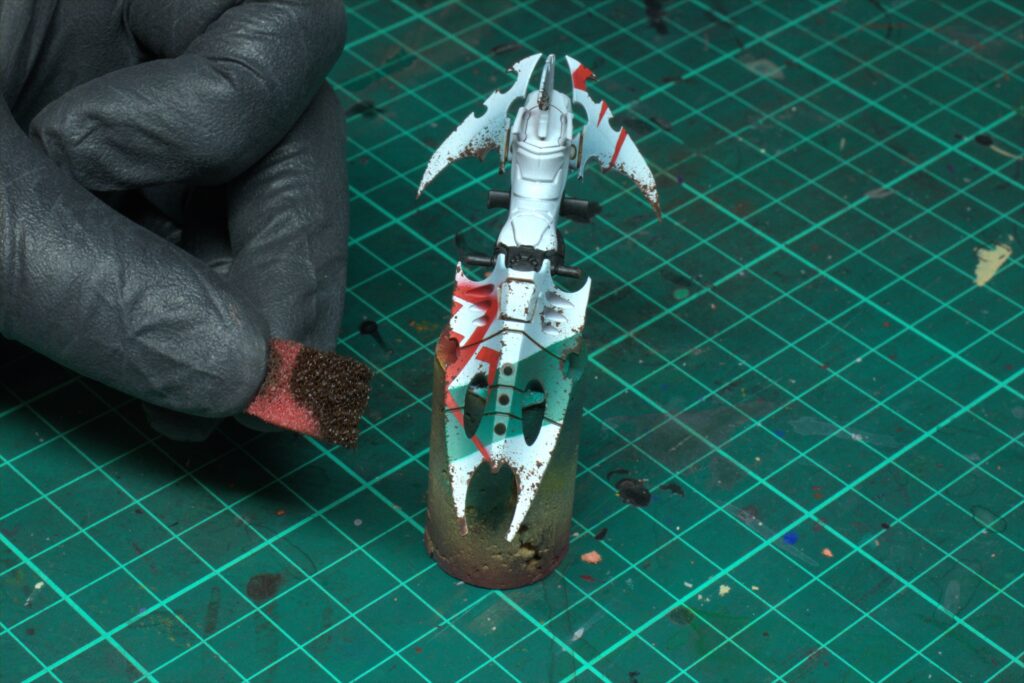
Step 4 – Dab dab
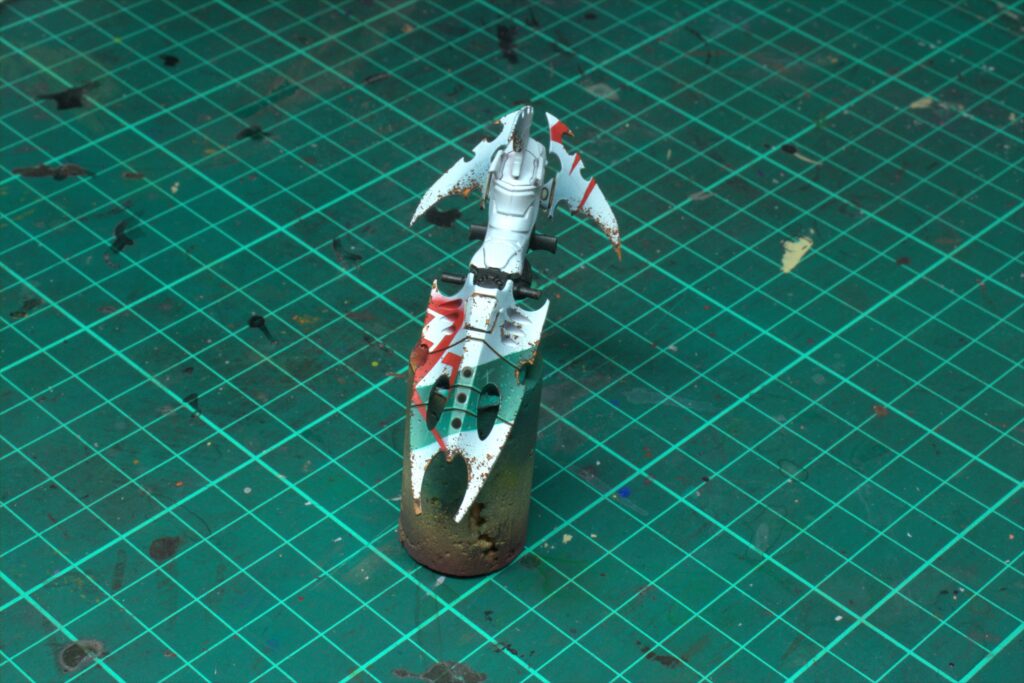
Dab the sponge onto the model, lightly to start with, heavier on areas that you want to look more damaged. Try to create small and large chips, in a random pattern. Avoid putting chips on all your models in the same place, if its too organised and similar then the squad will not look realistic.
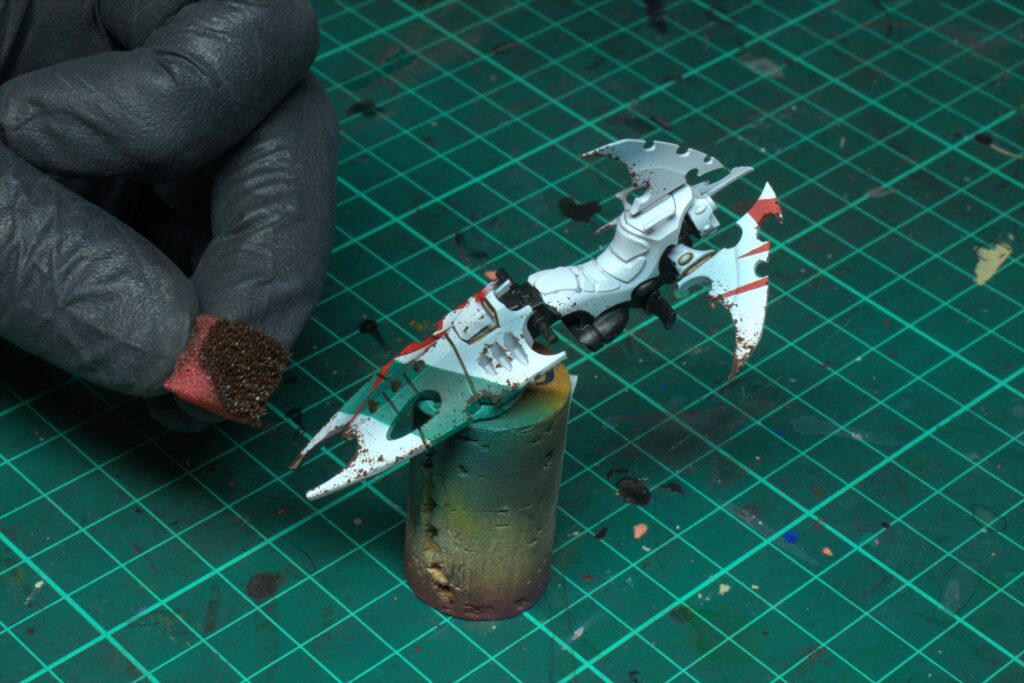
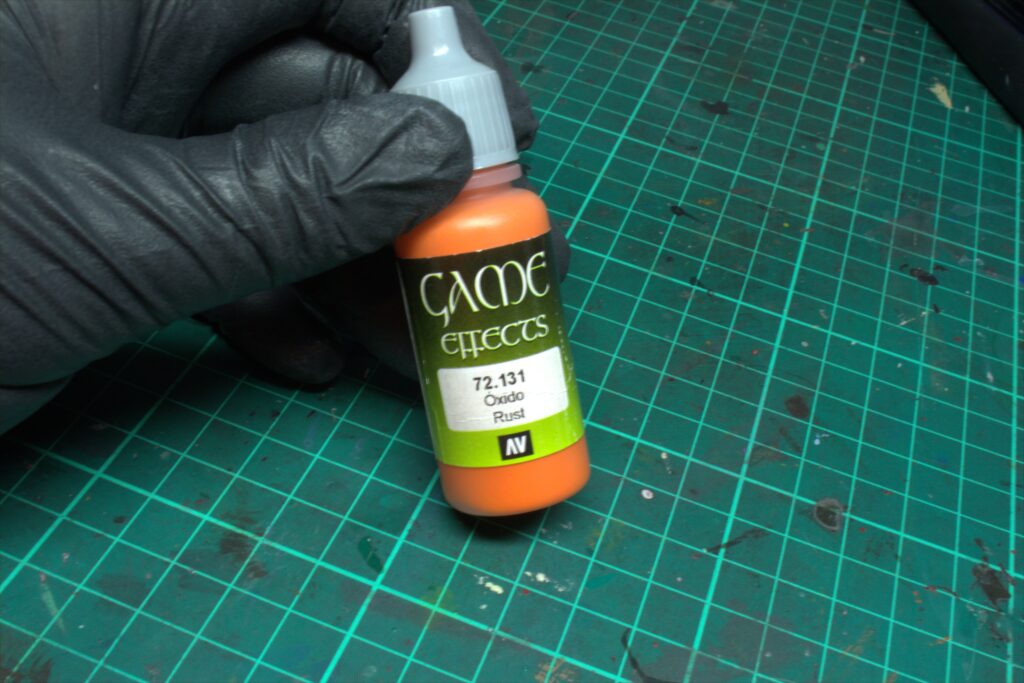
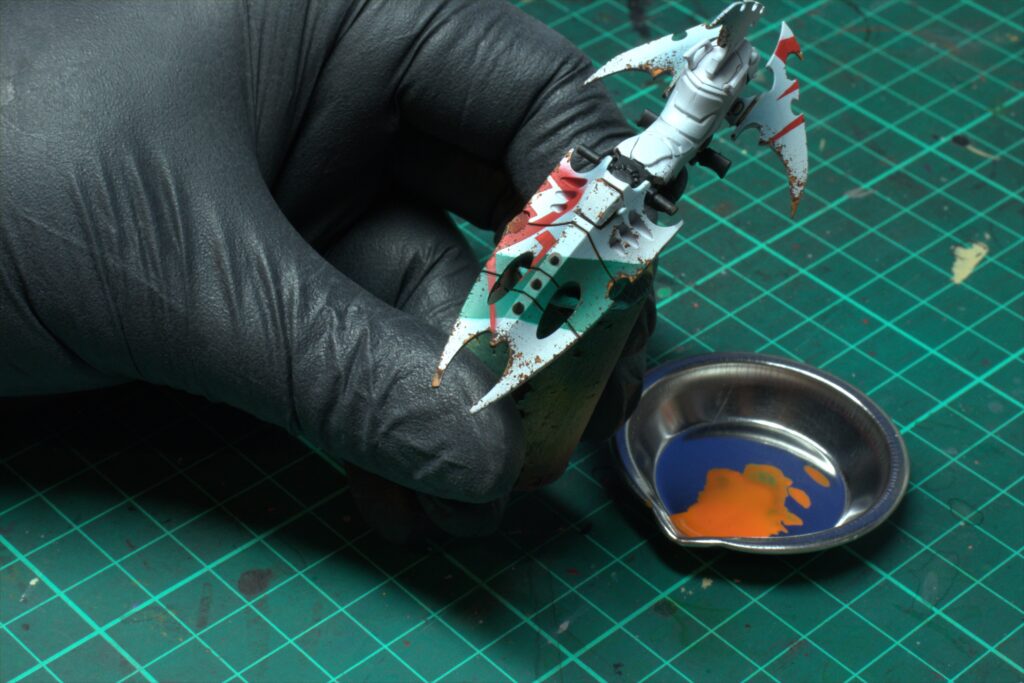
Step 5 – Rust
Using Vallejo Rust and a small brush, we now paint little dots of this orange into the larger chips we created with the dry rust, or any areas you want to add a little colour. This will give the impression of vehicle damage gradually rusting and adding a little more battle damage to the model.
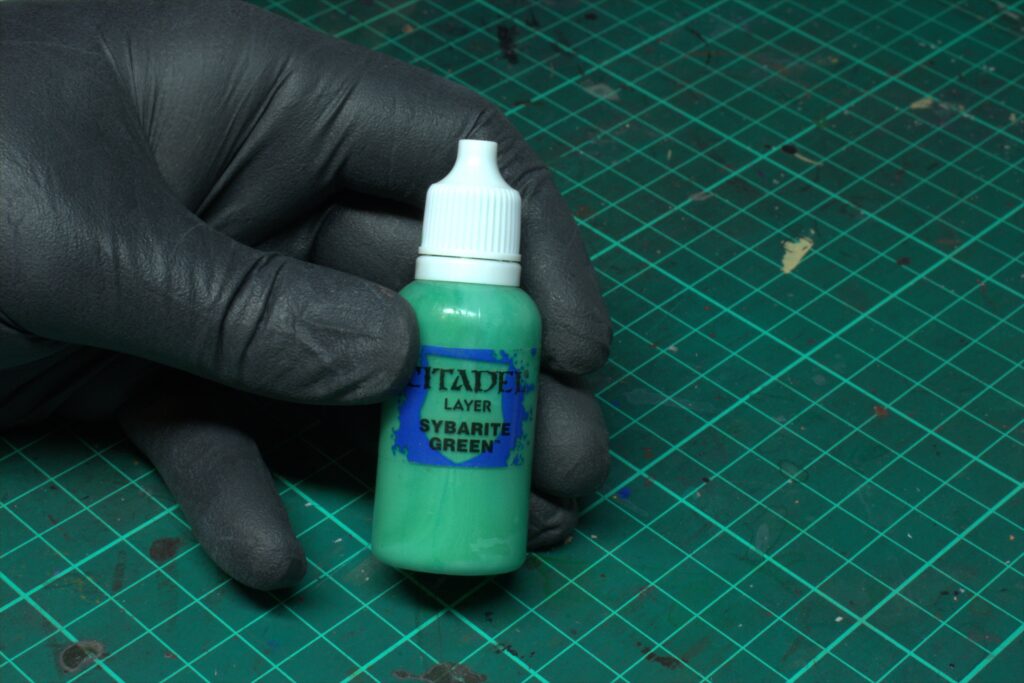
Step 6 – Sybarite Green
Using citadel Sybarite Green and a small brush, highlight the edges of any green armoured areas on the model. If there are chips on the green areas, highlight only the lower part of the chip, this will make the chip look 3d and stand out more. For small chips, try putting a small dot of green under it. If you’re feeling adventurous, you can paint on fine green scratches alongside the chips.
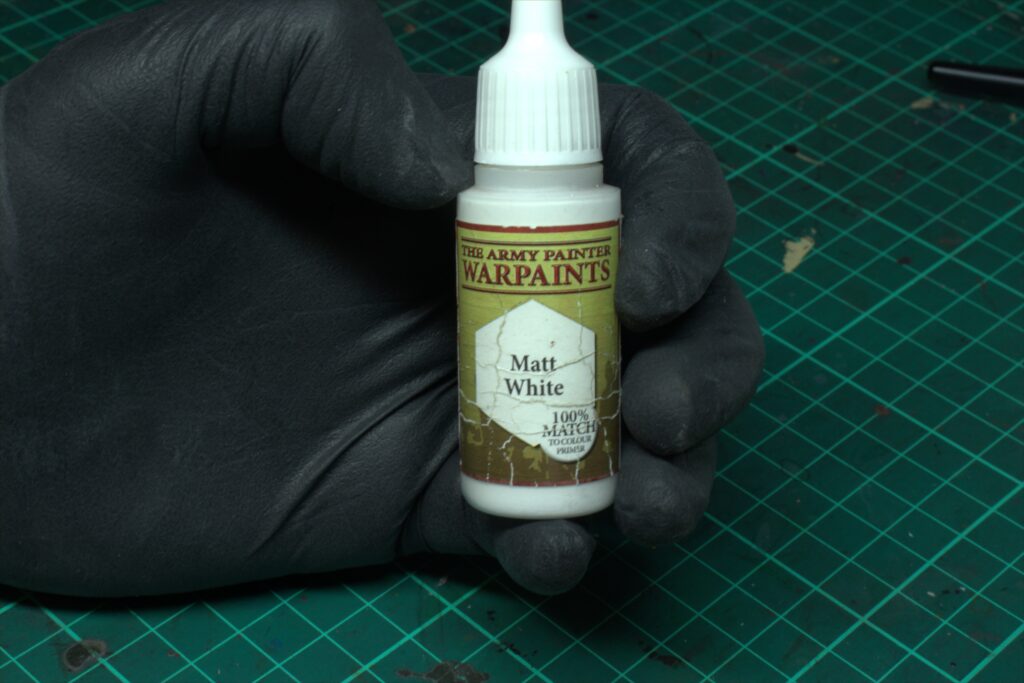
Step 7 – Matt White
Using the army painter Matt White and a small brush, highlight the edges of the white armour areas and the lower halves of any chips on the white areas.
Outro
Bobby’s top tips! (you get 2 this time!)
- Dry off less paint from the sponge to create large chips, just be gentle to avoid mistakes.
- If you add more water to your highlight colours, you will be able to paint finer scratches and smaller dots with your brush.
The full recipe is as follows:
That’s all there is to it! I hope this has been helpful! Let me if there are any guides you would like to see in the future or check out the rest of the guides in the Painting Tutorials Section! How to Paint Warhammer: Chipping Effect, done.