
How to Paint Warhammer: Flayed Skin
- No Comments
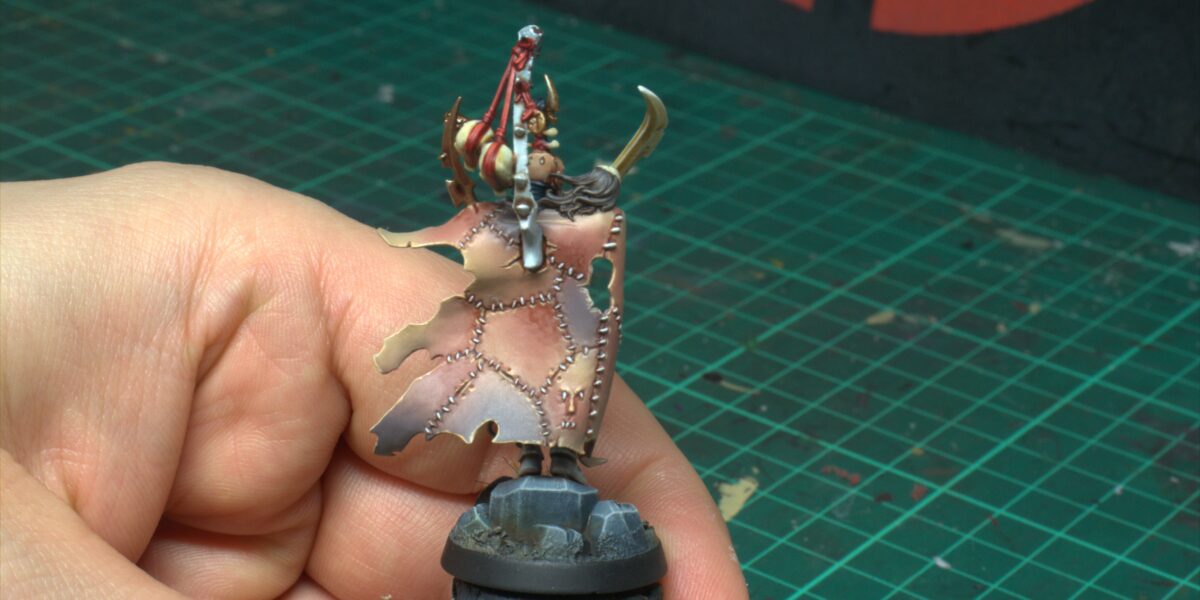
Welcome to this Warhammer Painting Guide by Red Eagle Studio. This is a step by step guide – How to Paint Warhammer: Flayed Skin.

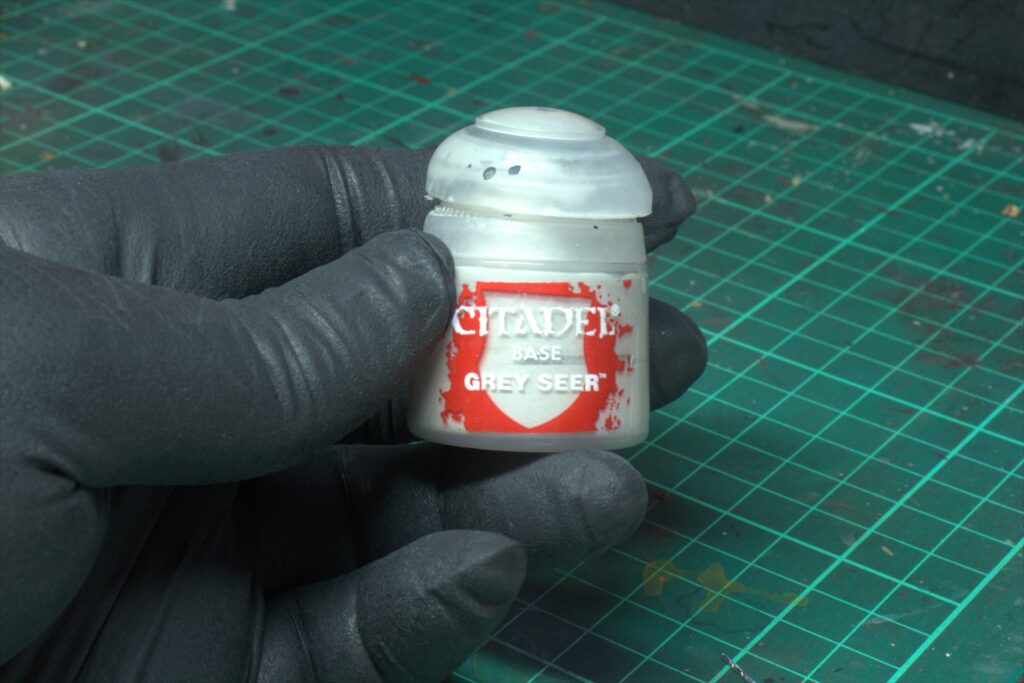
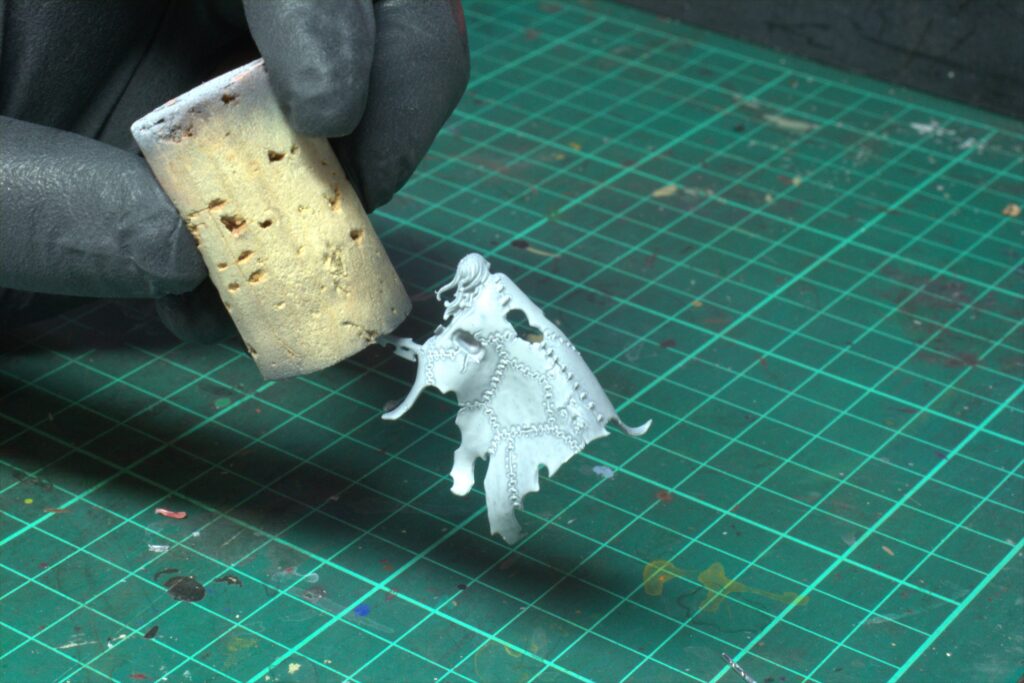
Step 1:
I undercoat with Grey Seer (Citadel Paint), its fairly light and will bring out the flesh colours rather than dull them down like black can.
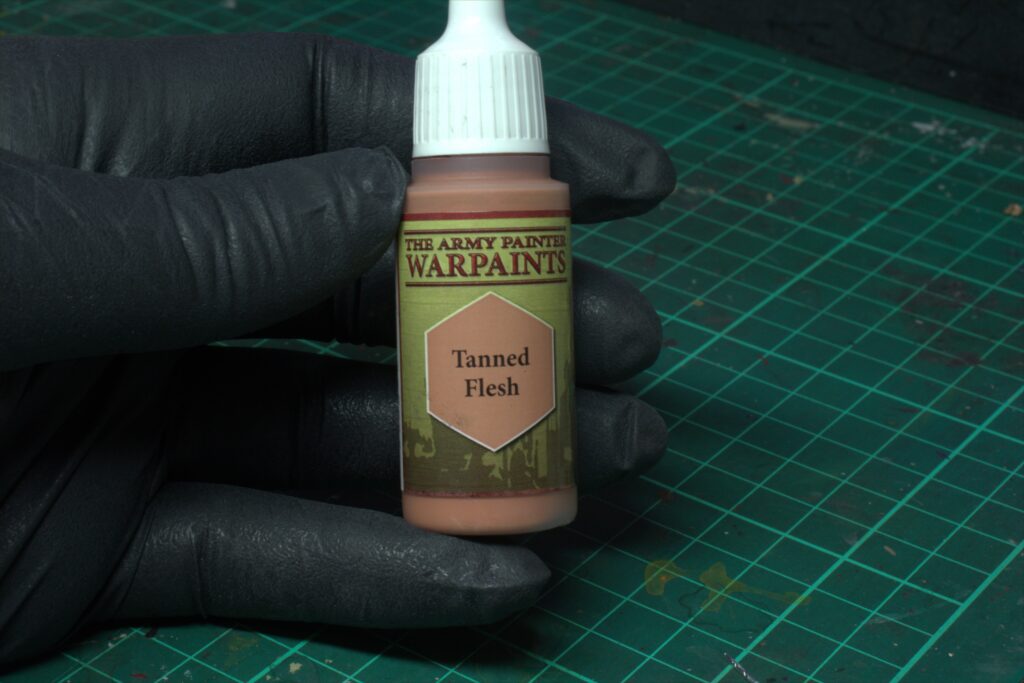
Step 2:
Base coat all the flesh areas with Tanned Flesh (The Army Painter). This will represent the main flesh colour, it doesn’t have too much red in it so it looks colder and paler which is what we’re after here.
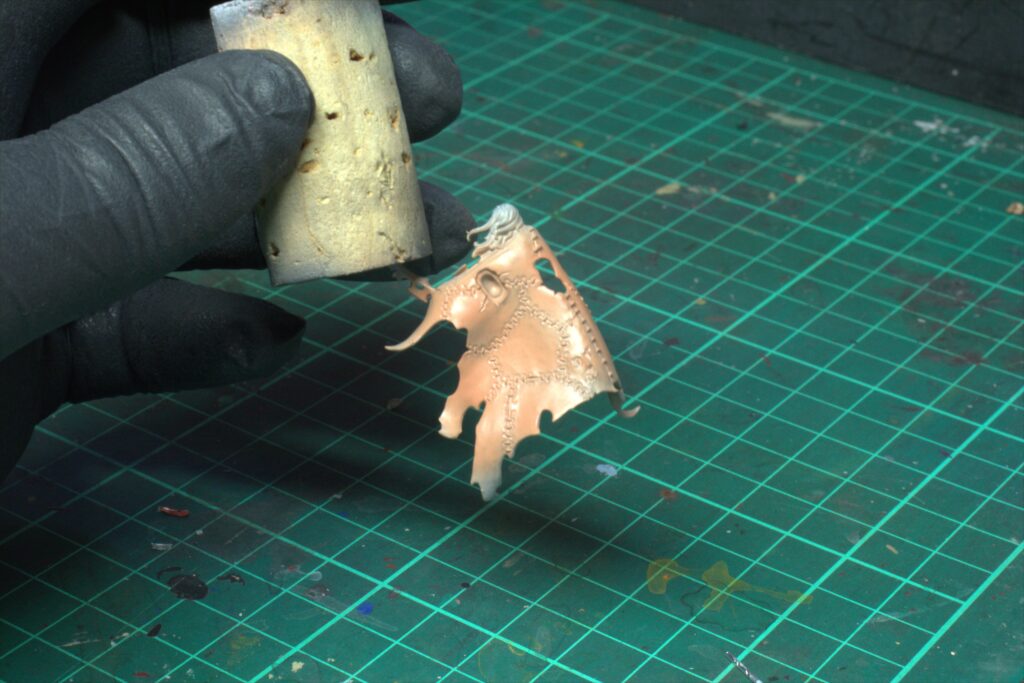
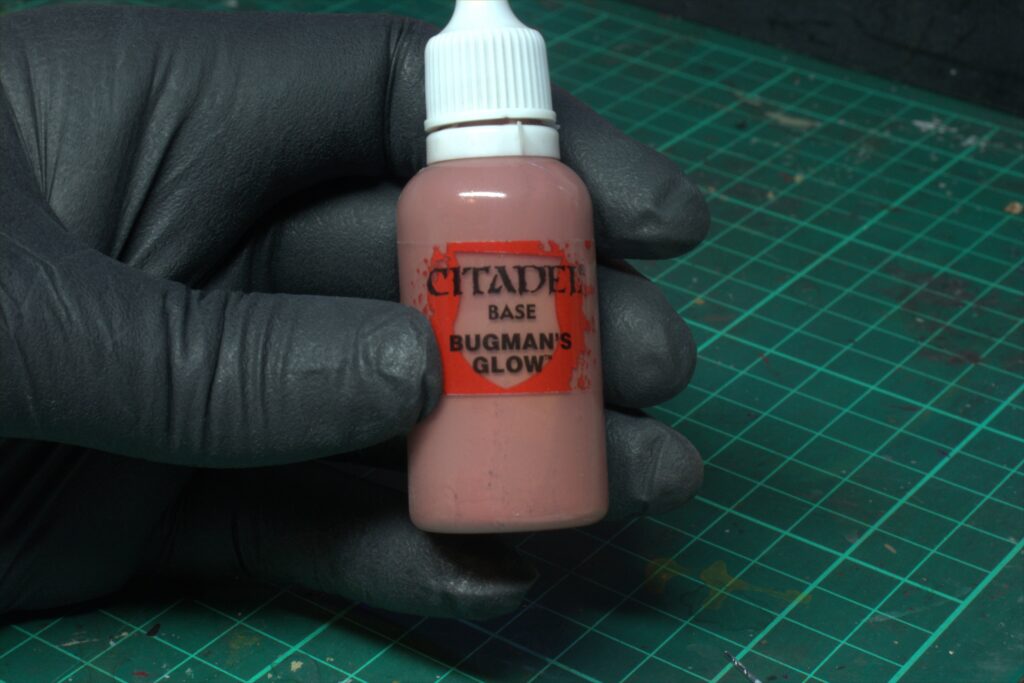
Step 3:
I use my airbrush to paint Bugmans Glow (Citadel Paint) onto some areas of the individual flesh sections. I spray it on finely at 20 psi and try to paint random areas, this makes it look more natural and less like a pattern. Bugmans Glow has more red in it, giving the impression of more chafed or bloody skin areas.
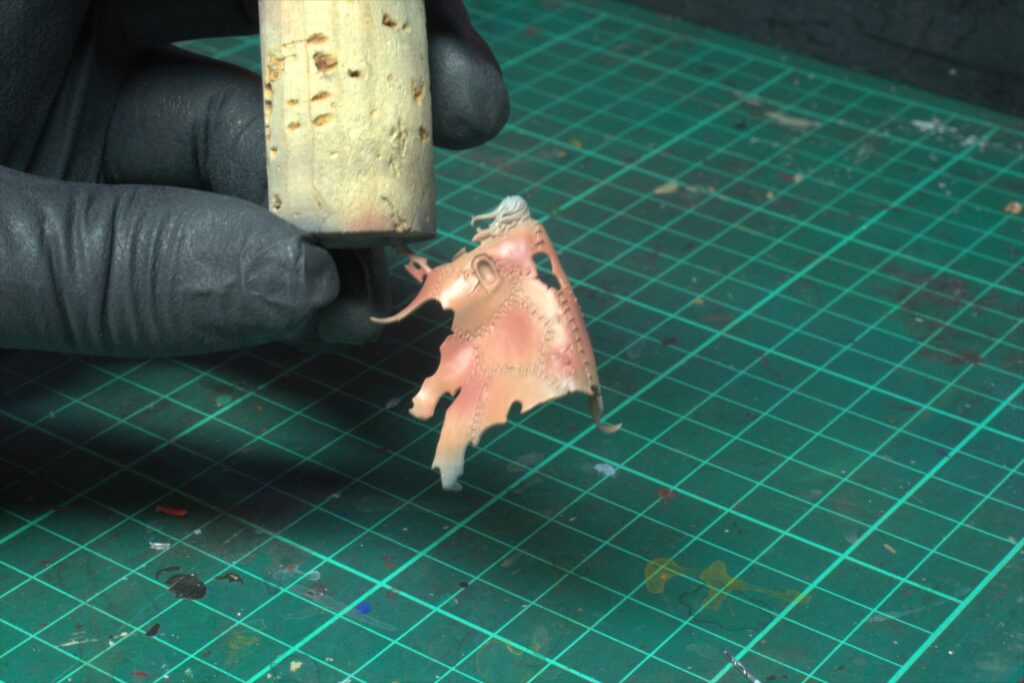
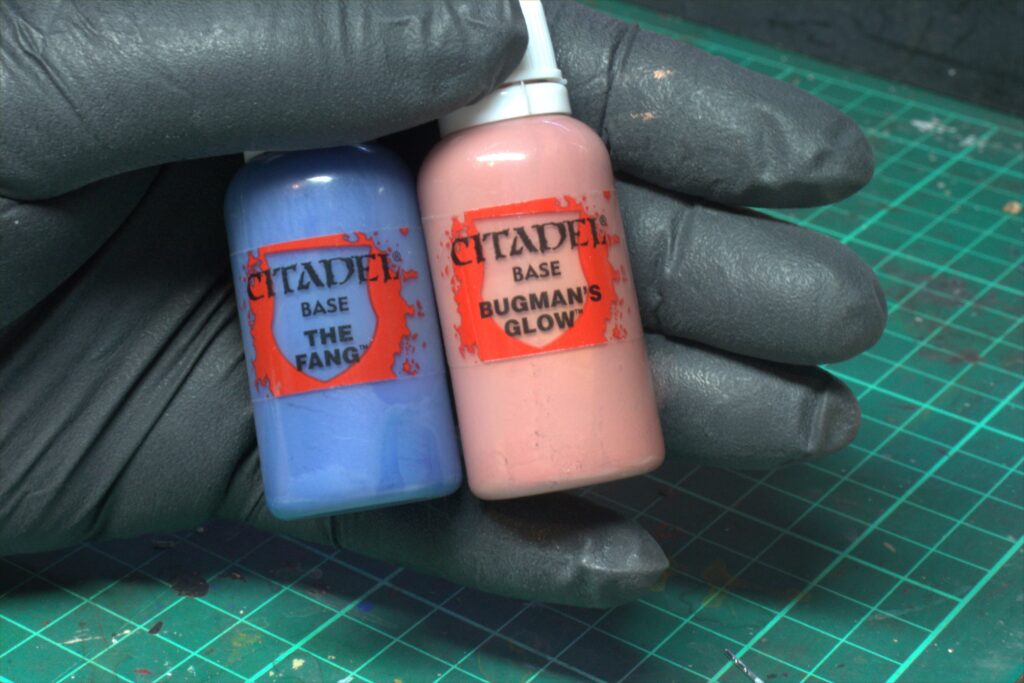
Step 4:
Mix Bugmans Glow with The Fang (Citadel Paint) 3:1 ratio. Then dilute the mix with water until it has the consistency of a wash. I sprayed this onto some of the pale areas to add a colder more brusied look to some of the skin. You can brush this on if you don’t have an airbrush, apply it thinly and avoid it forming a pool of paint.
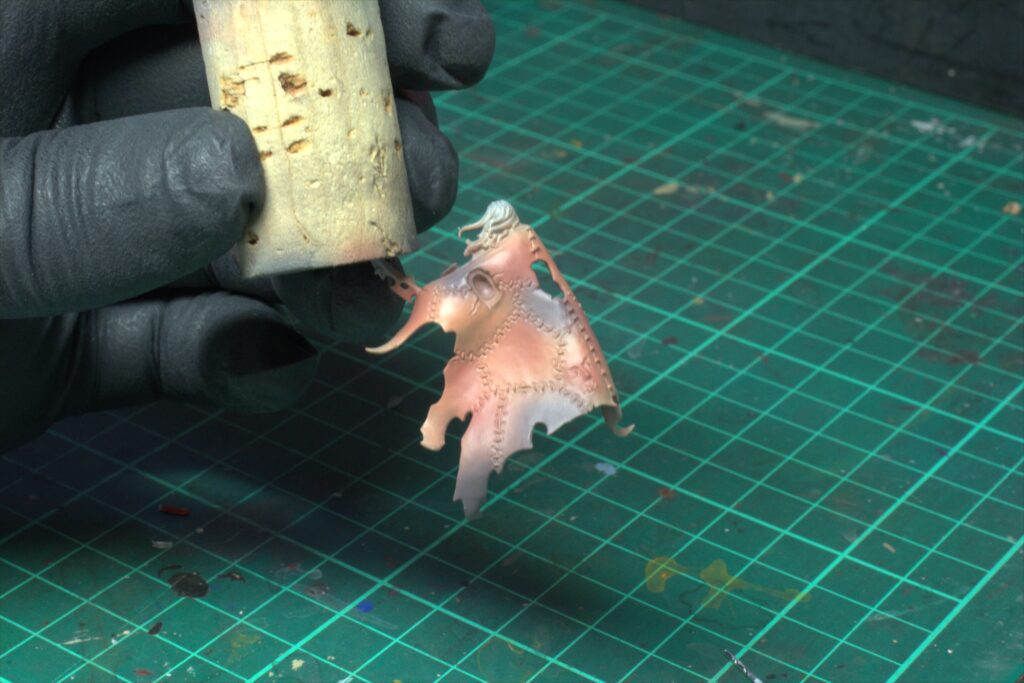
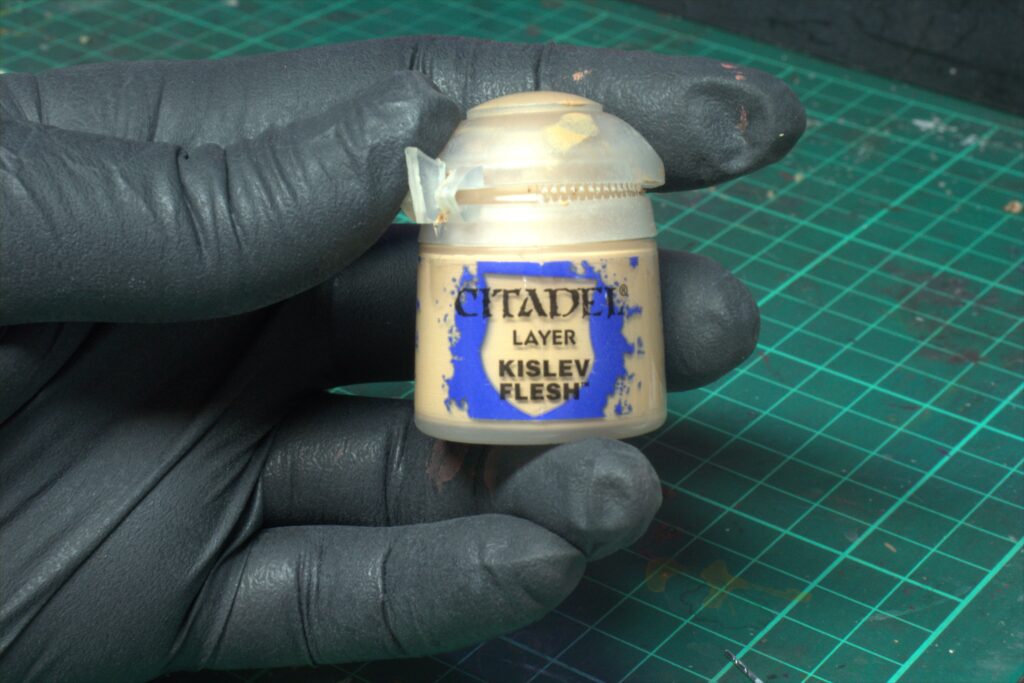
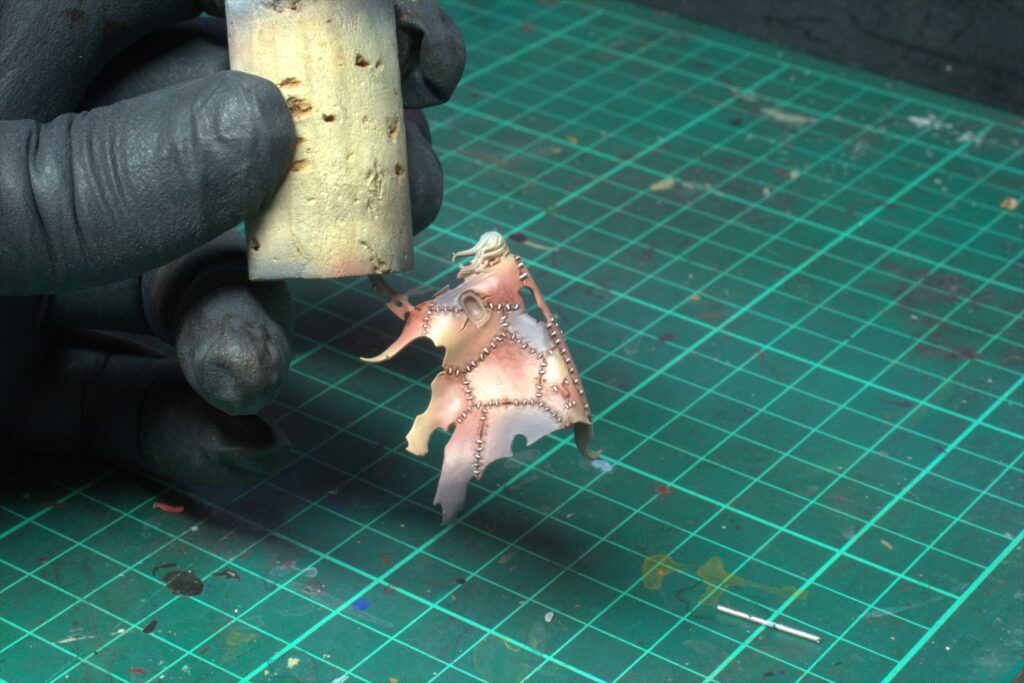
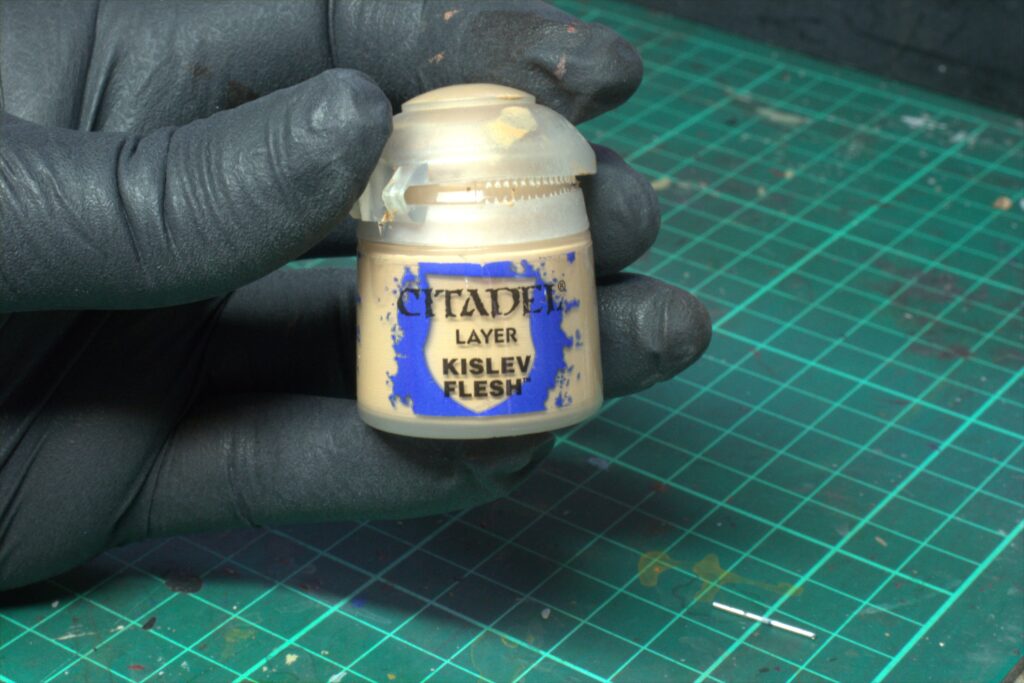
Step 5:
I airbrush some Kislev Flesh (Citadel Paint) next to some of the ‘Tanned Flesh’ areas I painted previously. This will highlight the skin and also create a more dead/pale colour to the flesh.
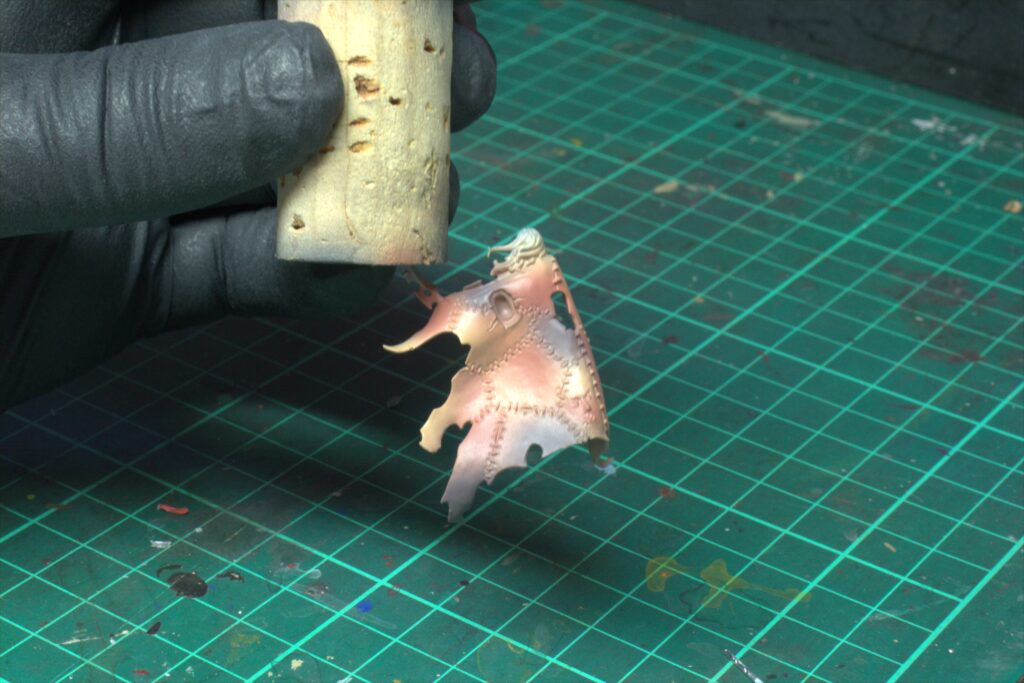
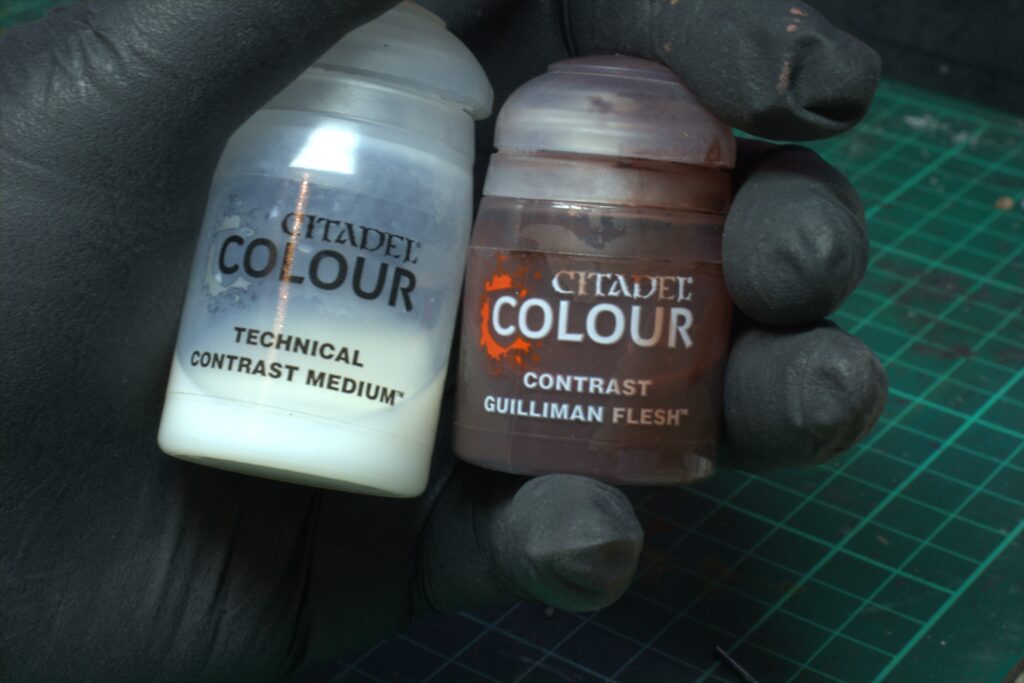
Step 6:
Mix Guilliman Flesh (Citadel Paint) and Contrast Medium (Citadel Paint) together 1:1 ratio. Gently paint this into the recesses of any details (I did it on the face on the bottom right of the cloak) and also on some of the Bugmans Glow areas to make the skin look bloody and damaged. This is a contrast paint, so apply it very thinly, pushing the colour towards the edge of the piece of skin rather than towards the middle.
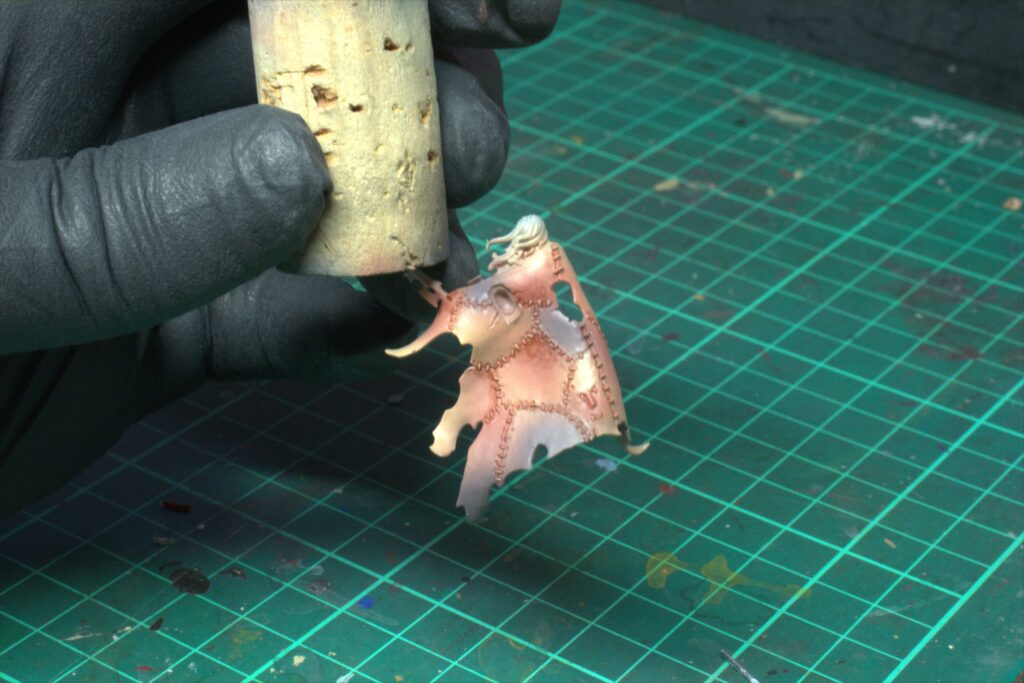
Step 7:
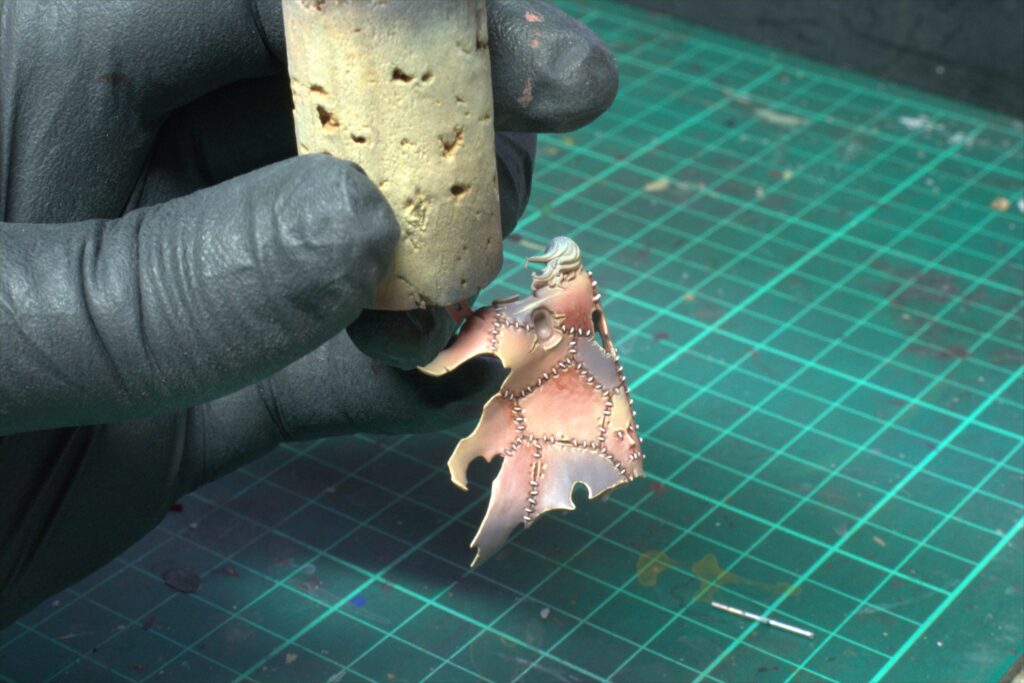
Next I focused on the stitching that connects the multiple layers of skin into a cloak. Mix Contrast Medium (Citadel Paint) and Wyldwood (Citadel Paint) 5:1 ration, this will create shade for the stitches and also help to separate the various segments of skin.
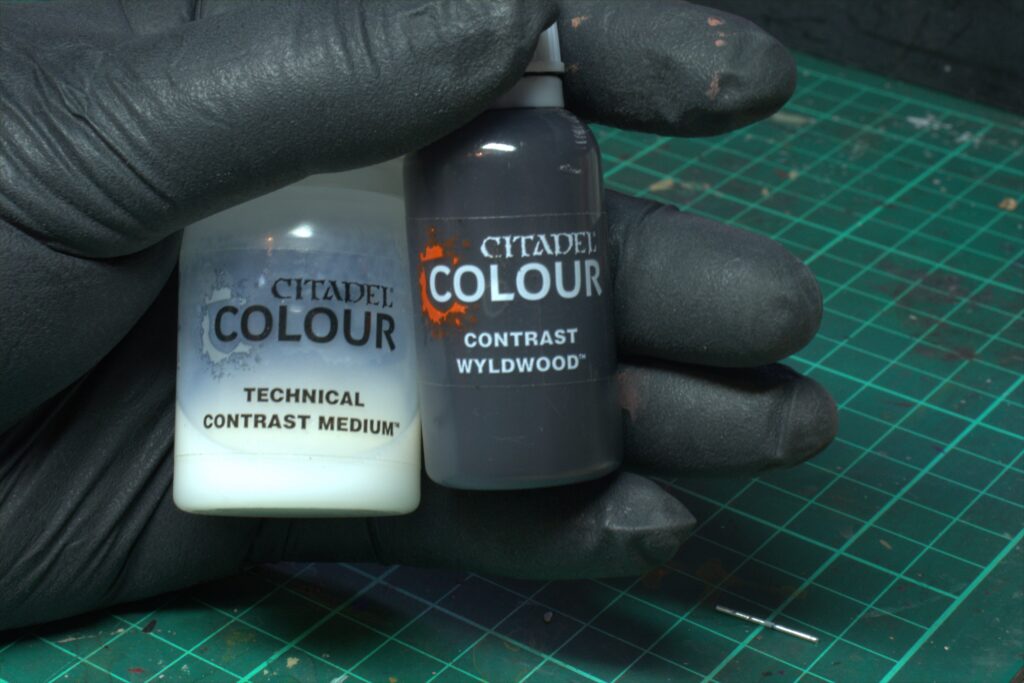
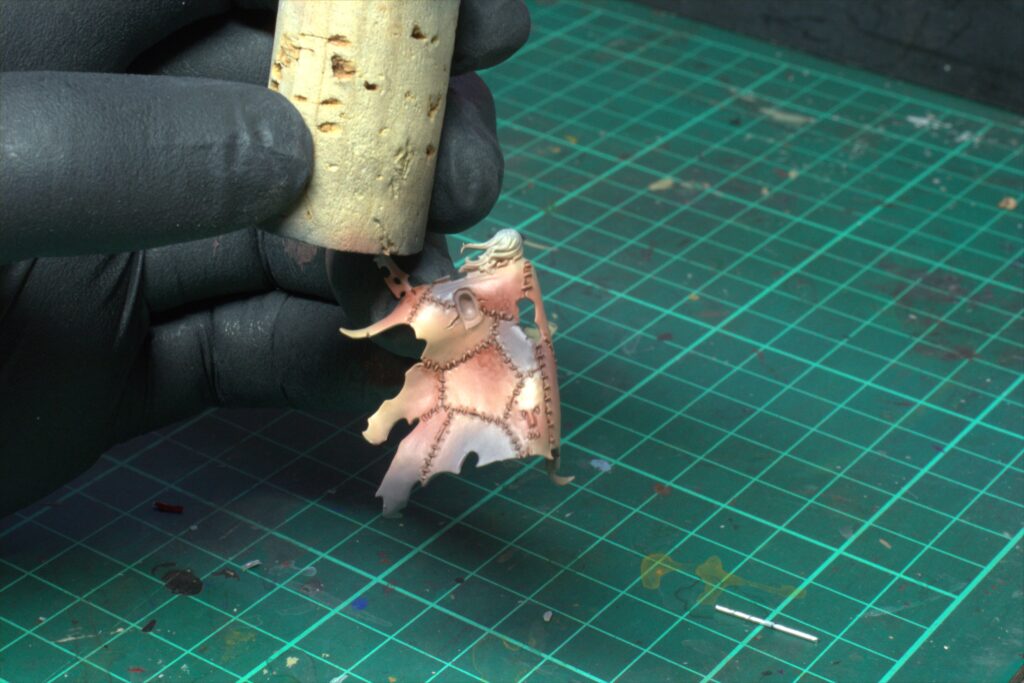
Step 8:
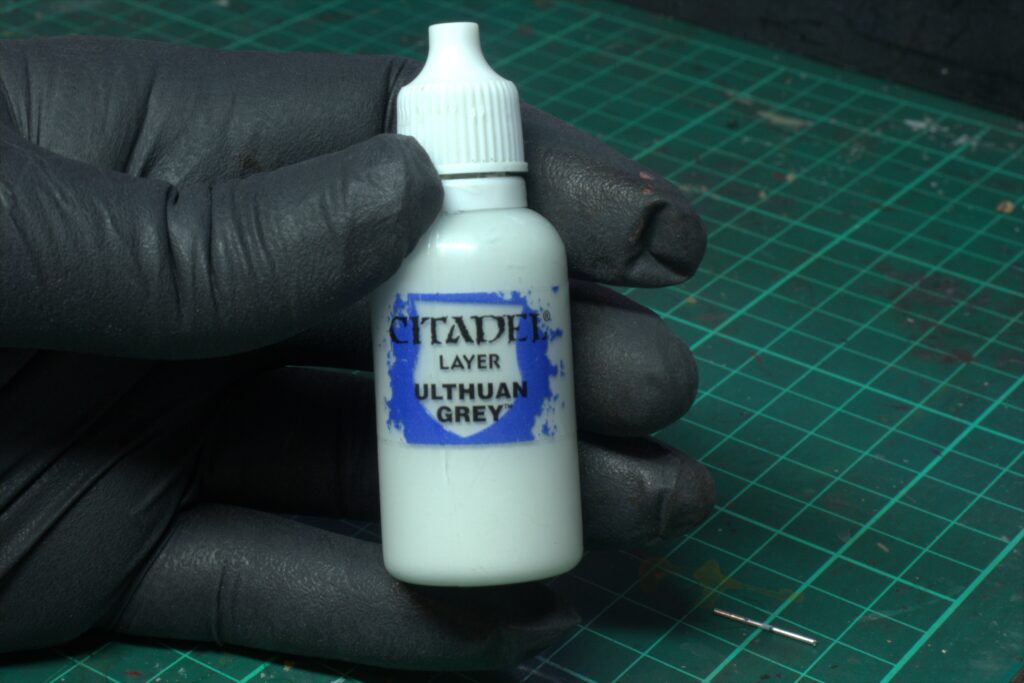
Using Ulthuan Grey (Citadel Paint) paint the individual stitches in between the skin. This colour has blue in it, giving it a cold feel to help give the impression of the dead skin look.
Step 9:
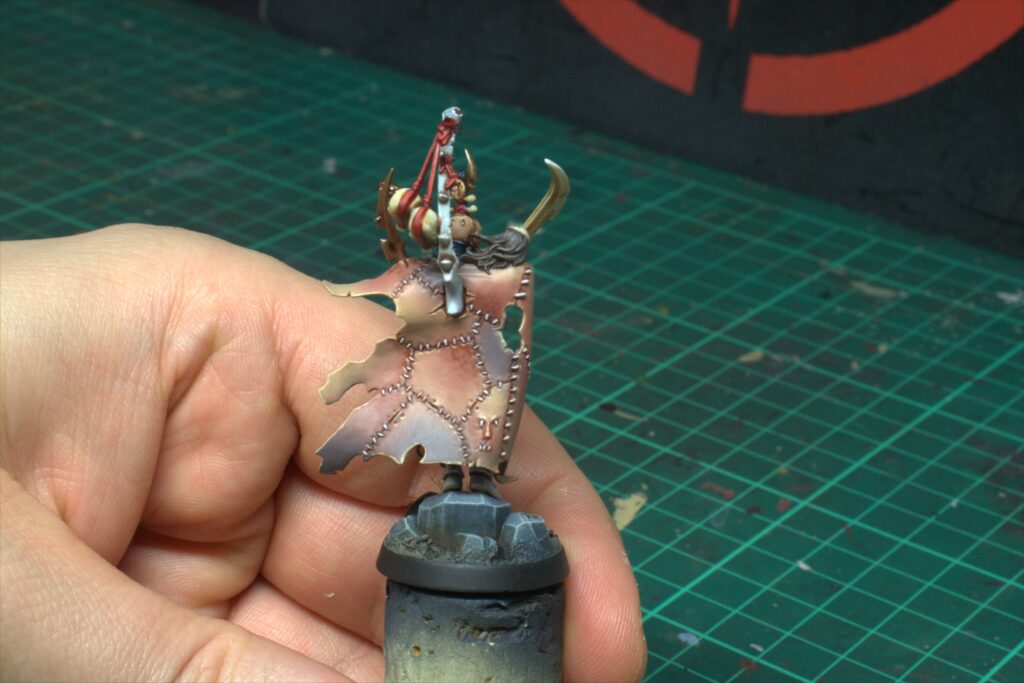
Paint Kislev Flesh (Citadel Paint) along some of the outer edges of the skin. This will highlight the cloak and start to really make it stand out.
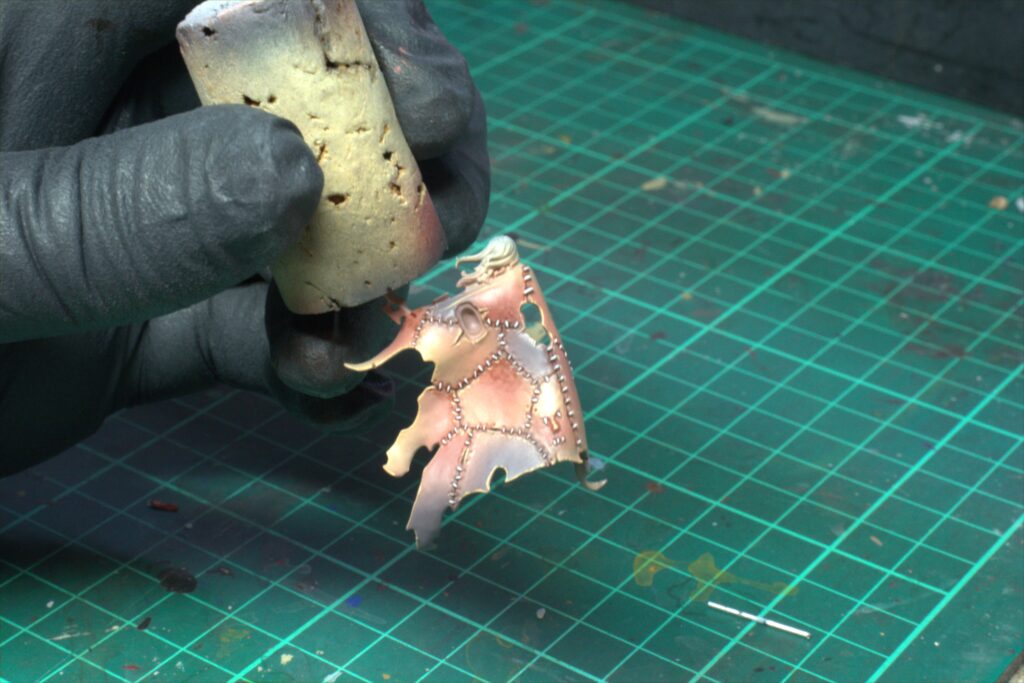
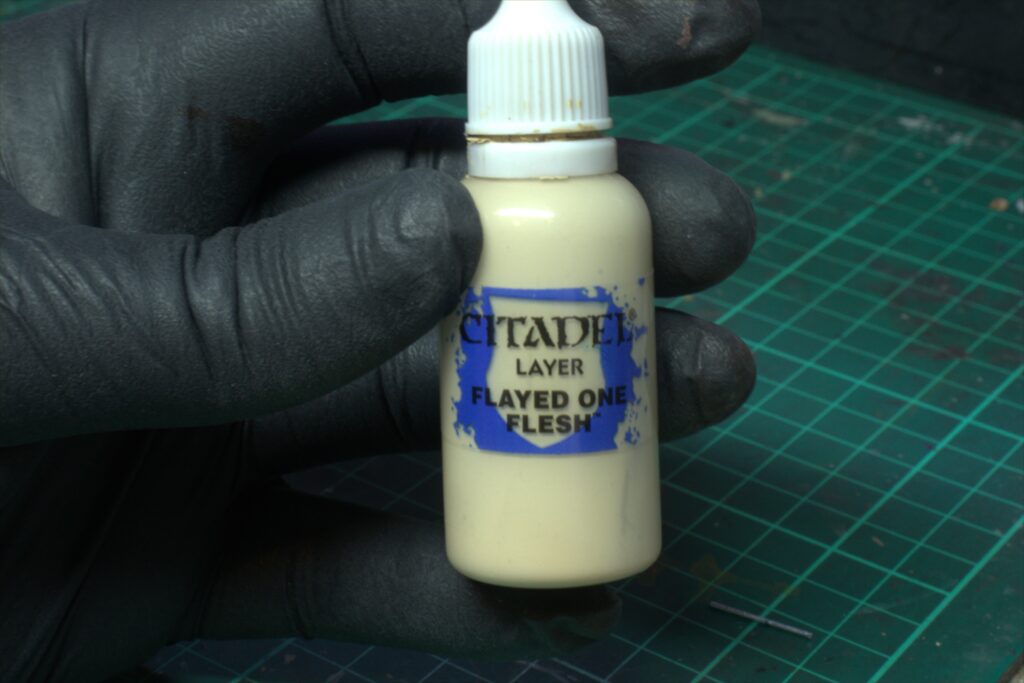
Step 10:
Highlight the top parts of the skin you just highlighted with Flayed One Flesh (Citadel Paint). This will make the skin look more dead and pale.
Outro
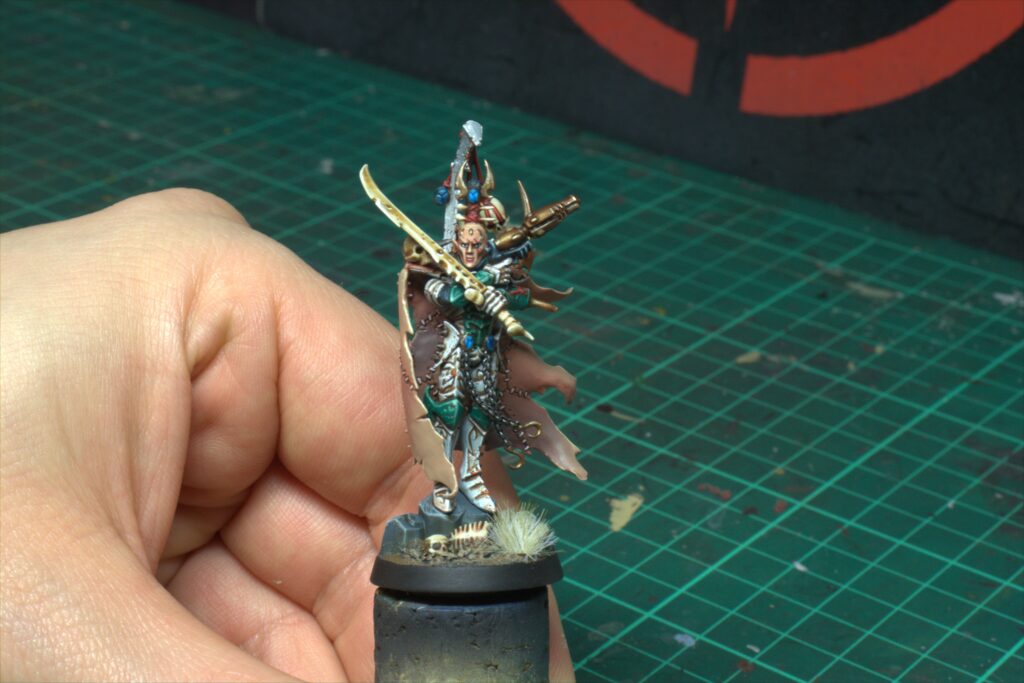
Bobby’s Top Tips
- make sure you thin down your paints with water. This will avoid visible brush marks and make the overall look much smoother and realistic.
- If you’re after a gorier effect, why not use a sponge and dab on some dark blood colour onto the skin for that ‘fresh kill’ look.
Full Recipe List:
- Grey Seer
- Tanned Flesh
- Bugmans Glow
- The Fang
- Kislev Flesh
- Guilliman Flesh
- Contrast Medium
- Wyldwood
- Ulthuan Grey
- Flayed One Flesh
That’s all there is to it! I hope this has been helpful! Let me if there are any guides you would like to see in the future or check out the rest of the guides in the Painting Tutorials Section! So there you have it, How to Paint Warhammer: Flayed Skin.