How to Scratch Build a Terrain Tree
- No Comments
Are you looking for creative ways to spruce up your wargaming board with a terrain tree?
We’ve got you covered! We’ll take you through how to create an impressive looking tree from some hot glue, garden wire and dyed coconut husk.
1. Create the Base of the Terrain Tree
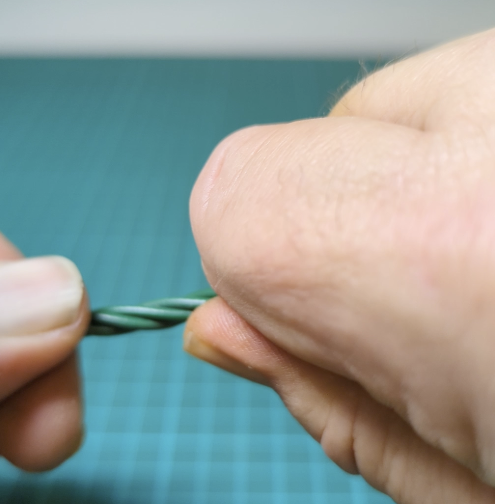
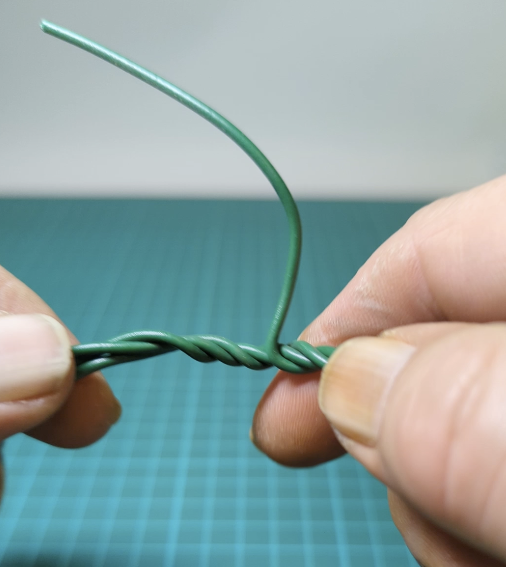
Grab some 4 to 5 lengths of garden wire and a base to glue it onto.
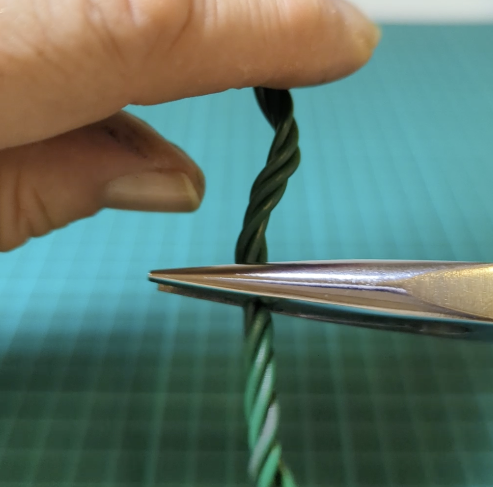
Twist the wires together either using some pliers or your hands to create the trunk of your terrain tree. Next, bend the wires upwards to create the branches, twisting them into whichever shape you’d like them to be.
2. Build up Texture of the Tree
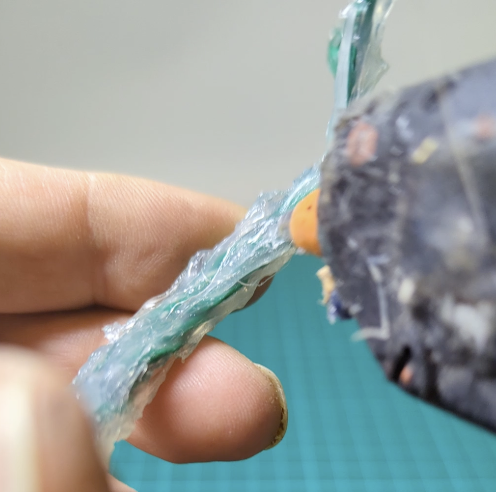
Hot glue the base to the tree you’ve created. Using the hot glue gun, start to build up the texture and width of the tree. You can do this by running the glue gun up and down the trunk, roughing up the glue with the nib as you go.
Don’t forget to build out the bottom of your tree to make it look more realistic, as trees aren’t uniform all the way up.
3. Add the Base for your Foliage
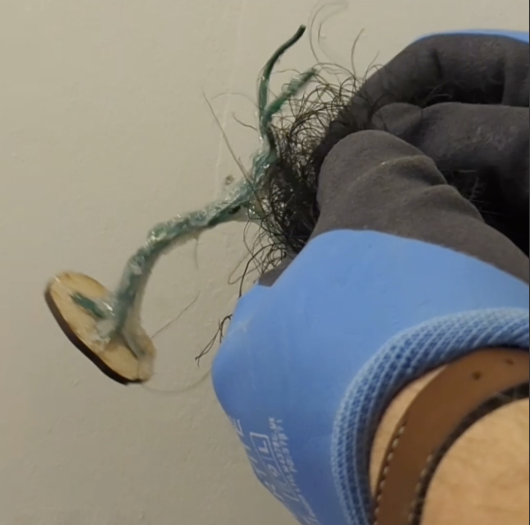
You’ll need heatproof gloves for this part of the build!
Start stringing pieces of hot glue between the branches. Don’t worry if it looks messy, as the lengths of glue will act as small branches underneath the foliage. Squash down some dyed coconut husk or rubberised horsehair on top of the glue.
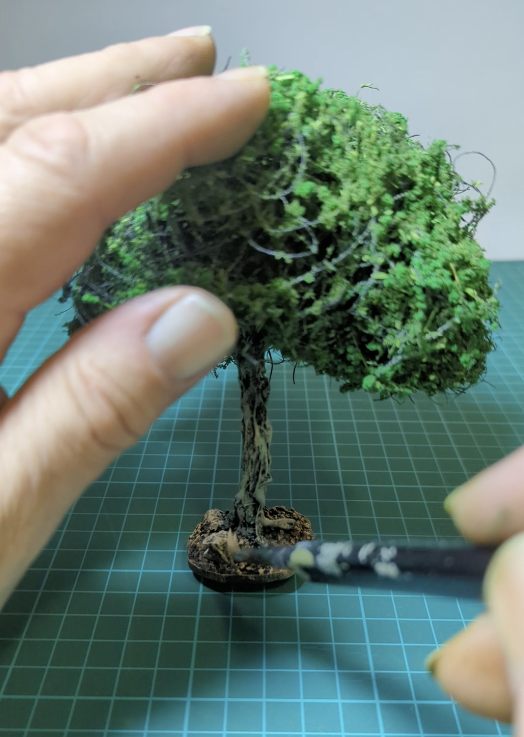
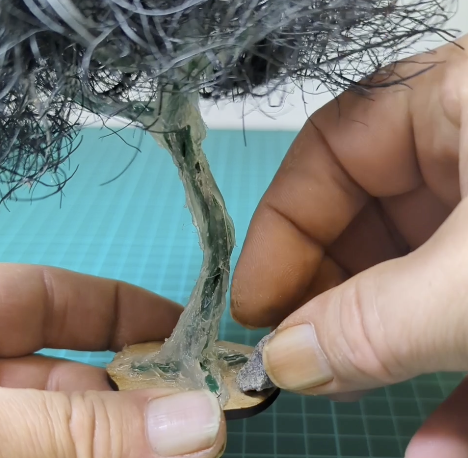
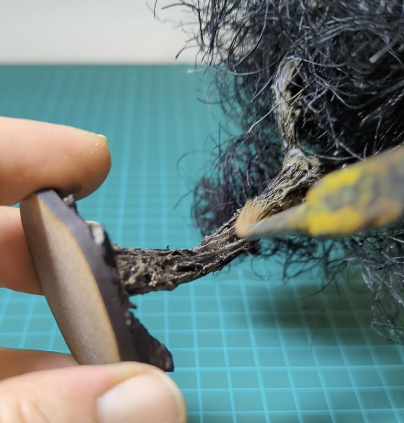
Once the glue is dry, it’s time to shape the bush of the tree. Before you start cutting off the pieces, think about what end shape you want your tree to take. Start by trimming off the longer pieces and keep going until you have your final shape. Remember, trees tend to be quite compact, so you don’t want any long hanging pieces.

4. Build up the Base of the Terrain Tree
Now it’s time to create a forest floor on your base. Add some blobs of glue onto the base and place some small rocks (or small pieces of cork), fine gravel and sand on top to create more texture.
Spray the entire tree black, remembering to turning your model as you spray to get full coverage. We’ve used The Colour Forge’s Matt Black spray.
5. Layer on Colour
Now it’s time to add some colour onto your tree!
Mix together Armageddon dust with a touch of Warpstone Glow, as trees are never completely brown. Get most of the paint off your brush before working it onto the tree, filling in most of the surface and up into the branches.
Add in some Terminatus Stone into your paint mix, and create some soft highlights onto the bark of your tree to create some more depth.
6. Add your Foliage
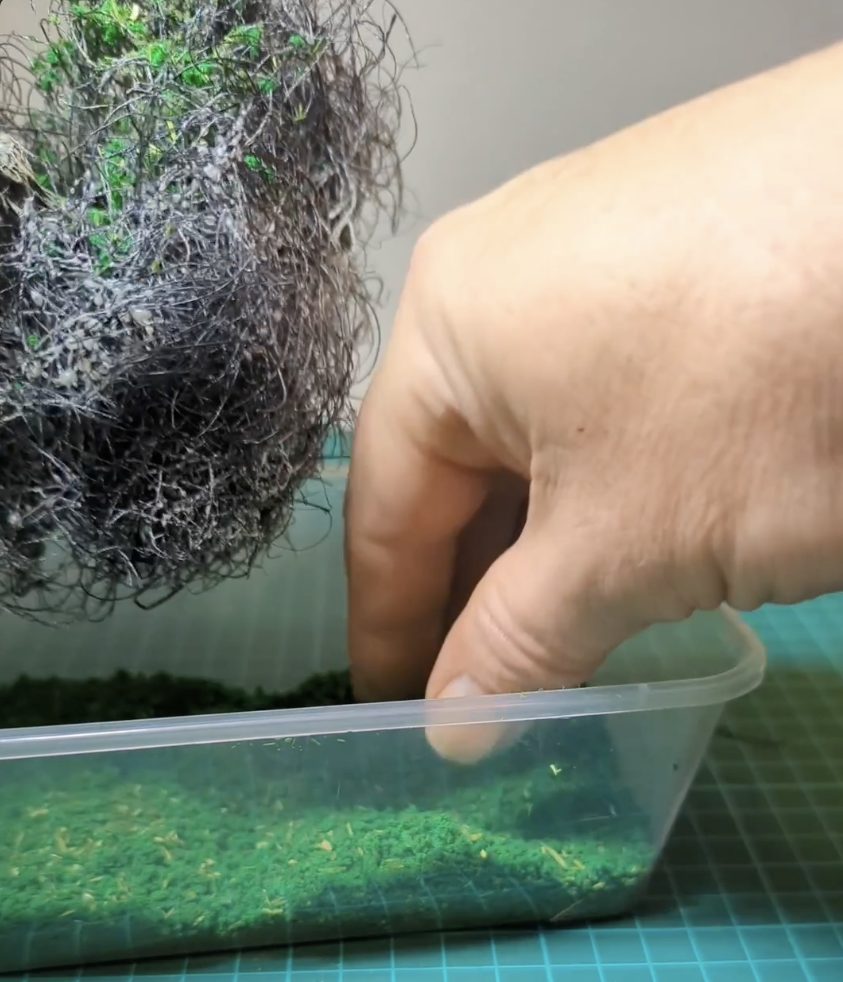
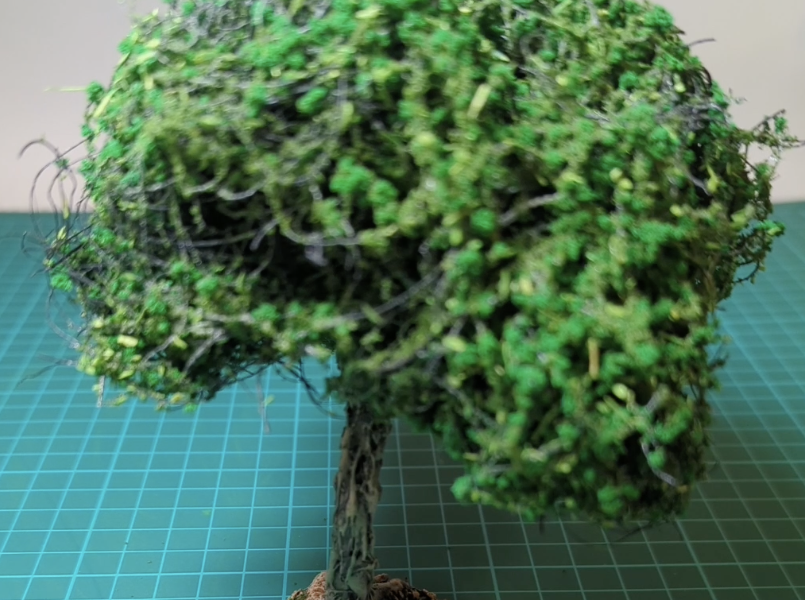
Now it’s time to add foliage and bring your tree to life!
Spray the top of your tree with some adhesive and start padding down the scatter onto your tree. We’re using a mixture of GreenStuff World’s Scatter Foliage in Medium Green and Tree Bush in Dark Green. Knock off any excess and keep building up the layers of scatter onto your tree until you’re happy with the end look.
7. Final Touches to your Terrain Tree
To finish up your tree, paint your base with Armageddon dust. Dry brush the top of your rocks with some Terminatus Stone to add a bit of dimension.
Finally, seal everything in with some matt varnish, and your tree is complete!
Check out our blog for more tutorials and hobby related content